Isn't it funny how the minute you add something new, you need additional tooling?
I have worked with my horizontal mill for years and I have it tooled well, finally. I just added a vertical head, that was part of a trade. I have never felt the need for a vertical head but now I have one and it presently on the little Burke
I have been working on repairing a damaged cross feed screw for a taper attachment on my South bend Heavy 10.
My mill is a Burke #4 and at present it is set up with a vertical head I have recently obtained. I had used the vertical head to put a half round keyway into the 5/16 portion of the cross slide shaft. Not that I needed the vertical head, I have done this before without it.
I next wanted to make a pair of slotted nuts for the ball crank handle. These needed to be slotted.
Normally that’s a snap job on the horizontal mill but I had the vertical head on and I had trammed it and did not want to move it to install the Horizontal Arbor. But all mu tooling is for the 1” Burke Horizontal arbor. I decided I would make a saw arbor. I first looked at McMasters. They wanted $35. I use McMasters because its here the next day. Also the shaft on the McMasters one was ½” diameter. The slotted nuts are also ½” diameter. I have only one set of 3C collets.
I do have a nice 9/16 3C collet. It’s a stub collet the 9/16 par is only 1-1/4” deep but it fine for many jobs. ( www.tools4cheap.net). I also had a piece of 1-1/4” 12L14 hex stock .
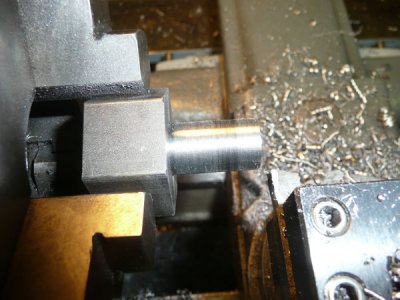
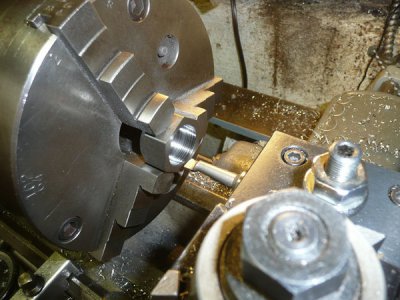
I cut the stock about 2-1/2” long. Using a 3-jaw I turned a 9/16 stub 1” long
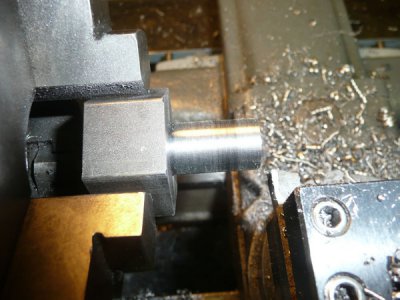
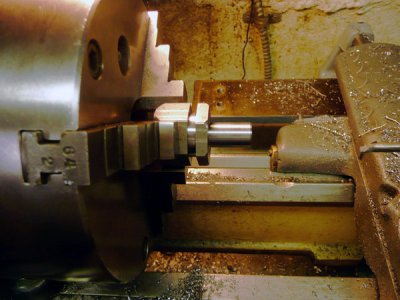
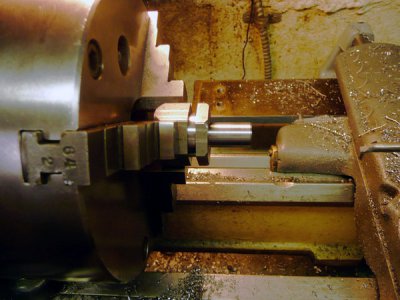
I then dismounted the chuck, changed to collets and holding the stub in a 9/16 collet I turned a 1.000” stub ½” long.
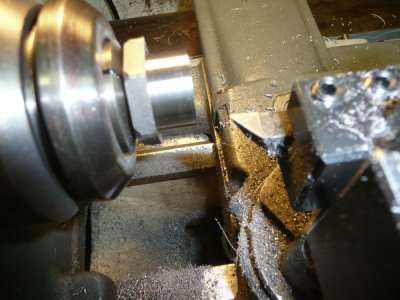
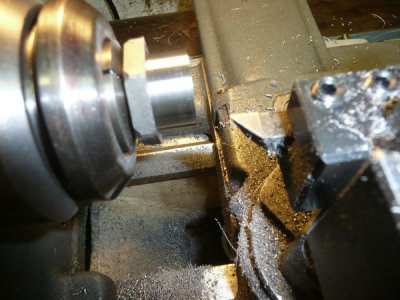
Note that I broke the sharp edges on the hex next to the 9/16 stub but not on the saw blade side. This is a nice tight fir on the saw blade. Also note the tool shown. I relieved the radius on the vertical face by putting a grove about 0.015" deep into the face just even with the 1.000 stub. This insures that the blade sits flat on the face.
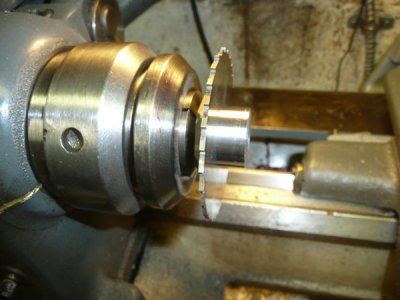
I drilled and tapped 1 1/4-20 hole 1” deep in the face of the 1” step. That finished that part.
I then cut a piece 7/8 long, faced both sides in the chuck and reduced the overall size to ¾” I drilled a ¼” hole through and using that as a pilot hole I bored a ½” deep step 1.001”
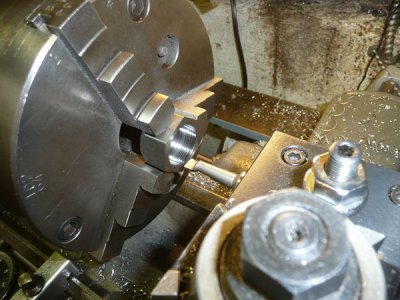
This formed the cover
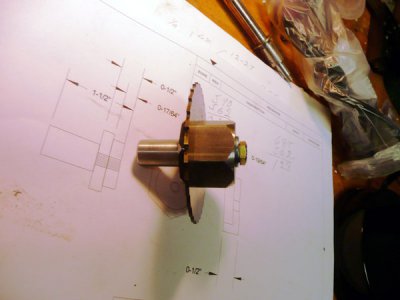
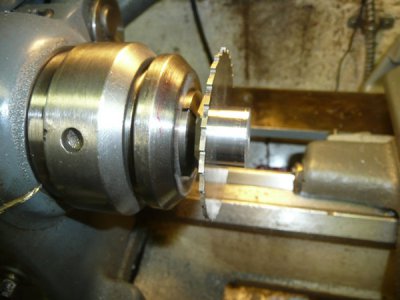
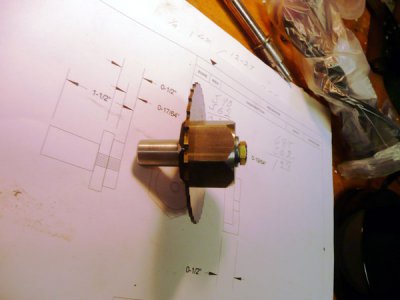
Here is the completed arbor
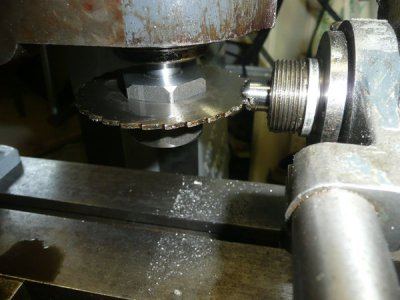
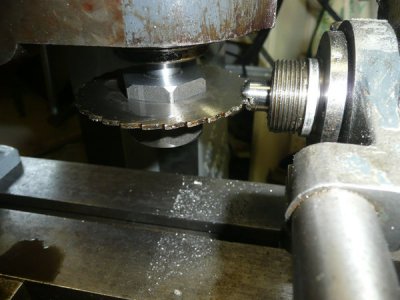
And here it is doing its job.
I have worked with my horizontal mill for years and I have it tooled well, finally. I just added a vertical head, that was part of a trade. I have never felt the need for a vertical head but now I have one and it presently on the little Burke
I have been working on repairing a damaged cross feed screw for a taper attachment on my South bend Heavy 10.
My mill is a Burke #4 and at present it is set up with a vertical head I have recently obtained. I had used the vertical head to put a half round keyway into the 5/16 portion of the cross slide shaft. Not that I needed the vertical head, I have done this before without it.
I next wanted to make a pair of slotted nuts for the ball crank handle. These needed to be slotted.
Normally that’s a snap job on the horizontal mill but I had the vertical head on and I had trammed it and did not want to move it to install the Horizontal Arbor. But all mu tooling is for the 1” Burke Horizontal arbor. I decided I would make a saw arbor. I first looked at McMasters. They wanted $35. I use McMasters because its here the next day. Also the shaft on the McMasters one was ½” diameter. The slotted nuts are also ½” diameter. I have only one set of 3C collets.
I do have a nice 9/16 3C collet. It’s a stub collet the 9/16 par is only 1-1/4” deep but it fine for many jobs. ( www.tools4cheap.net). I also had a piece of 1-1/4” 12L14 hex stock .
I cut the stock about 2-1/2” long. Using a 3-jaw I turned a 9/16 stub 1” long

I then dismounted the chuck, changed to collets and holding the stub in a 9/16 collet I turned a 1.000” stub ½” long.

Note that I broke the sharp edges on the hex next to the 9/16 stub but not on the saw blade side. This is a nice tight fir on the saw blade. Also note the tool shown. I relieved the radius on the vertical face by putting a grove about 0.015" deep into the face just even with the 1.000 stub. This insures that the blade sits flat on the face.

I drilled and tapped 1 1/4-20 hole 1” deep in the face of the 1” step. That finished that part.
I then cut a piece 7/8 long, faced both sides in the chuck and reduced the overall size to ¾” I drilled a ¼” hole through and using that as a pilot hole I bored a ½” deep step 1.001”

This formed the cover

Here is the completed arbor

And here it is doing its job.


