- Joined
- Oct 20, 2014
- Messages
- 495
Hi All,
Of all days to get some shop time! Woohoo!!!
Which suits me fine, as I was jolted out of a sound sleep by an idea. Haven't decided if I hate or love when that happens.
I remembered the piece of scrap I had in mind for the power feed on my lathe, and when that recollection collided with another memory, my eyes popped open and I dictated a slightly slurred memo into my phone at 4:28 AM. (we sat up playing cards and enjoying various libations till the wee hours with the family last night....)
In short, I'm re-starting my project to add a vertical spindle to my Atlas horizontal mill. I have a spare Taig spindle on-hand, so I figured it was time to get started on it.
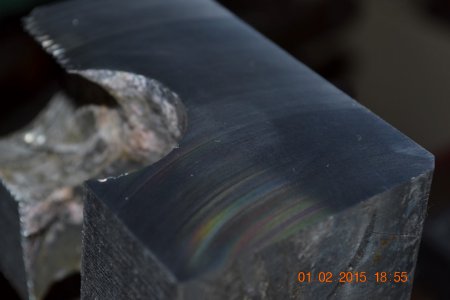
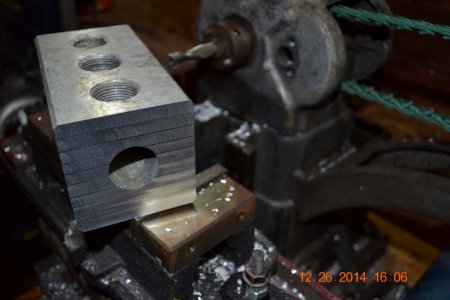
I didn't even have to dig in the scrap bin for the big piece. It was right on top. So, I used the chop saw (carefully!) to cut a suitably sized chunk off. It used to be an old hydraulic distribution block for something. Now it's going to be the head assembly for a vertical spindle. Its 3" square, about 5 3/4" long or so.
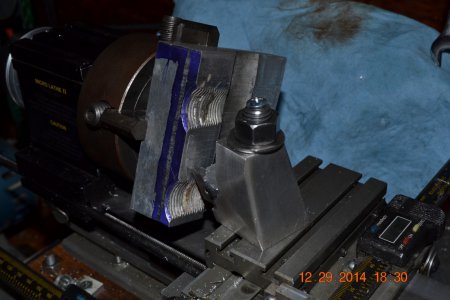
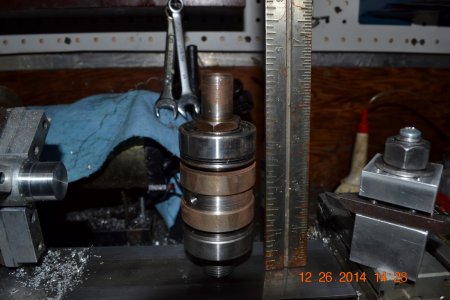
Getting ready to square up the ends with the horizontal mill. For being such a small machine, this thing just plows through metal.
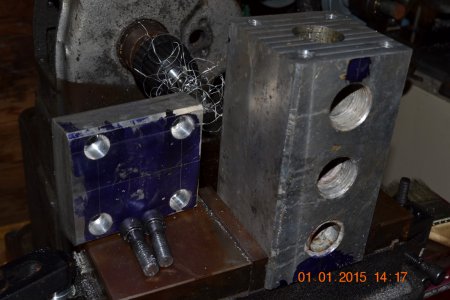
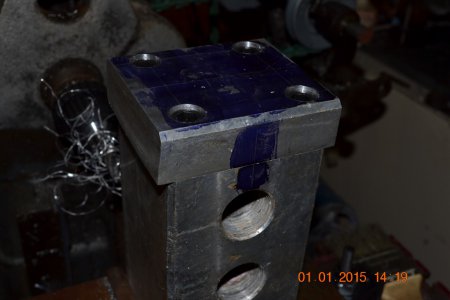
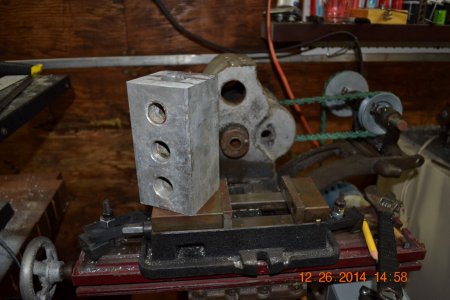
Aaaand, a whole lotta handwheel cranking later - both ends are clean and square.
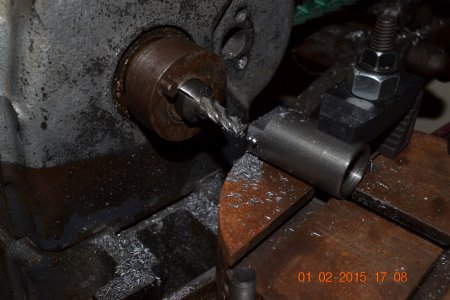
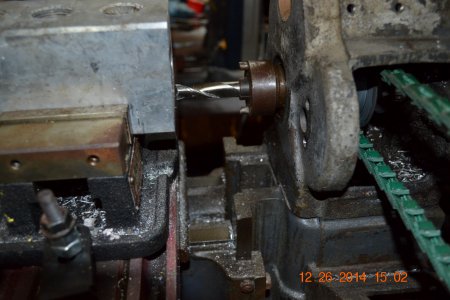
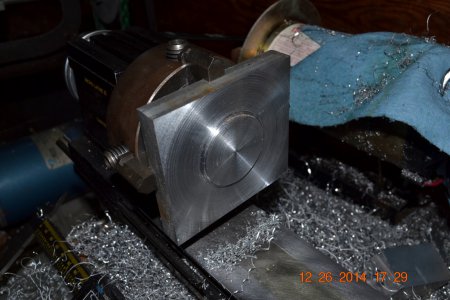
Because there's a hole down the middle of the workpiece, I'll have a plate between the mill's headstock and the vertical spindle head housing. They'll be joined together with four SHCS, and a rather large bolt will secure the plate to the headstock through the hole used by the overarm support bar. Here I've cut a piece of 3" wide flat stock, and turned a slight boss on it to locate it in the overarm support hole.
That's as far as I've gotten this afternoon.
I'll give the purists fair warning: If you're squeamish about defiling great old equipment, you may not want to follow this thread.
One of the steps I'll have to do is milling the face of the headstock around the overarm support bar's hole. As-is, it has draft from the pattern when cast. Rather than trying to shim all of that out, I'd rather cut it flat and square to the table. It'd be more stable, and provide a good, flat surface to mount the plate to. Some will feel that I'm wrecking the machine, I'm sure. And rest assured I cringe at the thought myself. But, it won't affect how the machine operates, only how it looks. I won't be hogging off a quarter inch of metal, only enough to get a flat, true surface square to the table.
Why? Because I can't afford a vertical mill right now. Adding even light vertical milling capability to the Atlas greatly expands it's usefulness, and aside from the light cut to get a flat mounting surface, I'm not modifying the machine for this. For heavy, hogging cuts, I'll use the horizontal spindle. For small, light projects, the vertical head.
For those that don't feel that I'm trashing my machine, please feel free to follow along.
- Edit -
Now you all can see what I look like. Not sure if that's good, or bad.....
http://youtu.be/iNV1t45YySU


Of all days to get some shop time! Woohoo!!!
Which suits me fine, as I was jolted out of a sound sleep by an idea. Haven't decided if I hate or love when that happens.
I remembered the piece of scrap I had in mind for the power feed on my lathe, and when that recollection collided with another memory, my eyes popped open and I dictated a slightly slurred memo into my phone at 4:28 AM. (we sat up playing cards and enjoying various libations till the wee hours with the family last night....)
In short, I'm re-starting my project to add a vertical spindle to my Atlas horizontal mill. I have a spare Taig spindle on-hand, so I figured it was time to get started on it.

I didn't even have to dig in the scrap bin for the big piece. It was right on top. So, I used the chop saw (carefully!) to cut a suitably sized chunk off. It used to be an old hydraulic distribution block for something. Now it's going to be the head assembly for a vertical spindle. Its 3" square, about 5 3/4" long or so.

Getting ready to square up the ends with the horizontal mill. For being such a small machine, this thing just plows through metal.

Aaaand, a whole lotta handwheel cranking later - both ends are clean and square.

Because there's a hole down the middle of the workpiece, I'll have a plate between the mill's headstock and the vertical spindle head housing. They'll be joined together with four SHCS, and a rather large bolt will secure the plate to the headstock through the hole used by the overarm support bar. Here I've cut a piece of 3" wide flat stock, and turned a slight boss on it to locate it in the overarm support hole.

That's as far as I've gotten this afternoon.
I'll give the purists fair warning: If you're squeamish about defiling great old equipment, you may not want to follow this thread.
One of the steps I'll have to do is milling the face of the headstock around the overarm support bar's hole. As-is, it has draft from the pattern when cast. Rather than trying to shim all of that out, I'd rather cut it flat and square to the table. It'd be more stable, and provide a good, flat surface to mount the plate to. Some will feel that I'm wrecking the machine, I'm sure. And rest assured I cringe at the thought myself. But, it won't affect how the machine operates, only how it looks. I won't be hogging off a quarter inch of metal, only enough to get a flat, true surface square to the table.
Why? Because I can't afford a vertical mill right now. Adding even light vertical milling capability to the Atlas greatly expands it's usefulness, and aside from the light cut to get a flat mounting surface, I'm not modifying the machine for this. For heavy, hogging cuts, I'll use the horizontal spindle. For small, light projects, the vertical head.
For those that don't feel that I'm trashing my machine, please feel free to follow along.
- Edit -
Now you all can see what I look like. Not sure if that's good, or bad.....
http://youtu.be/iNV1t45YySU


Last edited:


