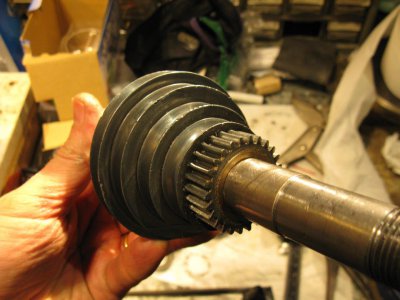
well, I didn't screw things up but it didn't work out quite as well as I'd hoped.
Some pics
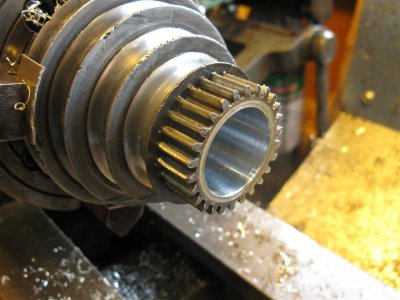
spent a lot of time and had a lot of difficulty getting the pulley set up in the 4 jaw to be both axially and radially true. The only useable and trustworthy surface was the inside of the pulley bore, which appeared to get the large pulley, outer edges of the teeth and the end of the pulley running true, but then the other Vs were out of true by varying amounts, going by the outer edges and the bottoms of the Vs (neither of which appeared to be very reliable surfaces). After some serious head scratching and attempts to indicated off the sides of the Vs (no luck), I figured that as long as the large V and the gears were more or less concentric with the spindle, that should be good enough.
Bored the pulley to around 2 thou undersize (new measurements!), which took off ~30thou total. Hit my mark to less than a thou, which I was super pleased with

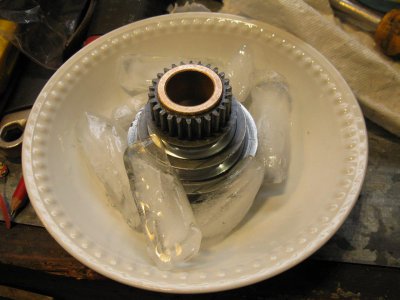
Heated up pulley and had the bushings in the freezer overnight. They dropped right in, then slowly got tighter and tighter. This is a pic of me being impatient and helping things along..

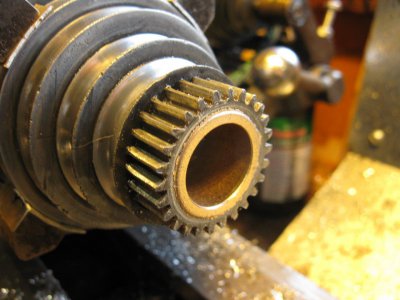
Outer bushing faced off to be 0.25mm proud of the pulley - there was 0.5mm slop lengthwise between the pulley, the end collar and the bull gear. This and the same amount the other end should snug it up

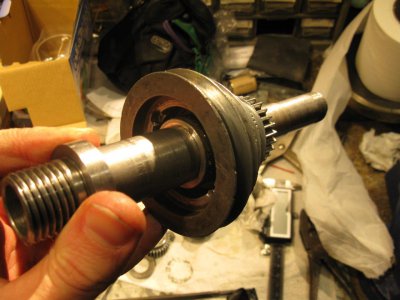
Bushing ID was bang on dimension of 19.98-20.00mm, which was a tight but nicely rotating fit on the spindle. Had to use oil to get it on, probably due to an unworn center area of the spindle, but there's no apparent slop at all, which is waaaaay better than before.


Unfortunately, once I put it all back together, there's noticeable runout on the 3 smallest pulleys, as I kind of expected from the set up. On the plus side, the large pulley doesn't move much (very faint wobble) and the back gears are much quieter now. they used to have a cyclic sound and now it's just a constant "tinkling". Also the vibration in the lathe is much less. There's still some, which may be due to the worn countershaft bushings (next on the list!), but it's not as intrusive.
I thought about making a mandrel and mounting the pulley on it between centers to true up the pulleys, but I don't want them any smaller and I will rarely use them, as direct drive goes from 400-2000rpm and back gear is 50-250 in the largest spindle pulley. Also have lots of other things to do and not much time to do them!


