Decided I wanted to refinish some firearms with the Cerakote Heat Treated Paint.
I had done a few smaller parts in a Toaster Oven but now wanted to do some Rifles and Barrels.
Brownells want in the Range of $2500.00 for an Oven so with ideas and information from others on the web built my own.
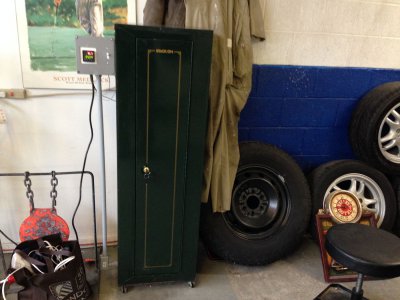
Purchased an inexpensive Gun Cabinet at TSC store on sale for $99.00
Put wheels on bottom to make it easy to move around Princess Auto $10.00
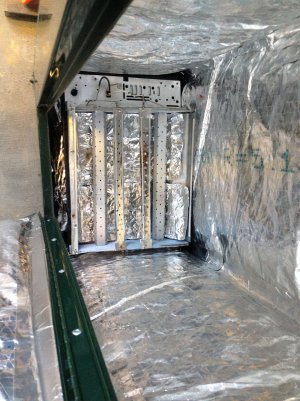
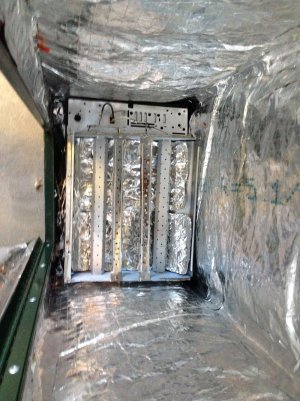
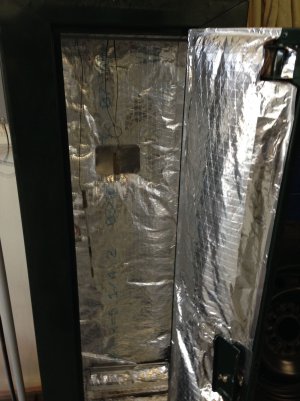
Purchased 350 degree F Foil Faced 2" insulation from McMaster Carr $33.00
Purchased 500 Degree F Silicone Fireplace sealer from Canadian Tire to adhere insulation to cabinet $15.00
Used Aluminum Heating tape to seal seams and around door.$20.00
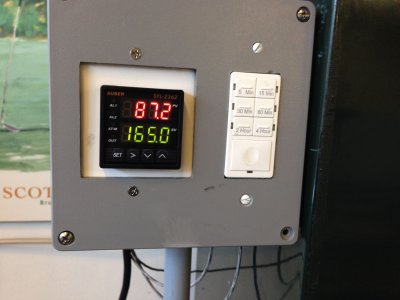
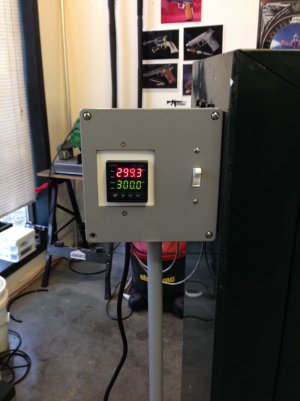
Bought a thermal control from e-bay which comes complete with Control Temp Probe and Sold State Relay (Digital PID Temperature Controller) $50.00
From Home Depot electrical wire, plastic conduit, box to house controller and a timer. $100.00
Installed some threaded rods at the top of the cabinet to hang parts from.$10.00
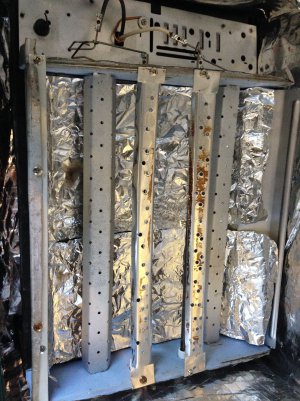
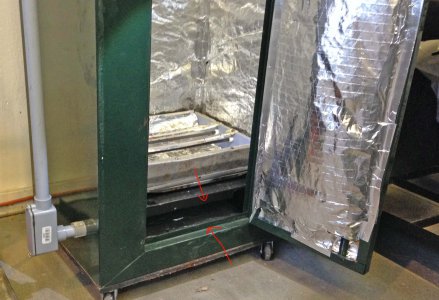
I used the heating elements from the Toaster Oven I already had. I took all the components out of the case and installed them in the bottom of the
cabinet with an air space of roughfly 6" below to allow the wiring to come in. I moved the top 2 elements from the oven down and put reflectors above all four to direct the heat downward and then reflected it back up which gave me more even heating throughout the cabinet.
I can reach a Maximum temperature of 375 degrees F which is well above what is needed. It takes a very short time to get up to working temperature (250 degrees)
and the controller will keep the temperature + or - 0.5 degrees. the outside of the cabinet stays very cool except for the door where there is some heat leakage.
All in all very satisfied with the build and for a fraction of the cost. My total outlay was roughly $300.00 plus my time.
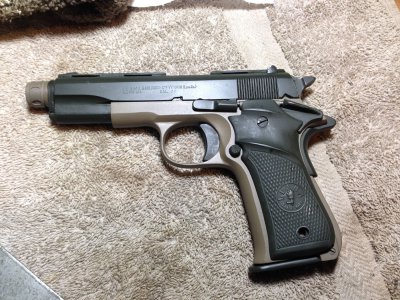
Sample paint job of pistol and pictures of project.
If anyone wants more info or pictures let me know.


