- Joined
- Jun 17, 2011
- Messages
- 2,062
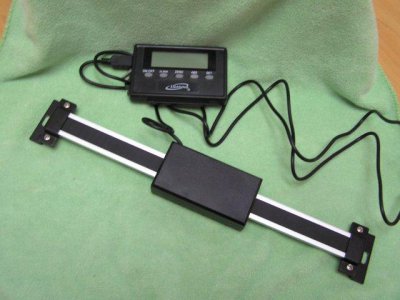
A while back, I picked up an iGaging 6" DRO at my favourite tool store. It was just under $50.

I was planning out the mounting method for the X-axis when I found a site, which I seem not to have bookmarked, telling how the writer extended the end sections of the DRO to allow the sensor to read all the way to the ends. This would turn my 6" into over a 10" DRO. That detour stopped the project until I decided that I could still mount the rig and extend it later.
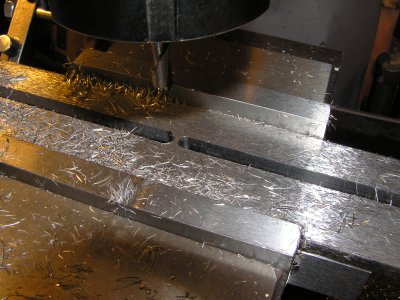
I started with a slotted rail across the front of the table so that the DRO could be moved toward either end of the table if I was working at one end. Since it's not a good idea to clamp over air (James A. Harvey - Machine Shop Trade Secrets), I left a small bridge near the center of the vise on the roughing pass. The bridge was milled out on the finish pass, after a piece of stock was wedged into the slot on one side to keep it from collapsing under vise pressure as the bridge was taken out.

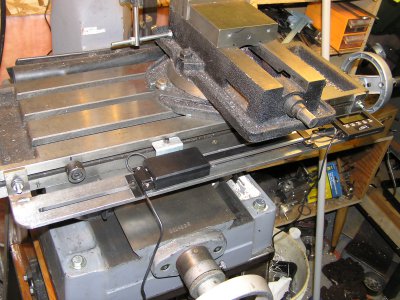
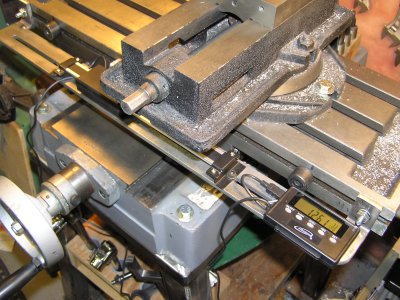
I made a bracket out of heavy sheet metal to attach the sensor to the stop bracket at the center of the table.

The readout module has a couple of magnets on the back to make it easy to stick it anywhere convenient.

I'm looking forward to trying it out on the next milling operation. If I like this one, I can add Y- and Z-axis units as desired. Only the X-axis DRO will need extending. Until then, most of the milling jobs I do are less than 6".


I was planning out the mounting method for the X-axis when I found a site, which I seem not to have bookmarked, telling how the writer extended the end sections of the DRO to allow the sensor to read all the way to the ends. This would turn my 6" into over a 10" DRO. That detour stopped the project until I decided that I could still mount the rig and extend it later.
I started with a slotted rail across the front of the table so that the DRO could be moved toward either end of the table if I was working at one end. Since it's not a good idea to clamp over air (James A. Harvey - Machine Shop Trade Secrets), I left a small bridge near the center of the vise on the roughing pass. The bridge was milled out on the finish pass, after a piece of stock was wedged into the slot on one side to keep it from collapsing under vise pressure as the bridge was taken out.

I made a bracket out of heavy sheet metal to attach the sensor to the stop bracket at the center of the table.

The readout module has a couple of magnets on the back to make it easy to stick it anywhere convenient.

I'm looking forward to trying it out on the next milling operation. If I like this one, I can add Y- and Z-axis units as desired. Only the X-axis DRO will need extending. Until then, most of the milling jobs I do are less than 6".


