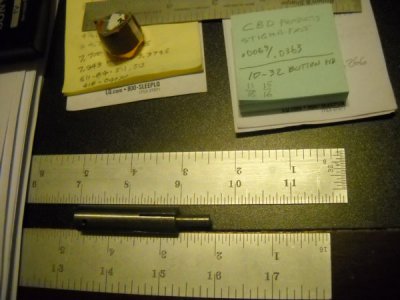
Another option, depending on how many pieces you are making - consider a heat shrink mandrel. This is very simple to make and the accuracy matches the capability of the machine. The main challenge is you need to be able to machine ID / OD to within a few tenths. Once you sort that out, and it is not a big deal - then you are set.
Generally you would want to select a material for the mandrel that has a significantly different coefficient of thermal expansion than what your work piece has, whether the mandrel is OD gripping or ID gripping and what your heating / cooling options are.
Just the other day I needed a couple plastic 3" diameter rings. I was using that regular white 3" drain pipe - with a finished wall thickness of 1/16". I didn't need to take very much out of the bore - obviously the difficulty was how to hold it without distorting the ring. I simply skimmed a piece of scrap metal for a 1/2" long fit, leaving a land for the back face to butt up to. I simply warmed the plastic with a hot air gun, tapped it onto the mandrel and trued the outer end with a roller bearing tool. I took my time boring the sleeve, just 0.015" passes to open out the 1" long sleeve. To remove the 1/2" long scrap piece I just machined it away at 0.002" over the size of the mandrel, then the little skim peeled off easy.
Another option is to make a slip fit mandrel, then Loctite the wheel into place. Then use a hot air gun to release the Loctite.
The trick is to sort out the machining steps so that you don't need to remove the "mandrel" until you are finished using it.
Usually this will not be a strong work holding method, but for finish work on delicate parts it can be a very useful technique.


