- Joined
- Sep 2, 2013
- Messages
- 218
Hi guys. Sorry...I haven't been very active in a while. I'll try and drop in a little more often. Anyway....
Over the past year, I've had a few people ask how to make cannon trunion straps or "cap squares" if you prefer. So....here's one way to do it.....with pictures !
Take 2 thick blocks of metal. Put them together, and drill a hole the same size as your trunion right on the seam. Remove 1 block, replace it with a wood block and tighten the vise down again. Next, take an end mill that is slightly larger and mill the 1/2 hole a little bigger to give clearance for your metal strap. This can be pulled off in a drill press, but a milling machine will make life a lot easier. One way or the other, you're going to need a very rigidly mounted vise to hold the block. Next, machine a piece of round bar to the same size as your trunion. You can actually use the drill bit that you drilled the original hole for this, but you'll have to support it as you want the shake of the drill in there, not the flutes. Put your piece of metal (the strap) across the top of the round bar. Put it in a press, and start squeezing it down. Here's some pics.
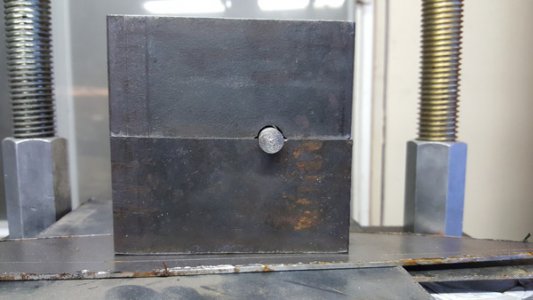
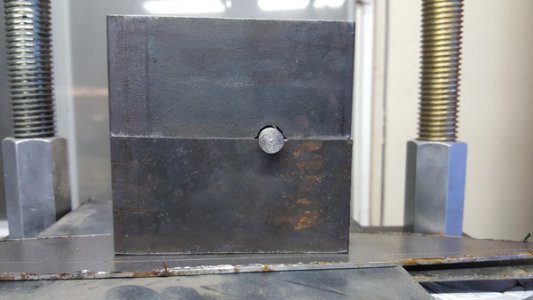
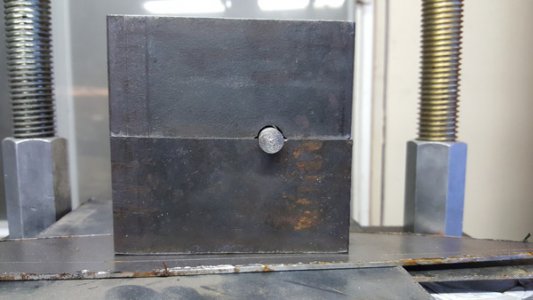
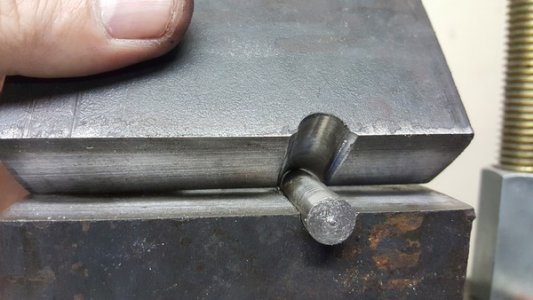
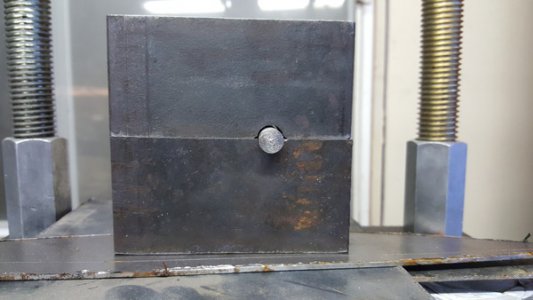
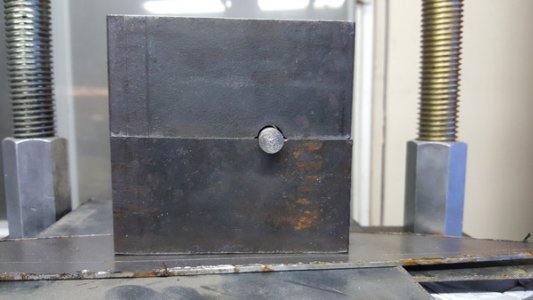
The two blocks with the round bar in place.
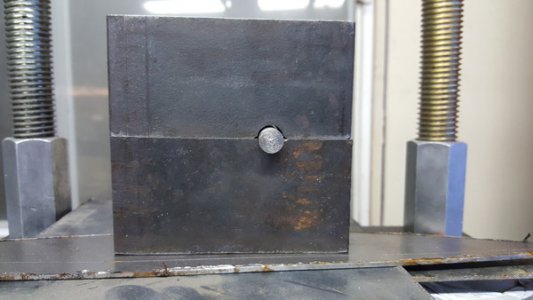
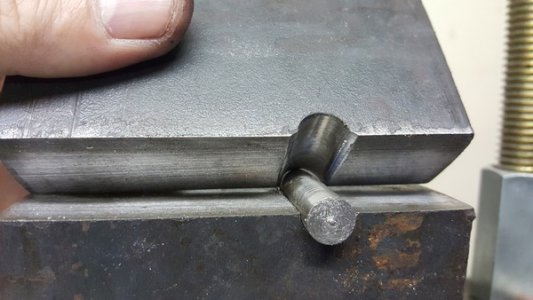
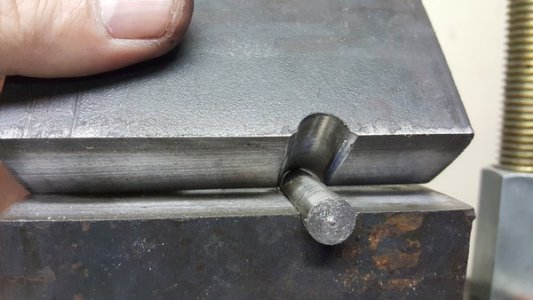
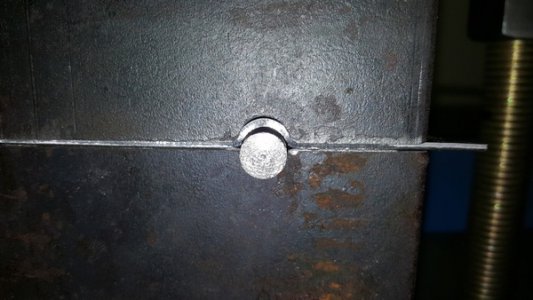
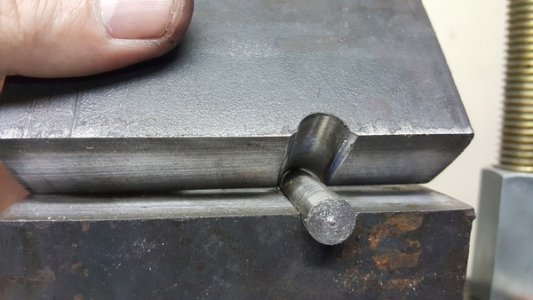
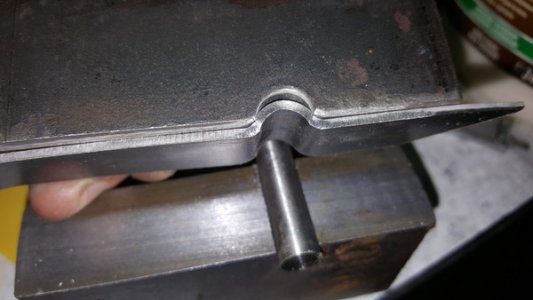
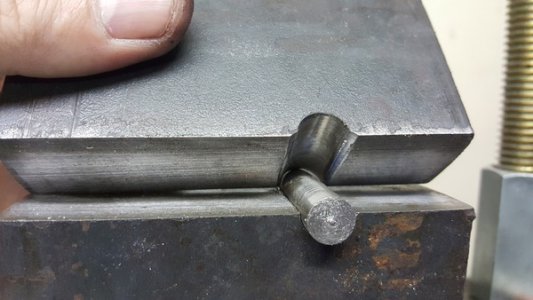
Note the slight edge reliefs that are cut/ground on the edge of the hole in the top block. These need to be there or you'll get a cutting action rather than forming action on your strap.
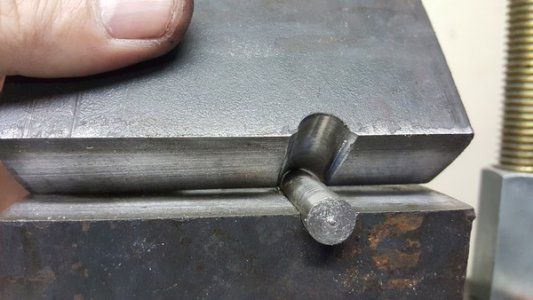
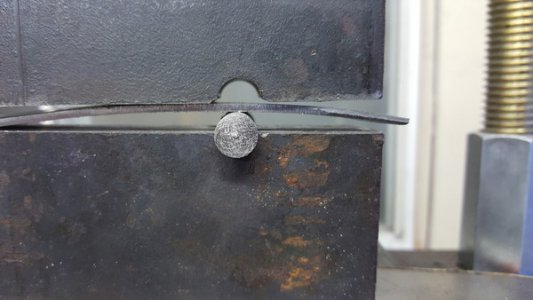
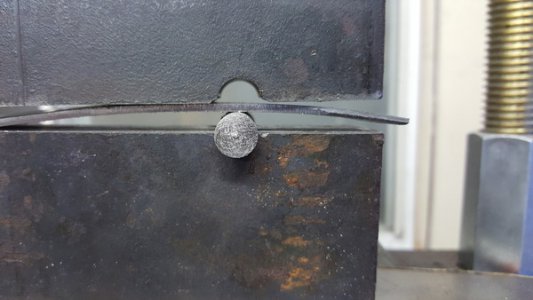
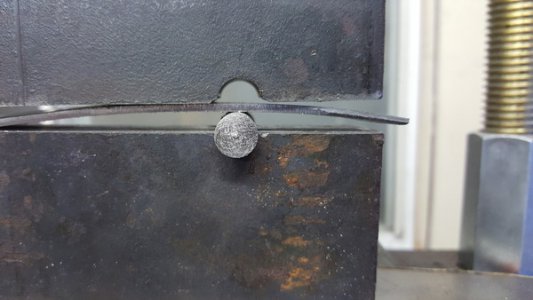
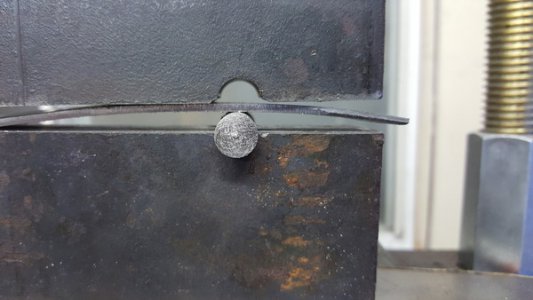
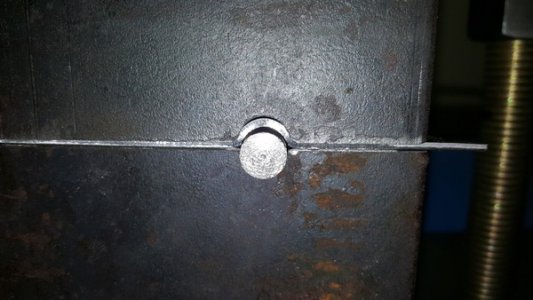
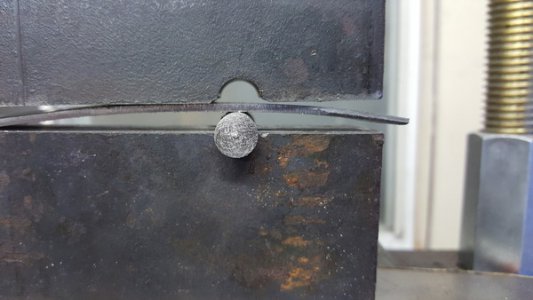
Put your metal strap in the tool and put it in your press. Make sure everything is straight !!!! I've pulled this off by hammering the blocks together, but it's a rough and dirty way of doing it.
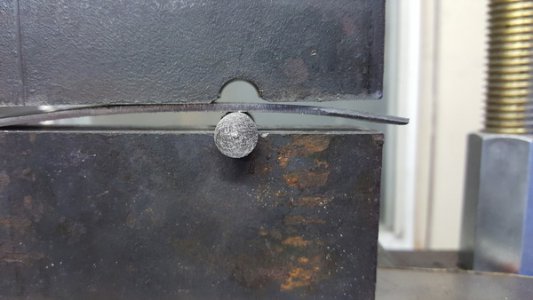
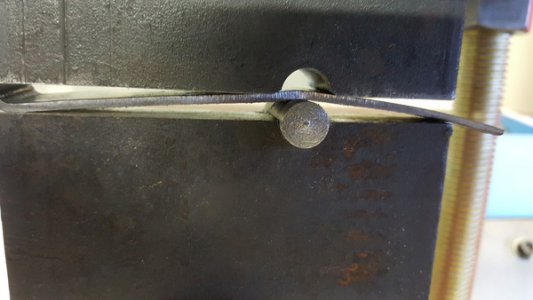
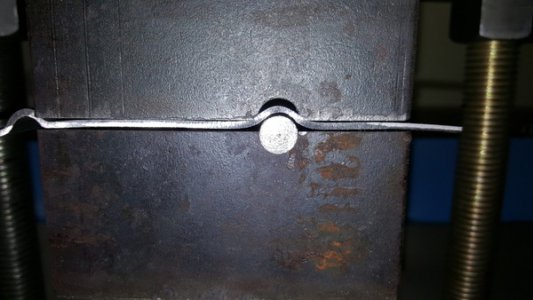
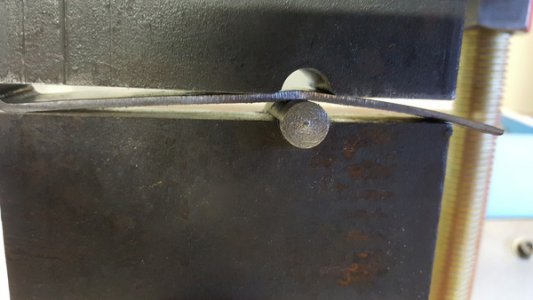
Ok...start pressing......
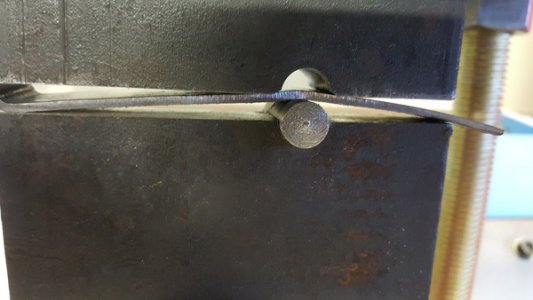
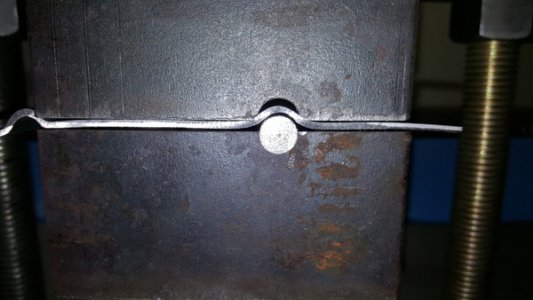
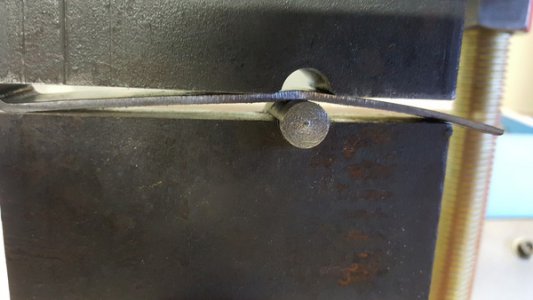
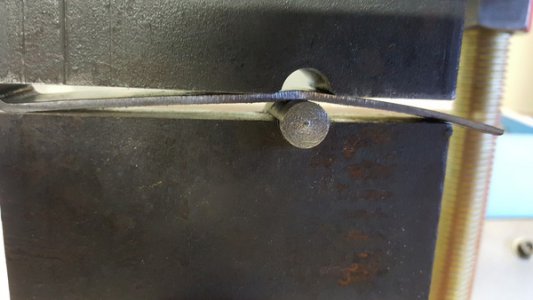
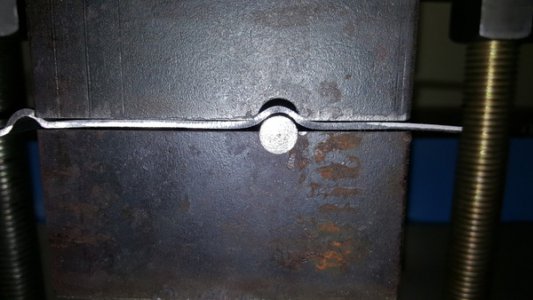
MORE !!!!.......
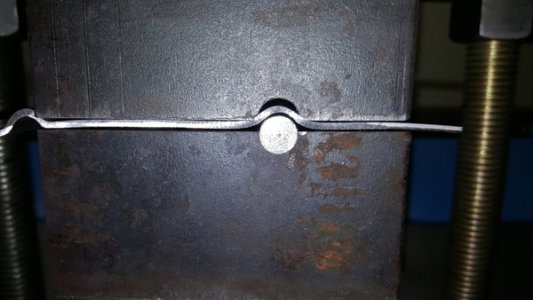
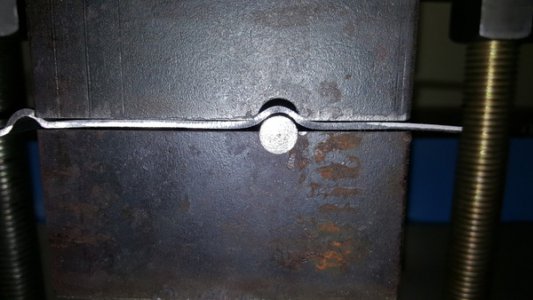
MORE !!!! COME ON !!!! KEEP PUMPING THAT HANDLE !!!!!
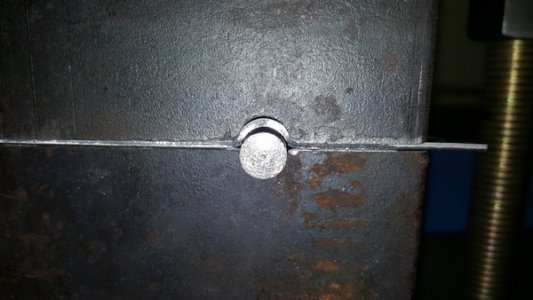
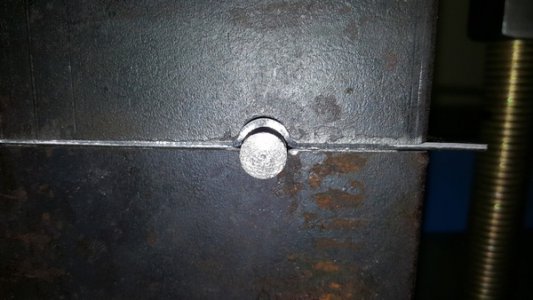
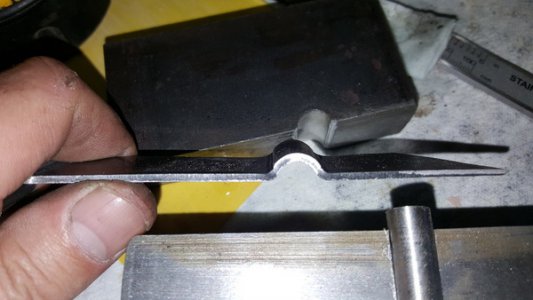
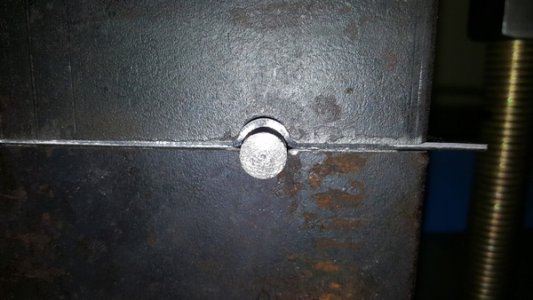
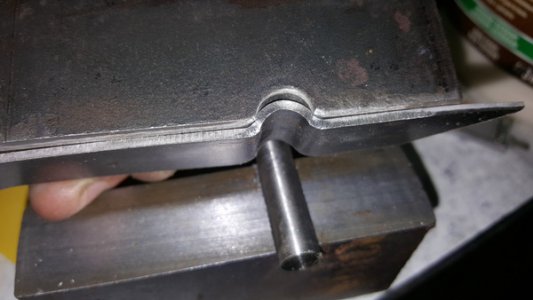
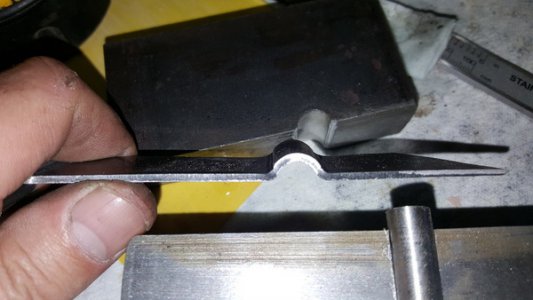
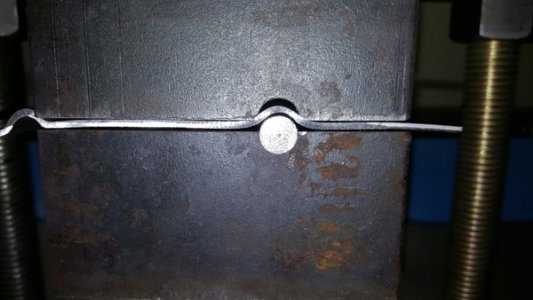
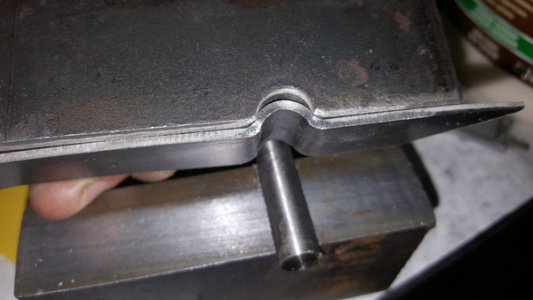
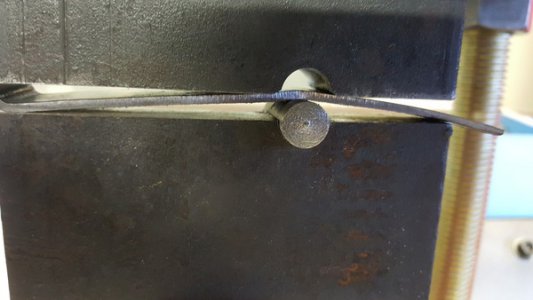
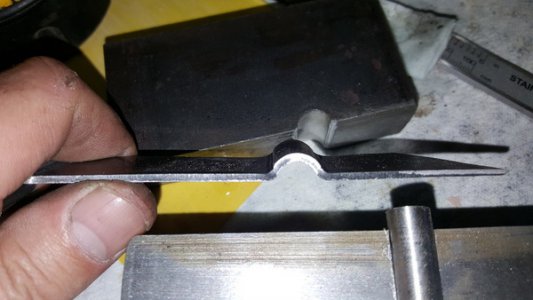
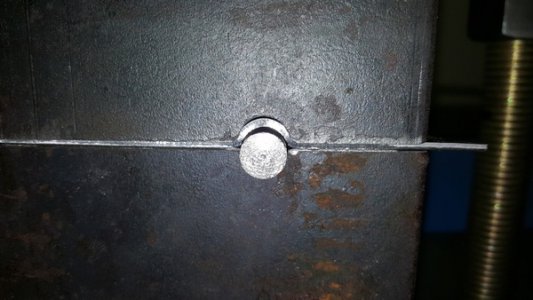
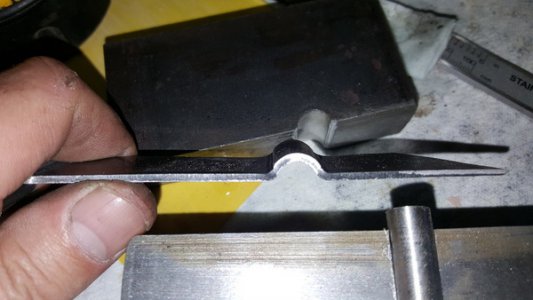
Ok....relax....20 tons of pressure, and she's done.
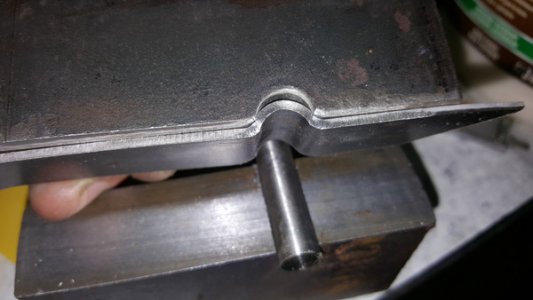
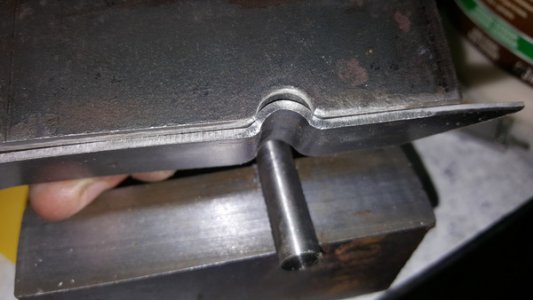
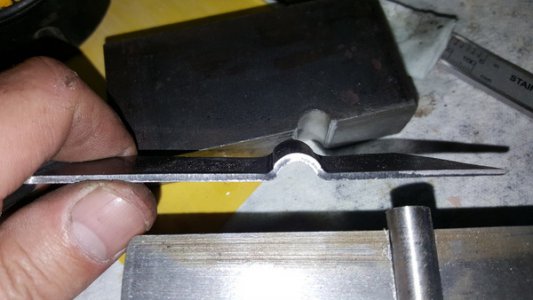
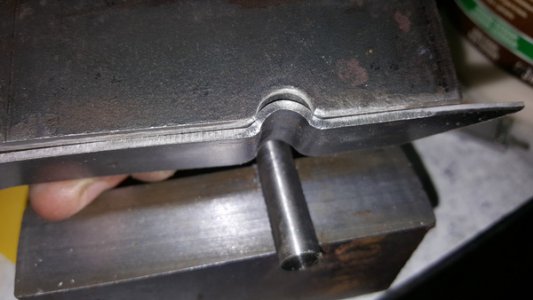
Now that hard part is done.
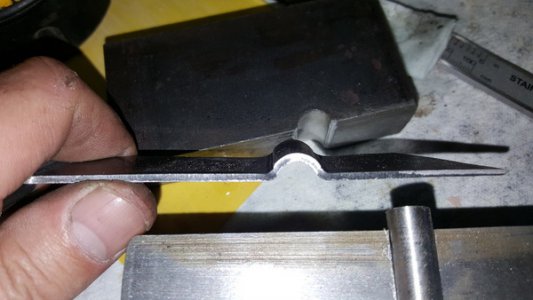
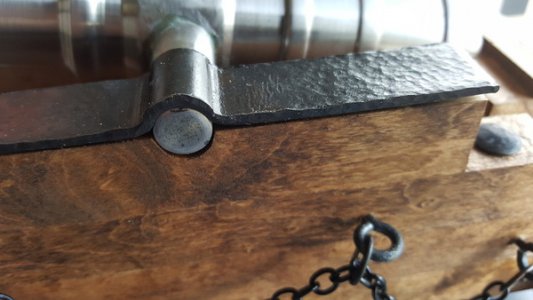
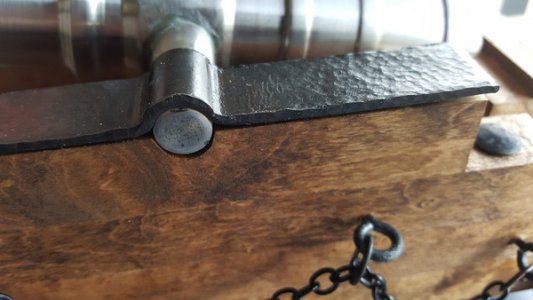
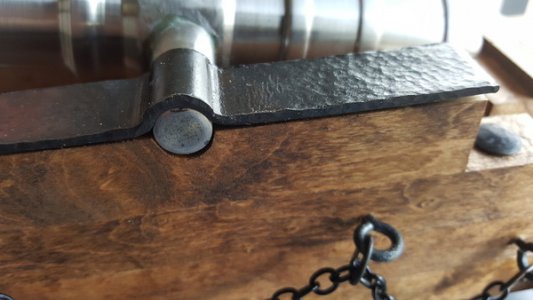
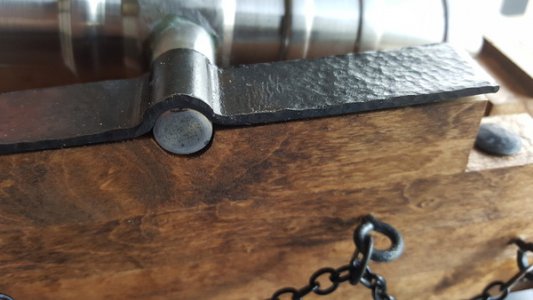
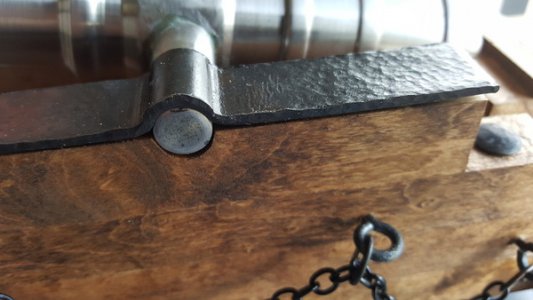
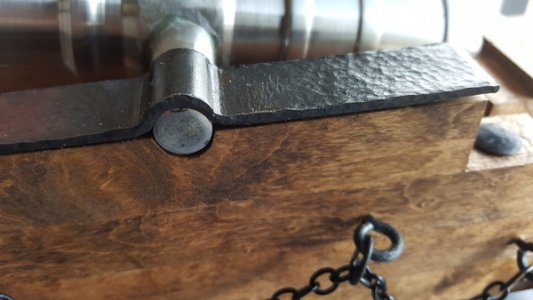
Now...you can finish it to whatever you like. I always do a hammered metal look. Get out the ball peen hammer, and start tapping. When done, put a little cold gun bluing on there....drill the holes for your screws or hasp catches, or how ever you're going to hold it on your cannon carriage, and DONE !
Over the past year, I've had a few people ask how to make cannon trunion straps or "cap squares" if you prefer. So....here's one way to do it.....with pictures !
Take 2 thick blocks of metal. Put them together, and drill a hole the same size as your trunion right on the seam. Remove 1 block, replace it with a wood block and tighten the vise down again. Next, take an end mill that is slightly larger and mill the 1/2 hole a little bigger to give clearance for your metal strap. This can be pulled off in a drill press, but a milling machine will make life a lot easier. One way or the other, you're going to need a very rigidly mounted vise to hold the block. Next, machine a piece of round bar to the same size as your trunion. You can actually use the drill bit that you drilled the original hole for this, but you'll have to support it as you want the shake of the drill in there, not the flutes. Put your piece of metal (the strap) across the top of the round bar. Put it in a press, and start squeezing it down. Here's some pics.
The two blocks with the round bar in place.

Note the slight edge reliefs that are cut/ground on the edge of the hole in the top block. These need to be there or you'll get a cutting action rather than forming action on your strap.

Put your metal strap in the tool and put it in your press. Make sure everything is straight !!!! I've pulled this off by hammering the blocks together, but it's a rough and dirty way of doing it.

Ok...start pressing......

MORE !!!!.......

MORE !!!! COME ON !!!! KEEP PUMPING THAT HANDLE !!!!!

Ok....relax....20 tons of pressure, and she's done.

Now that hard part is done.

Now...you can finish it to whatever you like. I always do a hammered metal look. Get out the ball peen hammer, and start tapping. When done, put a little cold gun bluing on there....drill the holes for your screws or hasp catches, or how ever you're going to hold it on your cannon carriage, and DONE !


