If you've seen my previous posts you'll know that I recently bought and Induma S-1 Mill. It is basically a heavier Italian clone of a Bridgeport J-Head. It's been working great and I have been making little upgrades here and there to it. I have installed a VSD to run the 3-phase motor but it is apparently only good to run 1 motor at a time so it won't run the existing power feed motor (also 3 phase). The power feed has also bee broken in the past and booger welded back together so it would take a lot of work to repair the frame and replace the motor. For that reason I decided to buy a new Chinese power feed for it. Should be plug and play, right?
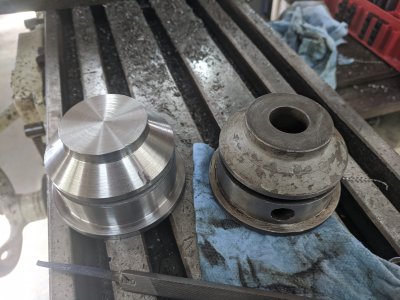
Nope. While it is a 'clone' of a Bridgeport they apparently got original with the x-axis handles and shafts. There is NOTHING that matches the Bridgeport power feed: The shafts are a different sizes (apparently the BP is also stepped down a size at some point too), the hand wheels are cross-pinned in place with bolts, and the shafts on the Induma are taper-pinned to the dial bushings. The dial bushings are also locked with a screw not a nut on the shaft like a BP. (Having never owned a BP I could be wrong on some of this but that's what it looks like from the power feed setup I received.)
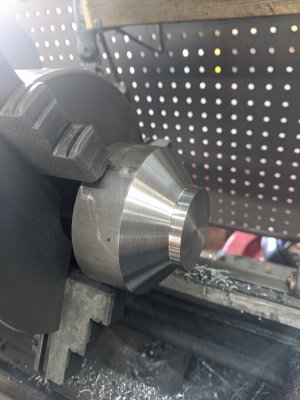
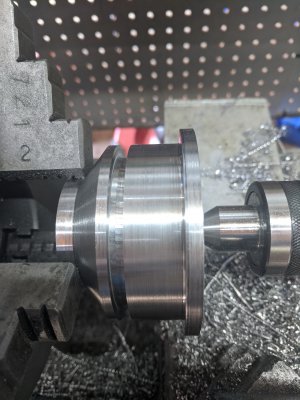
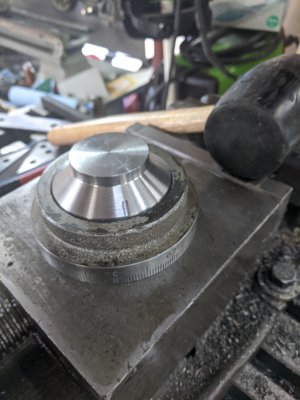
Not being one to be deterred by complete failure and never willing to cut my losses I decided to MAKE it fit. This thread will be my documentation of my success or further failures. LET'S GET STARTED!
Last edited:


