- Joined
- Oct 7, 2020
- Messages
- 2,116
Some of you may remember the 20' section of mystery metal that I picked up at the local metal junk yard.
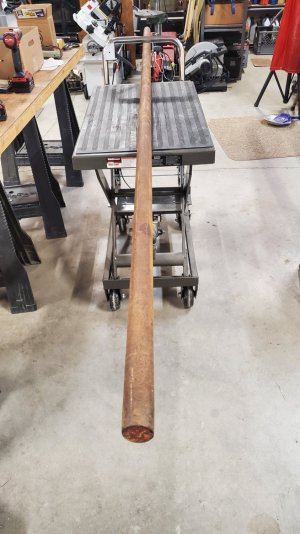
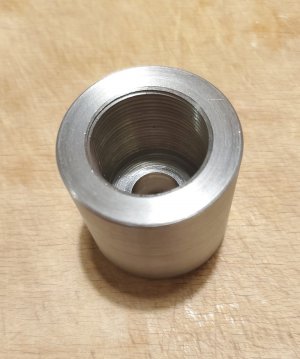
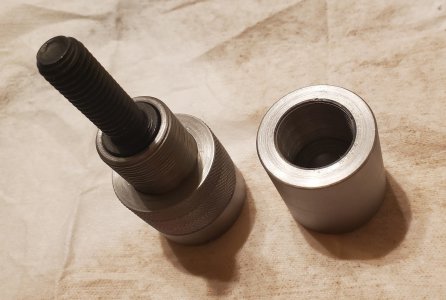
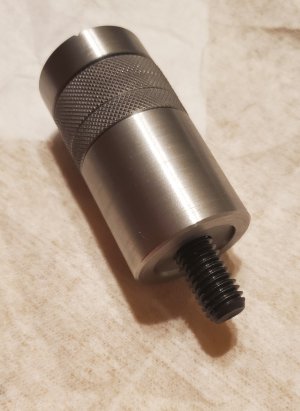
Decided to make something useful and make a pair of machinist jacks. As I was told a long time ago it probably won't turn very nice and that is true. I tried carbide inserts and HSS bits (ones I ground so that doesn't mean much). High speed and deep cuts with carbide inserts work the best most the time. There was one section that I was turning was like two different kinds of metal. After a couple of passes it cleared up. Anyway, with a little file work and emery cloth polishing it looks pretty good.
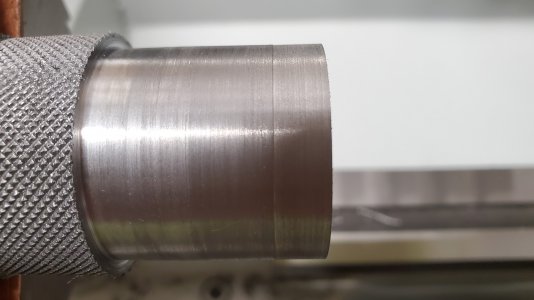
With all of the help I received from this forum I have learned a lot. The first thing was how to draw the V grove in the top in Fusion 360 to actually cutting the V grove later on. Then came the boring and internal threading, that was challenging at times but no real catastrophes. There were several guys mentioned I needed to be more consistence with my cuts and that was probably the biggest thing and help. Once I started taking cuts of the same amount each time things just started coming together. And another tip that helped was to slow down when threading especially when threading internally.
Here is the finished product.
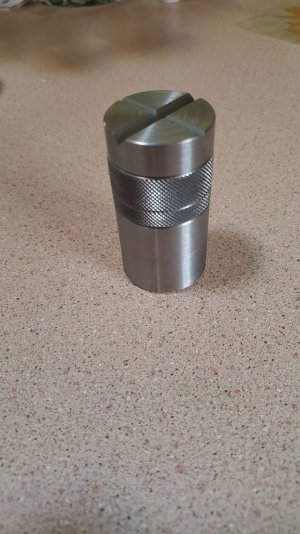
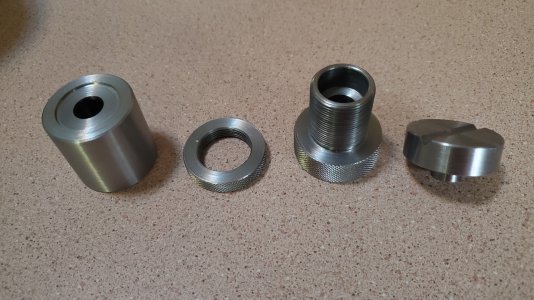

Decided to make something useful and make a pair of machinist jacks. As I was told a long time ago it probably won't turn very nice and that is true. I tried carbide inserts and HSS bits (ones I ground so that doesn't mean much). High speed and deep cuts with carbide inserts work the best most the time. There was one section that I was turning was like two different kinds of metal. After a couple of passes it cleared up. Anyway, with a little file work and emery cloth polishing it looks pretty good.

With all of the help I received from this forum I have learned a lot. The first thing was how to draw the V grove in the top in Fusion 360 to actually cutting the V grove later on. Then came the boring and internal threading, that was challenging at times but no real catastrophes. There were several guys mentioned I needed to be more consistence with my cuts and that was probably the biggest thing and help. Once I started taking cuts of the same amount each time things just started coming together. And another tip that helped was to slow down when threading especially when threading internally.
Here is the finished product.


