- Joined
- Feb 27, 2014
- Messages
- 2,130
A while back I was asking about facing dissimilar metals "QUESTION ON FACING DISSIMILAR METALS" in regard to making aluminum version of a
MAGNETIC REDUCTION GEAR that I saw on YouTube. I finally finished the project yesterday and here are some build notes and pictures
I want to say that I have been hobby machining for many years now but I have not really done any project requiring a what I call high tolerance. say around +- 0.001 so this has been a learning experience for me. Here are some of the things I learned about hiting tight tolerances
1. Clean, Clean, Clean
2. Measure often (after cleaning often)
3. Practice
4. Plan
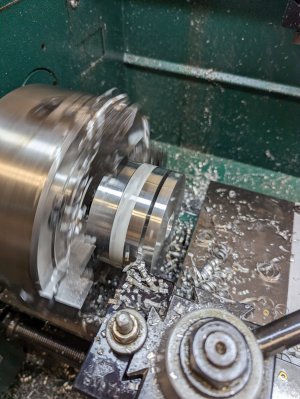
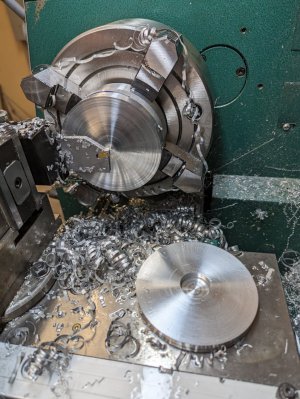
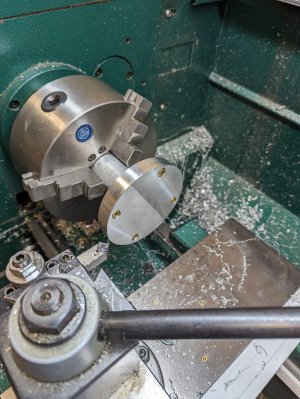
Made a few 4" diameter disks. I expected to have some issues with the parting but it was a non-event
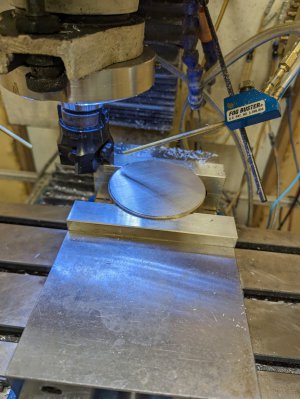
Then over to the mill
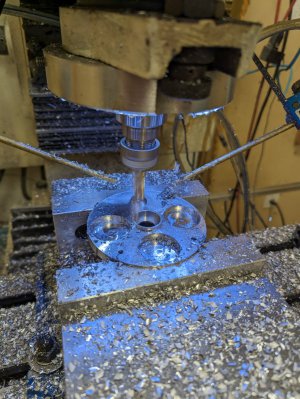
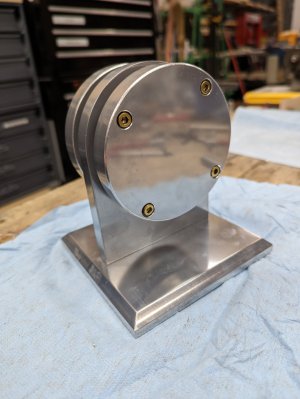
then after taping the 10-32 holes I assembled both rotors and faced the outside edges to reduce the visibility of the seam. I had to make an simple arbor to hold them while doing this
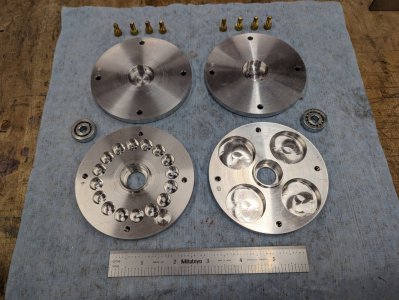
here are the finished rotors. I had planned to press in the bearings but I overshot the inside diameter slightly so ended up using Locktite 638
now on to the base
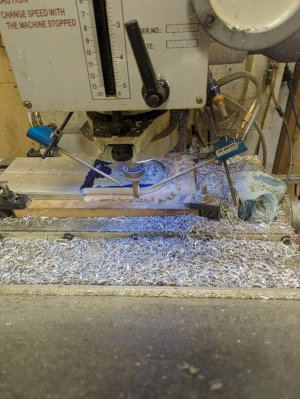
I used an MDF spoilboard so that I could machine the perimeter without moving clamps. Not pictured, but I drilled the holes while in a vise and them use the holes to screw it down to the spoilboard
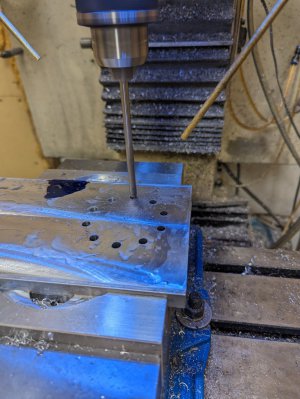
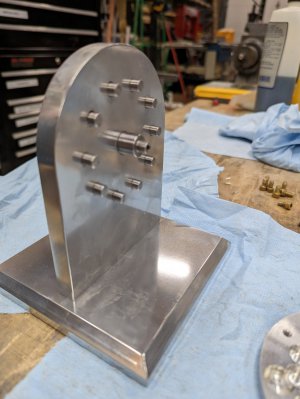
next was to ream the holes in preparation for press fitting the axel into the larger (0.5") center hole and drill rod into the 10 smaller holes (0.25").
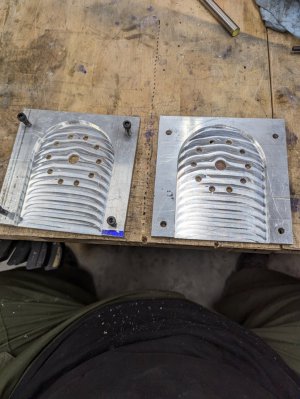
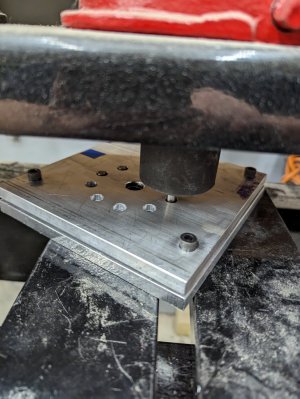
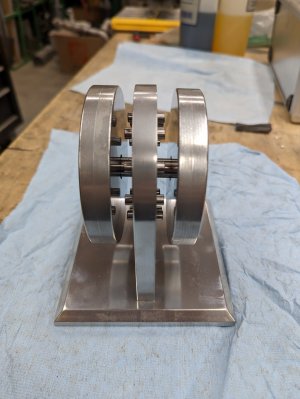
Because the parts to be pressed in needed to stick out the same on both sides, I machined a jig to ensure that I pressed in the pins the exact right amount. Before pressing in, I polished all the parts. Because I was using a tumbler to do the polishing, I did not want to have the steel parts in the tumbler with the alumninum.
SEE THIS THREAD on how I polished the parts. It is hard to see but the vertical part of the base is sandwiched into the jig and then when I pressed the pins in the press would contact the jig when the pins were flush and that was the proper amount. I also planned to press in the axel but for some reason this as not a tight enough fit. This might have been due to the tumbling. So I just used the loctite 638
used the loctite to glue in the magnets and bearings
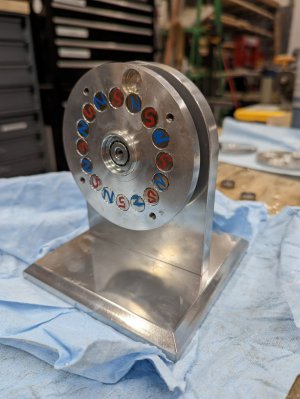
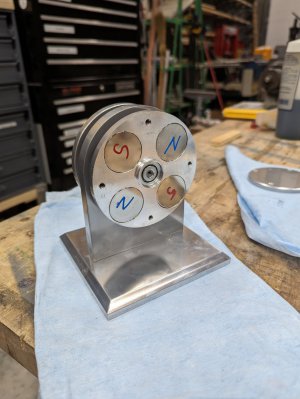
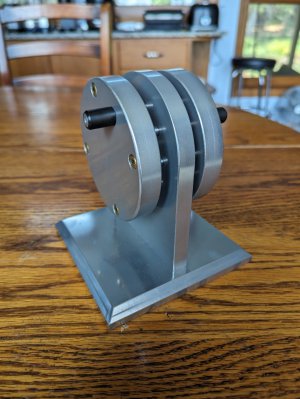
I also made a couple of handles using aluminum shoulder screws and some acetal (Delrin)
View attachment magtoy.mp4
I'll take this opportunity to say thank you to all of my Hobby Machinist Friends and community. I have learned so much here that has helped me to build this. There are certainly things that could have gone better but that is the nature of learning and in the end it came out just like what I wanted.
Thanks for watching.
MAGNETIC REDUCTION GEAR that I saw on YouTube. I finally finished the project yesterday and here are some build notes and pictures
I want to say that I have been hobby machining for many years now but I have not really done any project requiring a what I call high tolerance. say around +- 0.001 so this has been a learning experience for me. Here are some of the things I learned about hiting tight tolerances
1. Clean, Clean, Clean
2. Measure often (after cleaning often)
3. Practice
4. Plan
Made a few 4" diameter disks. I expected to have some issues with the parting but it was a non-event


Then over to the mill


then after taping the 10-32 holes I assembled both rotors and faced the outside edges to reduce the visibility of the seam. I had to make an simple arbor to hold them while doing this

here are the finished rotors. I had planned to press in the bearings but I overshot the inside diameter slightly so ended up using Locktite 638
now on to the base

I used an MDF spoilboard so that I could machine the perimeter without moving clamps. Not pictured, but I drilled the holes while in a vise and them use the holes to screw it down to the spoilboard

next was to ream the holes in preparation for press fitting the axel into the larger (0.5") center hole and drill rod into the 10 smaller holes (0.25").

Because the parts to be pressed in needed to stick out the same on both sides, I machined a jig to ensure that I pressed in the pins the exact right amount. Before pressing in, I polished all the parts. Because I was using a tumbler to do the polishing, I did not want to have the steel parts in the tumbler with the alumninum.
SEE THIS THREAD on how I polished the parts. It is hard to see but the vertical part of the base is sandwiched into the jig and then when I pressed the pins in the press would contact the jig when the pins were flush and that was the proper amount. I also planned to press in the axel but for some reason this as not a tight enough fit. This might have been due to the tumbling. So I just used the loctite 638


used the loctite to glue in the magnets and bearings


I also made a couple of handles using aluminum shoulder screws and some acetal (Delrin)


View attachment magtoy.mp4
I'll take this opportunity to say thank you to all of my Hobby Machinist Friends and community. I have learned so much here that has helped me to build this. There are certainly things that could have gone better but that is the nature of learning and in the end it came out just like what I wanted.
Thanks for watching.


