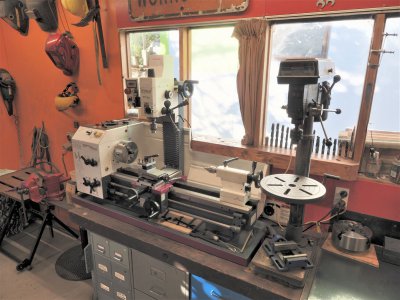
Hi all, help out a milling n00b please. I need to make a steel shim to space out the milling attachment on my new lathe so the spindle centres match closely.
So I'll need a 100x80mm chunk 4mm thick - next job is to measure that ~4mm exactly. I'd also like to put on a slight top to bottom wedge to set the mill column tram front/back, or at least reduce the amount of shimming required. That needs to be 0.15mm / 0.0038"
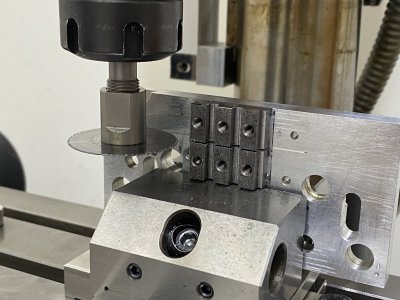
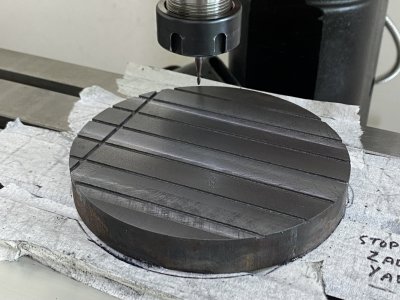
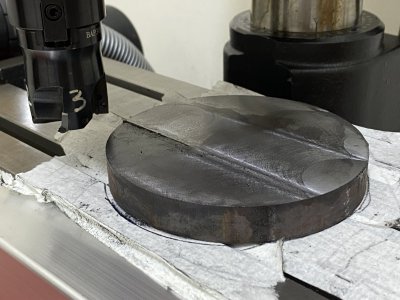
So please contribute your hot tips on how to fixture & machine this kind of thickness accurately! My 4" milling vice does not open far enough to hold the part. I have a 50mm insert face mill, no fly cutter but i probably should make one sometime. My best idea now is to first face off a thick backing plate, packing one end up with a feeler gauge to get my wedge. Then bolt/screw the shim to that & machine. Maybe with some countersunk cap screws in the middle to keep it flat. The part can be trimmed to size after the thickness is set.

Cheers
Clint
So I'll need a 100x80mm chunk 4mm thick - next job is to measure that ~4mm exactly. I'd also like to put on a slight top to bottom wedge to set the mill column tram front/back, or at least reduce the amount of shimming required. That needs to be 0.15mm / 0.0038"
So please contribute your hot tips on how to fixture & machine this kind of thickness accurately! My 4" milling vice does not open far enough to hold the part. I have a 50mm insert face mill, no fly cutter but i probably should make one sometime. My best idea now is to first face off a thick backing plate, packing one end up with a feeler gauge to get my wedge. Then bolt/screw the shim to that & machine. Maybe with some countersunk cap screws in the middle to keep it flat. The part can be trimmed to size after the thickness is set.

Cheers
Clint


