- Joined
- May 16, 2015
- Messages
- 162
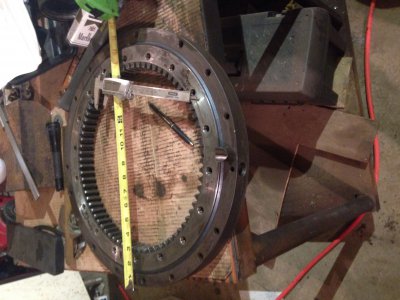
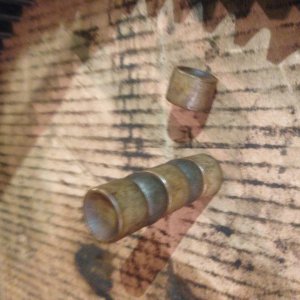
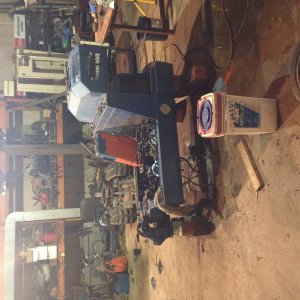
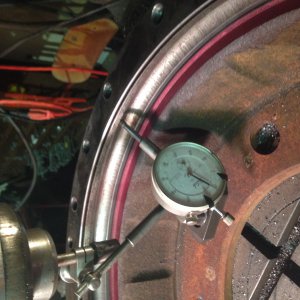
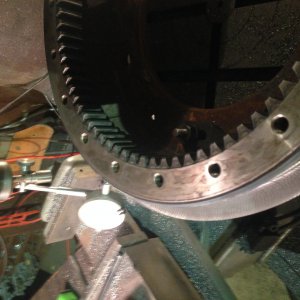
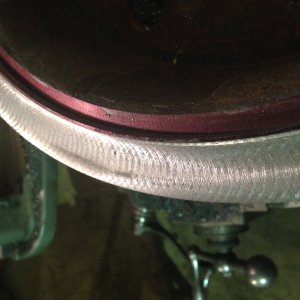
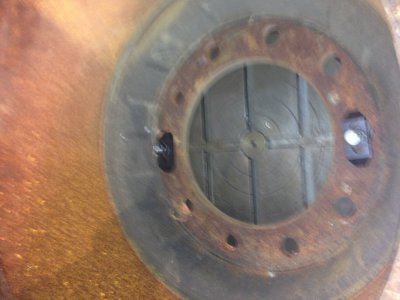
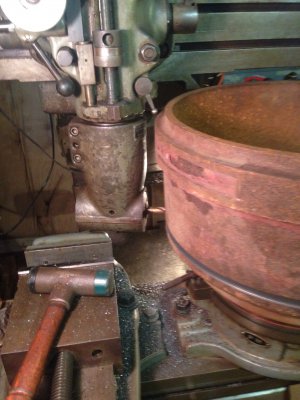
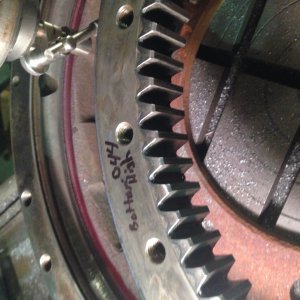
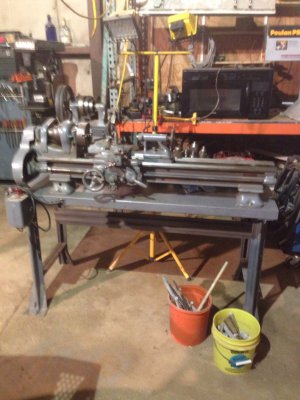
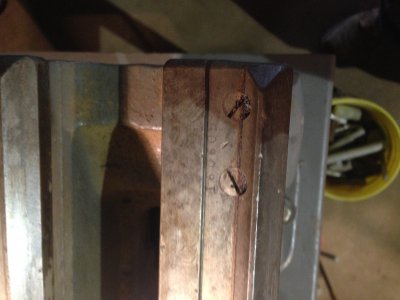
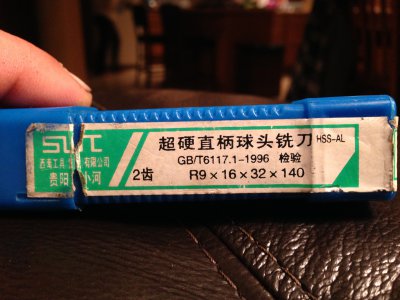
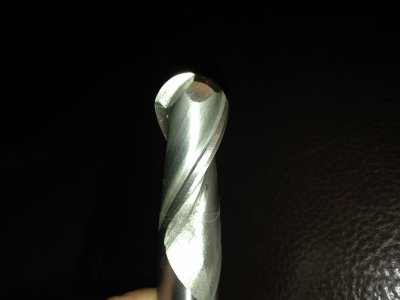
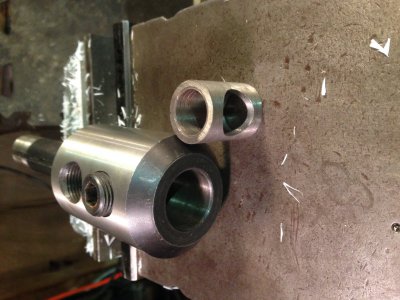
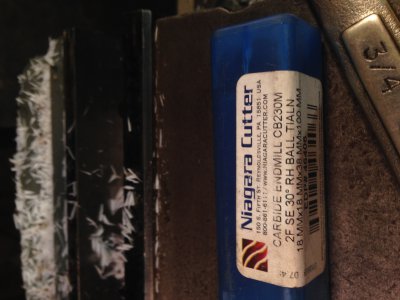
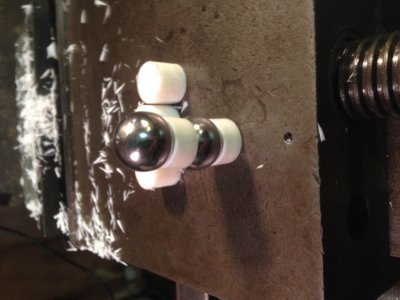
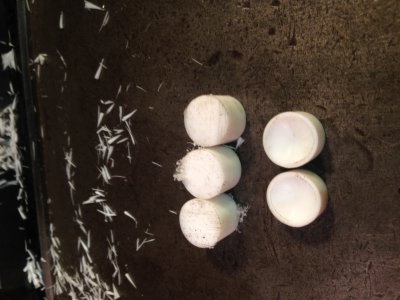
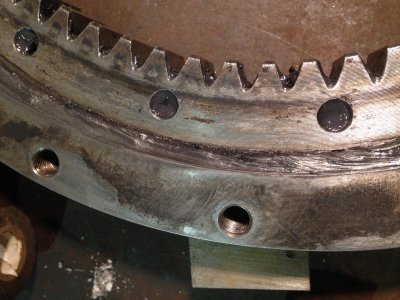
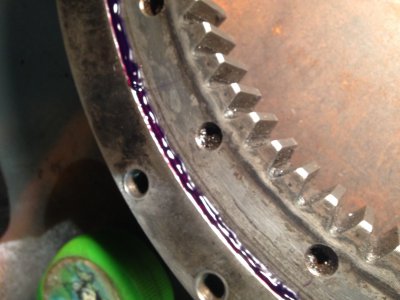
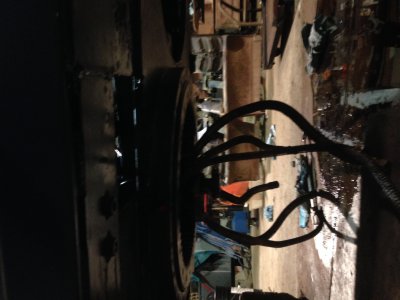
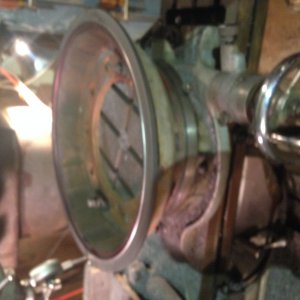 Apologize a quite lengthy post and for pics being out of order but at least there r pics (everybody loves pics right) machine is kubota kh 41h mini excavator and the slew bearing is worn out because it had a remote grease fitting with a nylon line that was cracked so unknown to me the grease wasn't getting to it and was just piling up under the floor(50 cent part destroys $2000 part). Priced out a new one from kubota and was $2000.00 (guy didn't even blink when he told me) . Anyway going to try and rebuild this one b4 spending that kind of money on replacement. Photo 3 shows the machine split and gutted to access the bearing. Photo 1 is the bearing on the bench( there is a plug on the outside diameter held in by a taper pin that allows u to remove the balls and Teflon separators ). Photo2 shows a couple of the old balls and separators (about60-70 of each in total).the bearing is 18" diameter and my rotary table is 12" so I needed to make a fixture to hold the bearing onto it. Had an old cast iron brake drum off a truck that would work so photo 7 shows it mounted to rotary table looking down from top. Photo 8 I am milling off the unneeded portion. I milled all the way around til there was about .030" remaining then finished milling the rest except for 3 spots about.5" which held the piece up without crashing the endmill hacksawed the 3 spots and off it came.photo 9 shows the remaining piece which extends my rotary table out just enuff (gotta use what I got most times). Photo 6 I milled the piece round and flat then milled the o.d. Of the inner half (red groove)then I milled the inner I.D.of the outer half (shiny side) leaving the raised portion between the 2 areas. Now each half of the bearing can be placed on top in its groove and it will turn true for milling. I haven't figured out how I'm going to hold each half down yet there isn't enuff meat to just bolt thru the existing holes but I'll figure that out later.photo9 also shows checking for flat and round . Photos 4-5 show me checking the raceways for wear. The old bearing balls measured 17.100mm so I purchased 18mm replacements also ordered an 18 mm ball endmill and a 5 foot (minimum order size)piece of .6875 Teflon round to make new separators from( still waiting on the endmill and Teflon stick)checking the raceways the outer half has about .010" difference but the inner has.044" wear on oneside . So I will attempt to do most of the work on the inner raceway. And that's as far as I am on this project so far will update once I get further along.