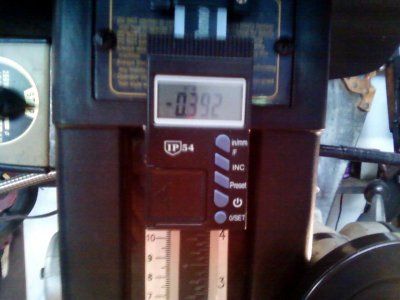
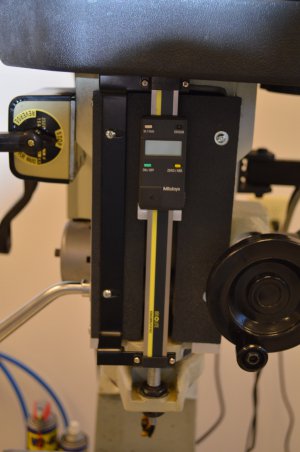
Started adding a DRO to my RF-31

brasssmanget

Active User
H-M Supporter Gold Member
Joined
Feb 7, 2012
Messages
541
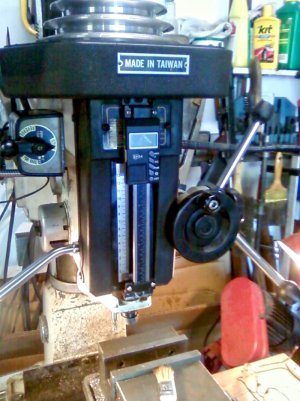
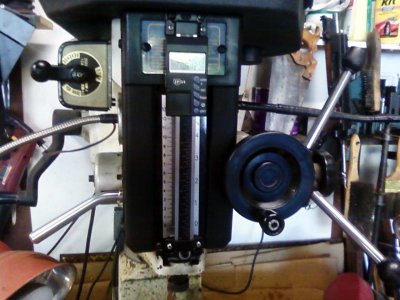
Thought I would post a little about my adventure. I think I am one to always look for the hard way to accomplish things, or so it seems with the first [part one] DRO I added to my small mill. It all went well, but I think I looked for a complicated way to install the readout to my ram. I could have just used the screw hole left over from the pointer I removed, but decided to center it instead, and thus the project began.
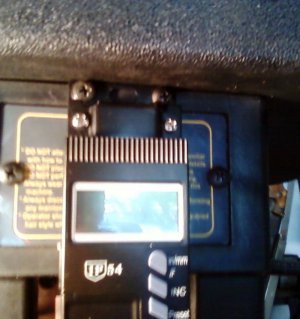
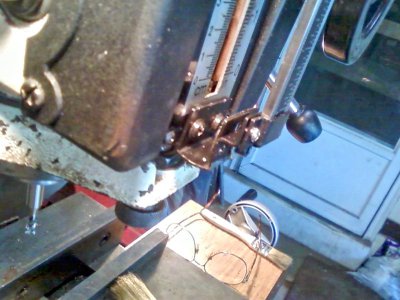
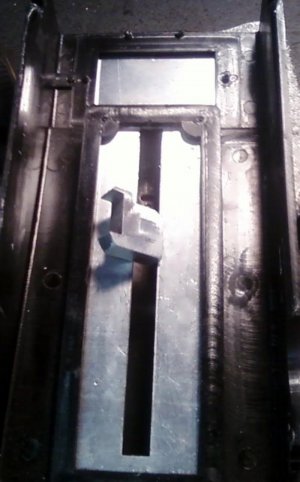
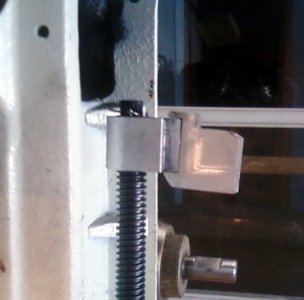
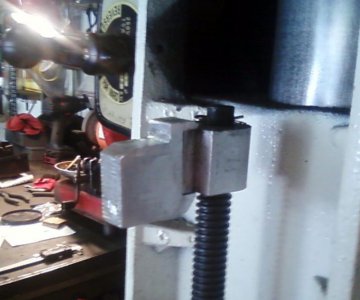
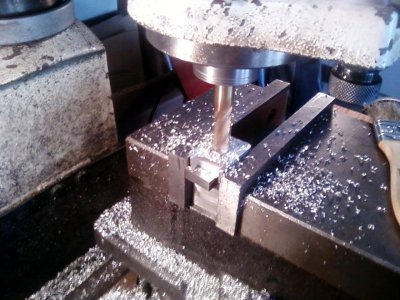
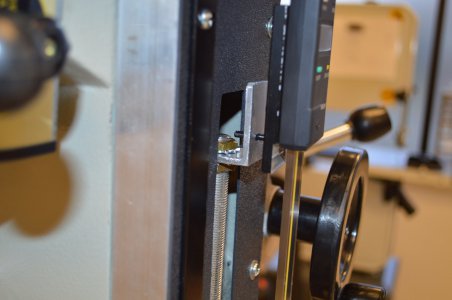
Anyhow, long story short, I picked up some smaller units from Dave (member here on the forum) and started with one yesterday. Surface mounting was fairly straight forward and went without a hitch, but connecting the slide to the reader to the down feed ram proved interesting. I ended up making an extension for the inner nut in the ram (?) inside the mill, and figured a way to secure it to the reader block (good ol' epoxy glue first, then a small screw). The whole unit just slides in/on over the inner nut when putting it on the front of the mill. Probably not explaining it right, but so far this is where I am at. Glue is curing now, so I'll get a pic tomorrow completely installed.

Don't laugh - it keeps my brain from snoozing all day long, coming up with these ideas. :think1:
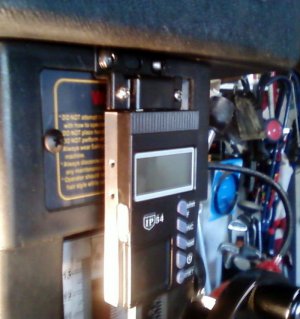
z01.jpgz02.jpgz03.jpgz04.jpgz05.jpgz06.jpgz07.jpgz08.jpg

z01.jpg z02.jpg z03.jpg z04.jpg z05.jpg z06.jpg z07.jpg z08.jpg
 
Nice job. If it works for you its fine. . .
Its fun stuff.
 
Thanks Dave - I'm pretty sure my machine isn't up to the task of holding these tolerances, but what the heck - it looks neat! (chuckle)

Got ancy and checked the glue - it was cured pretty well, so I popped the cover and unit on and hit the on switch. Works like a charm. Now to find a job worthy of this new addition.

z09.jpgz10.jpg

z09.jpg z10.jpg
 
I recently installed a quill kit on our RF-31 here at work.

I found that the "nut" was too loose on the acme screw and would provide very sloppy reading on the DRO.

So I removed the screw assembly and set it aside, installed a hardware store variety threaded rod, tightened it down so it doesn't turn as the original does. Then added an angle bracket and a split-pin which engaged the back of the head. There is a short slot to allow for some lateral compliance. It's work much better than with the original screw and nut.

Mill_Qill_Install1.JPGMill_Qill_Install3.JPG

Mill_Qill_Install1.JPG Mill_Qill_Install3.JPG
 
Yes I agree, and what you did is almost identical to what I started out intending to do, but then I got to thinking I use the depth stop quite a bit on repetitive parts, so I opted to stay with the looser nut. I usually measure before doing multiple parts, so that won't be an issue, and as far as holding .00x tolerances, well, my stuff is hobby stuff mostly, so I can live with it. As I mentioned, I do not think the RF-31 I have is capable of consistent tight tolerances - especially in the down feed quill area - so that's another reason I did mine this way. I think you will be more accurate than I will for sure, and if it gets to bothering me, I can always adjust :thinking:

I like your bottom assembly to the new rod and nut - that is pretty much the same as mine - just not the final connection. Good job there - thanks for responding and showing the pictures. Did you happen to add an X axis also???

The mill here at work already had a nice Accurite DRO for X & Y.

I had the same mill at home and added a DroPros magnetic X & Y system to it, then a few months later, I found a bargain on a Bridgeport and "transplanted" the DRO to it.
 
Back
Top