- Joined
- Dec 17, 2012
- Messages
- 745
Since it's not exactly "machining" (but a machine large enough to work on a whole deck would require a bit more space than the goat room I'm using as shop) I think this branch of the forum is more appropriate for it.
Here is my deck/gazebo in 2009, brand new:
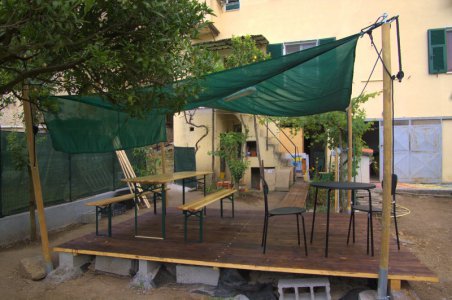
The day I gave the last coat of paint to the deck we obviously had the first rain after some months of drought, and it was June 20, but the color I used (natural walnut dye) resisted.
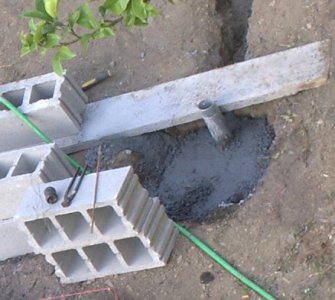
The chestnut poles supporting the shading mesh have a "small" cement plinth under them, with 2-½" iron pipes with rebars crossing them at the bottom. In this photo the part outside is 1/3 of the total length of the support pipe: some homes of the '50 have less robust foundations.
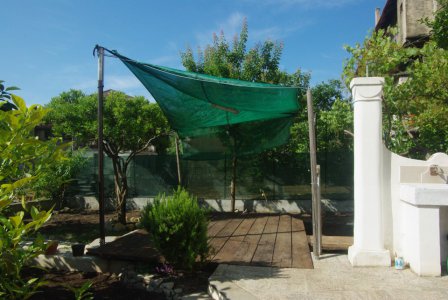
Last year I added a sort of "hat" to raise the two poles supporting the "ridge" and the fluorescent lamp, because I'd had guests so tall that their heads almost rub the mesh.
The prolongation of the poles of course increased the torque on them, and after the severe bad weather we had last winter I decided to replace the ridge poles because they were a bit "squeaky".
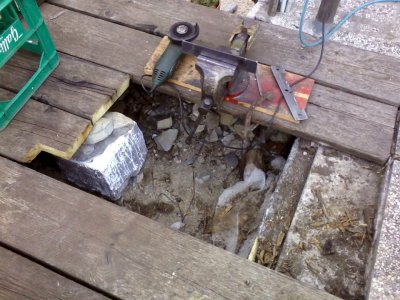
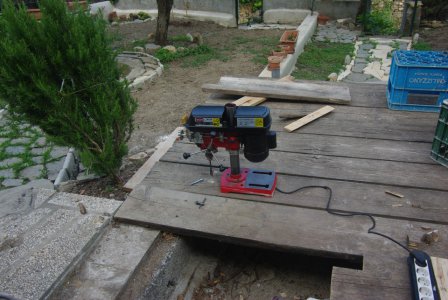
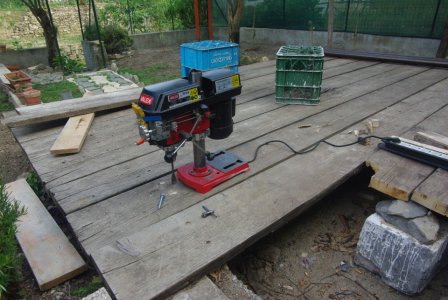
I also had to patch the deck, eaten by insects and rotten by the rain:
More details are explained here and here.
Following my "better safe than sorry" method, the new poles are 2" zinc coated pipes, 3.2 mm thick, inserted into the existing 2-½" pipes.
Of course a 2" pipe is a lot smaller than the inside of a 2-½" pipe, so I had to find a solution for that.
Suggestion of the Scientist of the Village: «Hammer some wood wedges all around».
Suggestion of the gate maker: «Weld everything».
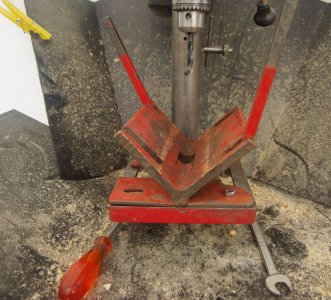
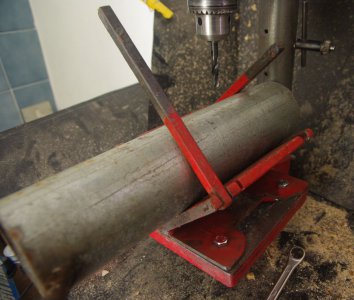
My solution, instead, is this pretty machinistic one:
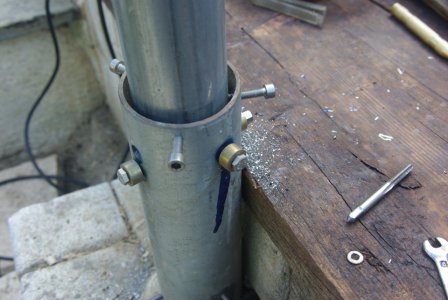
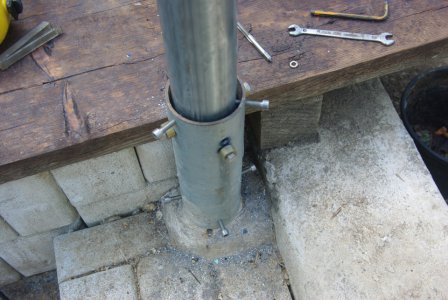
The long stainless steel screws are temporary, I have to buy some of the right length.
The bolts with the yellow spacer have the function to anchor the pole to the plinth, while the other screws are for the vertical regulation: I keep the poles pointed a bit outward for aesthetic reasons.
I assure you to thread the bottom holes near the wall was really arduous, because there wasn't enough space for the tap handle!
To "camouflage" the shiny pipe I found a couple of very rusty and pitted 2-½" pipes, 1.5 mm thick, which soon will be placed around the new ones to give a "rustic" appearance to the deck.
Stay tuned for amazing new adventures on my deck!


Here is my deck/gazebo in 2009, brand new:

The day I gave the last coat of paint to the deck we obviously had the first rain after some months of drought, and it was June 20, but the color I used (natural walnut dye) resisted.
The chestnut poles supporting the shading mesh have a "small" cement plinth under them, with 2-½" iron pipes with rebars crossing them at the bottom. In this photo the part outside is 1/3 of the total length of the support pipe: some homes of the '50 have less robust foundations.

Last year I added a sort of "hat" to raise the two poles supporting the "ridge" and the fluorescent lamp, because I'd had guests so tall that their heads almost rub the mesh.
The prolongation of the poles of course increased the torque on them, and after the severe bad weather we had last winter I decided to replace the ridge poles because they were a bit "squeaky".
I also had to patch the deck, eaten by insects and rotten by the rain:


More details are explained here and here.
Following my "better safe than sorry" method, the new poles are 2" zinc coated pipes, 3.2 mm thick, inserted into the existing 2-½" pipes.
Of course a 2" pipe is a lot smaller than the inside of a 2-½" pipe, so I had to find a solution for that.
Suggestion of the Scientist of the Village: «Hammer some wood wedges all around».
Suggestion of the gate maker: «Weld everything».
My solution, instead, is this pretty machinistic one:


The long stainless steel screws are temporary, I have to buy some of the right length.
The bolts with the yellow spacer have the function to anchor the pole to the plinth, while the other screws are for the vertical regulation: I keep the poles pointed a bit outward for aesthetic reasons.
I assure you to thread the bottom holes near the wall was really arduous, because there wasn't enough space for the tap handle!
To "camouflage" the shiny pipe I found a couple of very rusty and pitted 2-½" pipes, 1.5 mm thick, which soon will be placed around the new ones to give a "rustic" appearance to the deck.
Stay tuned for amazing new adventures on my deck!


