2013 POTD Thread Archive

Thats so cool, been shop cleaning and not being a project but found a MASTER BOSTON GEAR big big fat book thats gold to me- if anybody got
a gear question I got the real mccoy its different than the usual. no clue where- how- it came from.
 
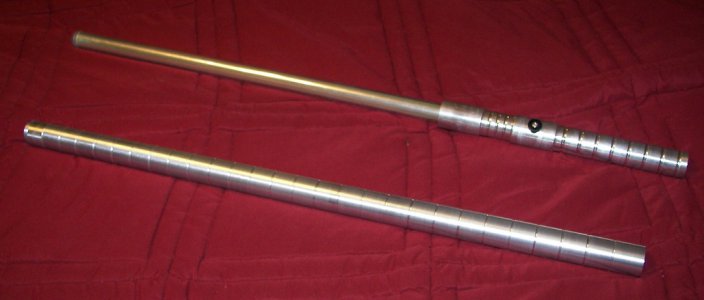
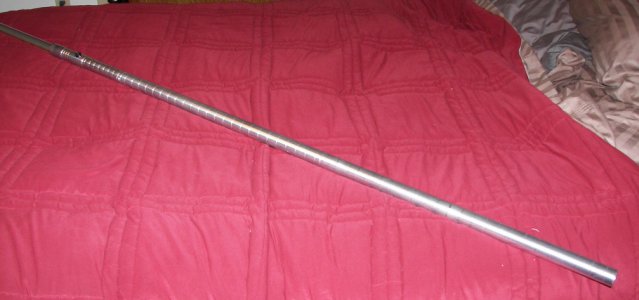
Kind of a cool project. Made a handle extension for a lightsaber. A friend of mine from college wanted this for his kid. He had the lightsaber from a company just needed the 28" extention which the company does not make.

100_8586.JPG100_8587.JPG100_8589.JPG100_8590.JPG100_8591.JPG


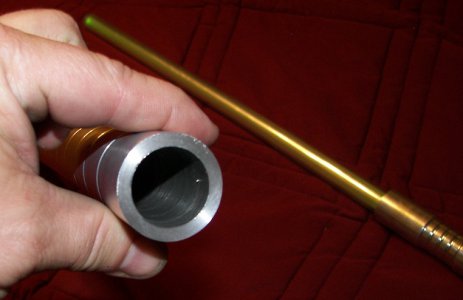
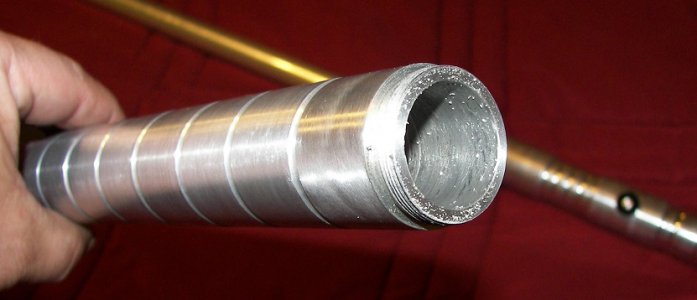
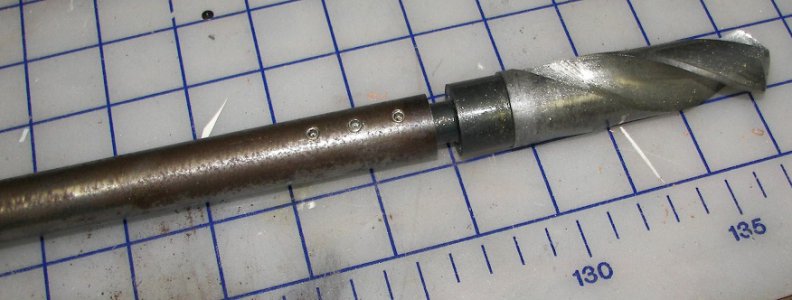
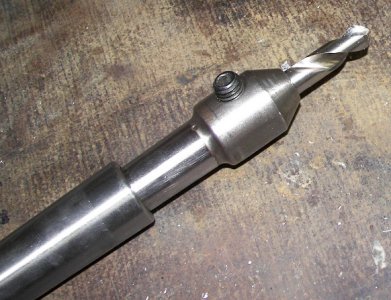
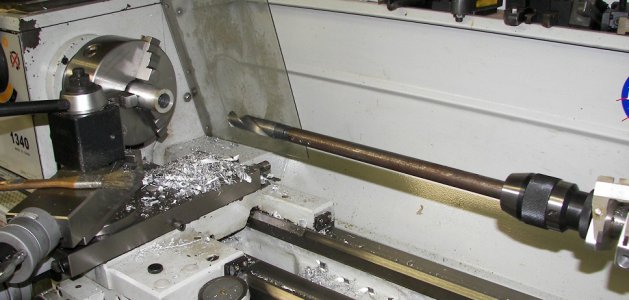
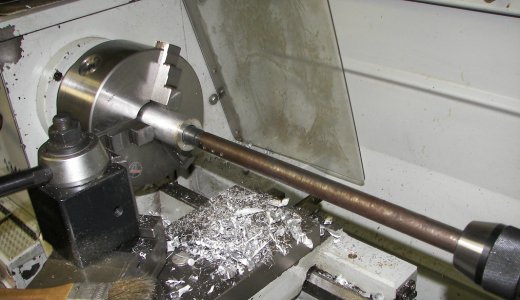
The threads at the end are metric M30X.9 but 28tpi seems to work just fine. The hard part was drilling a 1" hole through the center of a 29" piece of 1.375" aluminum. I made a 15" drill extension out of .675" scrap steel and used 3 set screws to hold the bit in place.

100_8592.JPG100_8593.JPG

I drilled 14" from each end. I was shocked the 2 holes lined up. Looking down the tube you can't see where the meet. The pain was drilling .100" then pulling the drill out to clear chips and drilling .100" and repeat 280 or so times. I was going to order heavy wall tubing from McMAster and save some of the drilling but ended up ordering 4 solid sticks from Enco with a coupon for the for the price of 1.5 of the tubes from McMaster. Now I need to make a 4 and 5 foot extension.

Jeff

100_8586.JPG 100_8587.JPG 100_8589.JPG 100_8590.JPG 100_8591.JPG 100_8592.JPG 100_8593.JPG
 
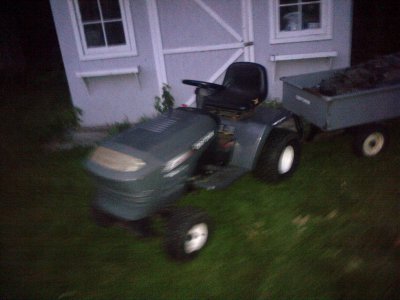
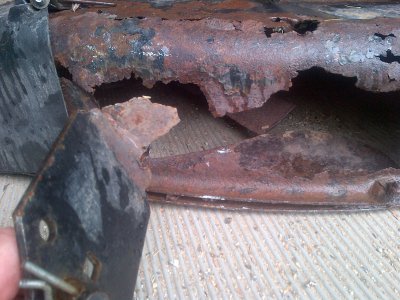
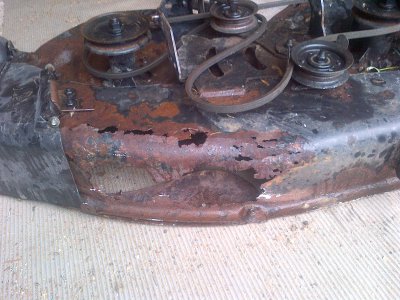
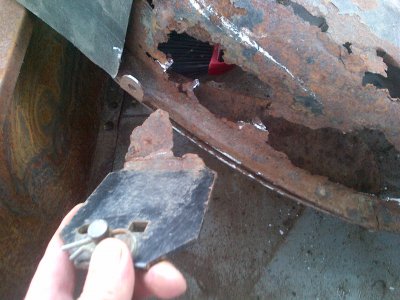
Well, I got this lawn tractor with dump trailer but the deck is toast. $300 I think its a deal. Kohler motor and hydrostatic drive, I know the owner and he takes care of stuff, er... well. maybe not the deck.

Ajax-20130702-00540.jpg

Ajax-20130704-00548.jpgAjax-20130704-00547.jpgAjax-20130703-00546.jpg

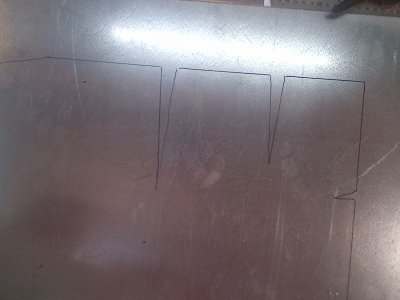
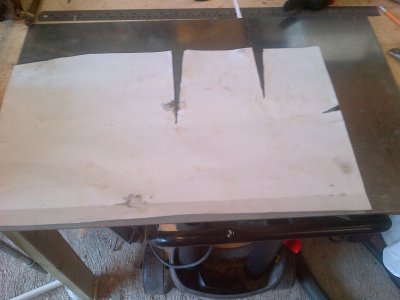
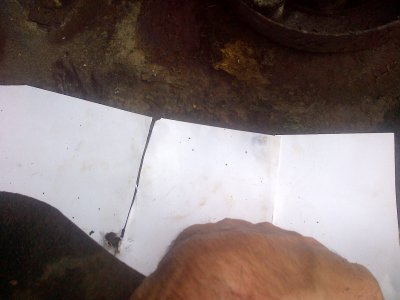
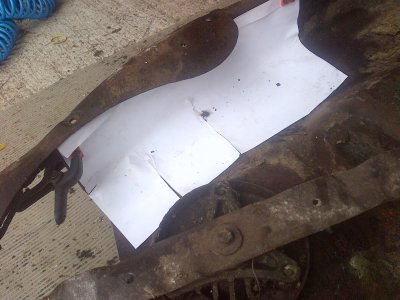
So I got some bristol board and some galvanized sheet and thought, maybe I can do this without much welding because the welds are going to blow through.

Ajax-20130704-00556.jpgAjax-20130704-00555.jpgAjax-20130704-00551.jpgAjax-20130704-00550.jpg

Next time I get out to the shop (after the weekend) I'll cut the metal and form, drill and screw it. I was thinking of rivets, but I'll screww and then grind off the ends of the screws.

Ajax-20130702-00540.jpg Ajax-20130704-00548.jpg Ajax-20130704-00547.jpg Ajax-20130703-00546.jpg Ajax-20130704-00556.jpg Ajax-20130704-00555.jpg Ajax-20130704-00551.jpg Ajax-20130704-00550.jpg
 
Well, I got this lawn tractor with dump trailer but the deck is toast. $300 I think its a deal. Kohler motor and hydrostatic drive, I know the owner and he takes care of stuff, er... well. maybe not the deck.

View attachment 56545

View attachment 56546View attachment 56547View attachment 56548

So I got some bristol board and some galvanized sheet and thought, maybe I can do this without much welding because the welds are going to blow through.

View attachment 56549View attachment 56550View attachment 56551View attachment 56552

Next time I get out to the shop (after the weekend) I'll cut the metal and form, drill and screw it. I was thinking of rivets, but I'll screww and then grind off the ends of the screws.

Fantastic deal! Great thing, being able to fabricate your own parts!


Bernie
 
Kind of a cool project. Made a handle extension for a lightsaber. A friend of mine from college wanted this for his kid. He had the lightsaber from a company just needed the 28" extention which the company does not make.

View attachment 56533View attachment 56534View attachment 56535View attachment 56536View attachment 56537


The threads at the end are metric M30X.9 but 28tpi seems to work just fine. The hard part was drilling a 1" hole through the center of a 29" piece of 1.375" aluminum. I made a 15" drill extension out of .675" scrap steel and used 3 set screws to hold the bit in place.

View attachment 56538View attachment 56539

I drilled 14" from each end. I was shocked the 2 holes lined up. Looking down the tube you can't see where the meet. The pain was drilling .100" then pulling the drill out to clear chips and drilling .100" and repeat 280 or so times. I was going to order heavy wall tubing from McMAster and save some of the drilling but ended up ordering 4 solid sticks from Enco with a coupon for the for the price of 1.5 of the tubes from McMaster. Now I need to make a 4 and 5 foot extension.

Jeff

Man, I love the POTD thread. Jeff, that is totally cool! And I would like to hear more about your process, drilling so long with that setup! Maybe you should start a new thread, since "deep hole drilling" is often brought up.

Impressive, that you couldn't see the place the opposite drills met!!


Bernie
 
Kind of a cool project. Made a handle extension for a lightsaber. A friend of mine from college wanted this for his kid. He had the lightsaber from a company just needed the 28" extention which the company does not make.

View attachment 56533View attachment 56534View attachment 56535View attachment 56536View attachment 56537


The threads at the end are metric M30X.9 but 28tpi seems to work just fine. The hard part was drilling a 1" hole through the center of a 29" piece of 1.375" aluminum. I made a 15" drill extension out of .675" scrap steel and used 3 set screws to hold the bit in place.

View attachment 56538View attachment 56539

I drilled 14" from each end. I was shocked the 2 holes lined up. Looking down the tube you can't see where the meet. The pain was drilling .100" then pulling the drill out to clear chips and drilling .100" and repeat 280 or so times. I was going to order heavy wall tubing from McMAster and save some of the drilling but ended up ordering 4 solid sticks from Enco with a coupon for the for the price of 1.5 of the tubes from McMaster. Now I need to make a 4 and 5 foot extension.

Jeff
JEFF
Ditto here like BERNIE says.
This is a super project. Well done and Kudos to U !!!
We would also like to know a bit more in exactly how U completed this project.
Just follow us on this ............
When U commenced drilling with the Drill only mounted in the Tailstock U went as deep as the Drill and the Chuck face permitted.
Thereafter U used Your little ingenious "extension" and continued, albeit slowly, painstakingly and patiently, with the Drilling.
Now, did U use a STEADY REST for Your EXTENSION to keep all things longitudinally in line ???
If U say not, may we ask would it not have been better to reinforce this EXTENSION ???
It may have been just a little easier Drilling into Aluminium.
However, as we work lots with Steels including Stainless and other tougher tool Steels as well, we are just thinking ahead as to what kind of problems we may possibly encounter.
In so far as dimensions of Your JIG, we would just need convert to our metric, as this is quite obvious from Your workings.
Would be nice hearing from U
Thanks in advance
LORD BLESS
aRM
 
Hi, All,

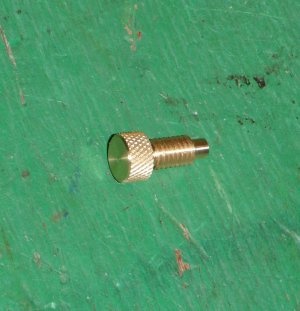
Just made a couple of brass thumbscrews to replace the allen screws supplied for the cross-slide and compound graduated collars on my mini-lathe. The threads are 6 mm x 1.0. For some reason, the threaded holes in the collars get tighter near the center (almost like they used a taper tap). This is the reason for the narrower, unthreaded section at the tip of the thumbscrew.

Thumb Screw 1.jpg

Thumb Screw 1.jpg
 
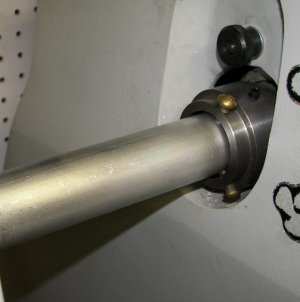
I tore down my Supermax mill head so I can clean it and repaint it. The grease around the gears for the power quill feed was as thick and chunky as peanut butter. :thinking: Even brake cleaner would not loosen it up.
 
JEFF
Ditto here like BERNIE says.
This is a super project. Well done and Kudos to U !!!
We would also like to know a bit more in exactly how U completed this project.
Just follow us on this ............
When U commenced drilling with the Drill only mounted in the Tailstock U went as deep as the Drill and the Chuck face permitted.
Thereafter U used Your little ingenious "extension" and continued, albeit slowly, painstakingly and patiently, with the Drilling.
Now, did U use a STEADY REST for Your EXTENSION to keep all things longitudinally in line ???
If U say not, may we ask would it not have been better to reinforce this EXTENSION ???
It may have been just a little easier Drilling into Aluminium.
However, as we work lots with Steels including Stainless and other tougher tool Steels as well, we are just thinking ahead as to what kind of problems we may possibly encounter.
In so far as dimensions of Your JIG, we would just need convert to our metric, as this is quite obvious from Your workings.
Would be nice hearing from U
Thanks in advance
LORD BLESS
aRM


I just did another part today. This one will be the same as the first one only 4 foot. It is made in 2 parts with a press fit between to keep them aligned, then welded together.

100_8595.JPG

These came out just as good. So I must be doing something right. Just not sure what it is.

So step one I put it in the 3 jaw. On this one I did put the back of the part in a spider and got it running true. I am not sure it made any difference but didn't want to take the chance.

100_8598.JPG

I center drilled it with a spot drill. Just started using these instead of combination/centerdrills and I like them better.

100_8603.JPG

Next I drill using a 13/16ths drill. I think this is 20.5mm. I go as deep as i can get with it then change to the drill extender. The bar is 19mm so it is just a little smaller than the drill. The bar is 32cm long. The drill is an additional 11cm. So a total of 42cm drill depth.

100_8596.JPG100_8597.JPG

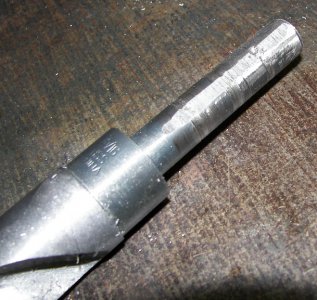
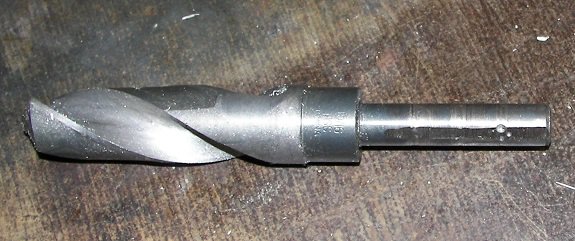
The bit is held in the bar with 3 set screws. The big problem I had is the set screws wanted to let the bit spin. So I had to grind a flat on the bit shank. I did it rough to get it done but need to put it on the surface grinder and clean it up.

100_8599.JPG100_8601.JPG

I do sharpen my bit on the surface grinder so the cutting edges are even. I think if they are not even the bit will wander. I am not sure I could have pushed this large of a bit through steel without a smaller pre drill hole. I am cutting these at 460rpms. I am using dark sulfur cutting oil as lube and applying every 10 drill cycle.

Jeff

100_8595.JPG 100_8598.JPG 100_8603.JPG 100_8596.JPG 100_8597.JPG 100_8599.JPG 100_8601.JPG
 
Back
Top