2017 POTD Thread Archive

I hope Matt, of Performance Matthews is watching this.

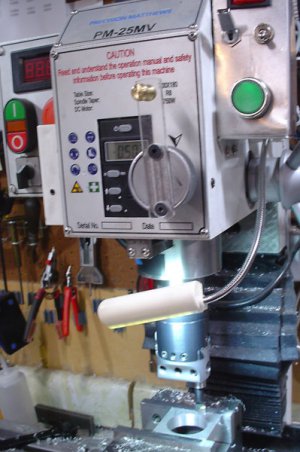
I made an excellent improvement to my PM25 today. I remember seeing her (in HM) a couple of months ago, the member had put a crank handle on the manual quill feed of his PM Mill. I had a bit of time this morning so I took the opportunity to copy the idea. I milled a flat on the knob, drilled and tapped a couple of holes in it, made a handle and applied it to the knob. It makes feeding the quill easy, I was able to bore a hole to size with a fine surface, I hadn't been able to do that before. The handle emulates a 5" hand wheel, feeds .077 per rev, makes the use of the quill DRO accurate and smooth. I had thought of putting a wheel on, of Lucite, so I could read the DRO, but the handle turned out to be Lucite anyway. I'd use 1/8 by 1/2 alum on the next version.

Quill hand feed.jpg

Matt, If you're interested, ship me a handful of knobs, I'll put handles on them, we can work something out.
 
Paco,
I really like that cable activated E-Stop on the plate roller.
Is that (specifically the cable type) common in those types of machines or did you and/or Mark come up with it?
Either way, I think it's very clever, simple, cheap and so smart. Downright elegant, IMO.
 
Paco,
I really like that cable activated E-Stop on the plate roller.
Is that (specifically the cable type) common in those types of machines or did you and/or Mark come up with it?
Either way, I think it's very clever, simple, cheap and so smart. Downright elegant, IMO.

Thanks,
That cable set up came from the manufacturer. Mark incorporated a mushroom E-stop switch to the same system as well as a power button with pilot light and a E-stop trip light.

The box has nice labels now and a added green pilot light
IMG_1553.JPG
This is a photo of Mark's upgrade control system.
IMG_1552.JPG
The original was a mess with no 24v controls.
The only original components are the transformer and fuse block, everything else was designed and squeezed into place by "The Wizard " Mksj.
 
Last edited by a moderator:
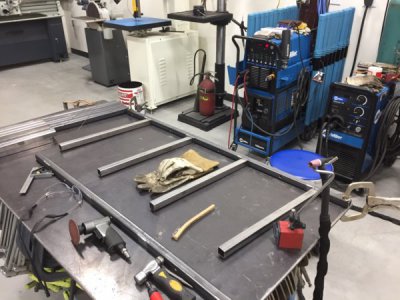
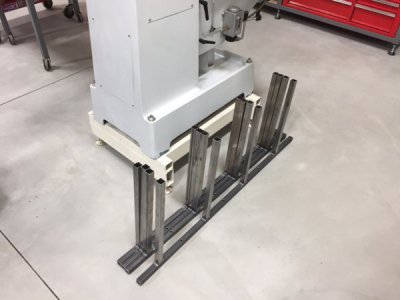
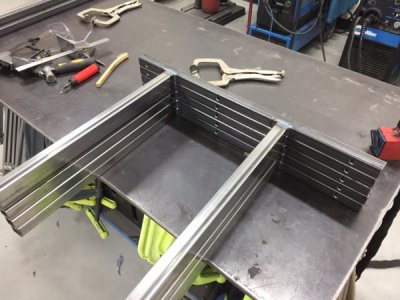
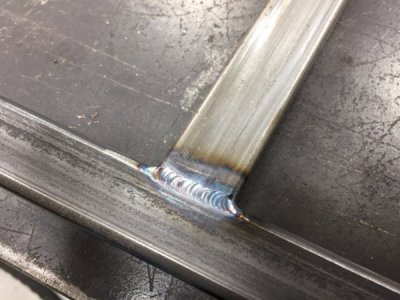
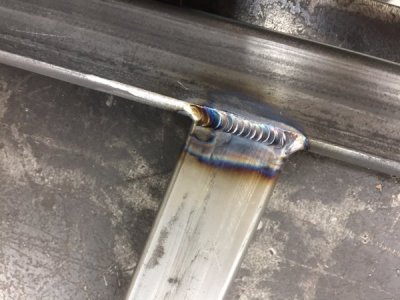
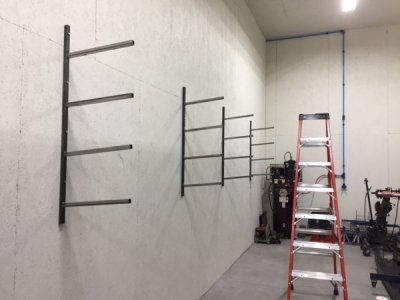
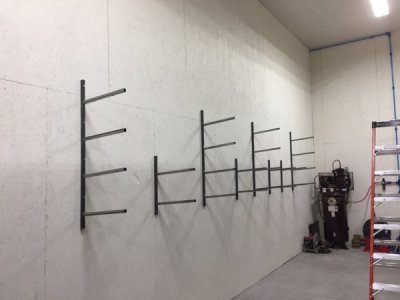
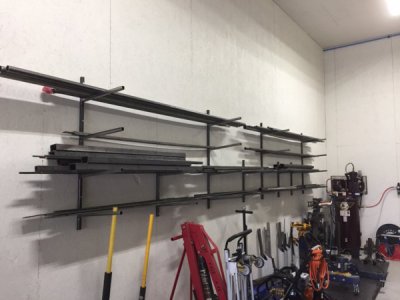
Finished the fabrication, installed and loaded my metal storage rack today. That was the last of the items in my third bay garage do now I can park my truck in the attached garage and free up space in my shop.

IMG_2413.JPG

IMG_2415.JPG

IMG_2414.JPG

IMG_2410.JPG

IMG_2412.JPG

IMG_2416.JPG

IMG_2417.JPG

It's amazing how much metal a person collects over the years. I need to start using up some of my supply for projects rather than purchasing more for a while.
IMG_2418.JPG

Thanks for looking.

Mike


Sent from my iPhone using Tapatalk
 
Thanks Mike,
Nice work on your stock rack. Using as much vertical real estate as possible is a great idea. The TIG welds look great too.
 
Last edited by a moderator:
Mike... You might wanna think about putting some sort of noggin' protector over the lower arms sticking out from the wall. Maybe tennis balls...
The first time you bend over to pick something up that's stored under the rack... well... you get the picture. Bill W.
 
bench mill
x axis was developing about .050 play
there is a nut in middle of axis, allen head in nut, for adjusting play
need to crank table all the way to left, get access to nut
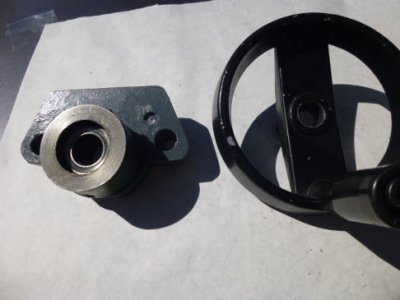
remove crank handle assembly, then nut is acessable
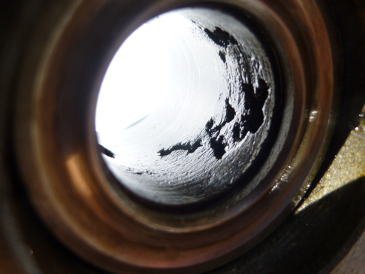
bore is sure messed up!!!
mill is about 3 years old, chicon junk to repair

housing damagebb.JPG x axis handleaa.JPG


Charl
 
Back
Top