- Joined
- Mar 12, 2014
- Messages
- 1,531
Another kind of "odd" project last night.
While we were in Texas a few weeks ago attending an RV/Jeep rally one of the guys there had cut and trimmed down some tree limbs/branches for some of the ladies for walking sticks. He gave one to my wife while we were there.
When we got home my wife commented on how she would like to start collecting the pins from National Parks and putting them on her walking stick like my son did over the period of his youth. I decided to add my touch to the stick prior to putting the first pin on it, Big Bend National Park pin.
I cut it down to better suit her height. I then ran a DA over it with some 180 grit sandpaper on it to smooth out the bumps and rid it of some of the splinters before adding a couple of coats of MinWax English Chestnut stain (just because I had a pint on hand for something or other). Once the stain was to the desired darkness I added a couple of coats of automotive clearcoat for durability.
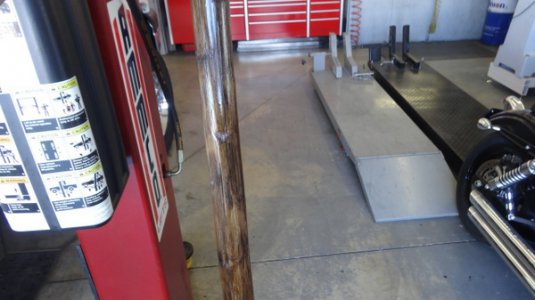
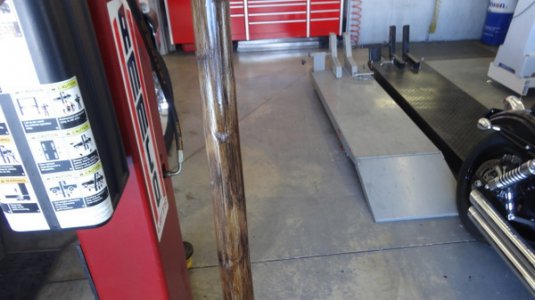
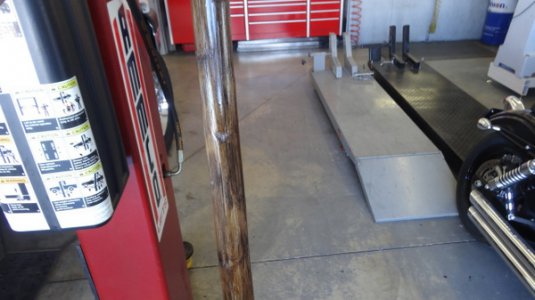
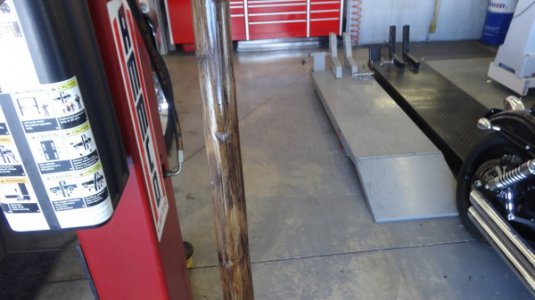
Here is the walking stick hanging from my lift drying after the second coat of clear.
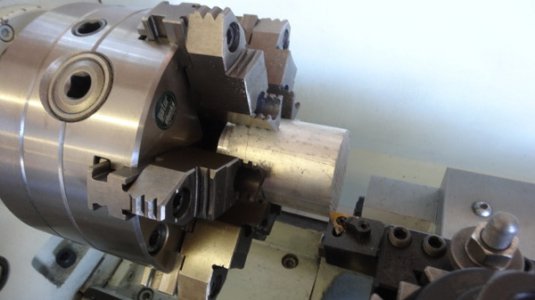
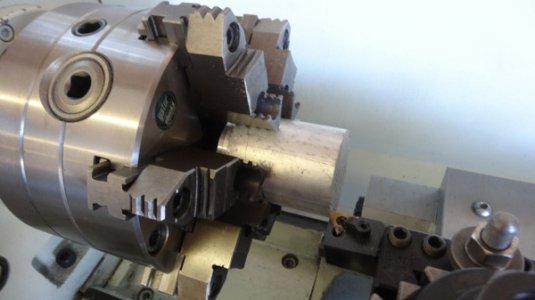
I then had to add some machining touches to it. I dug through my scrap aluminum and found a slug to machine a top cap from.
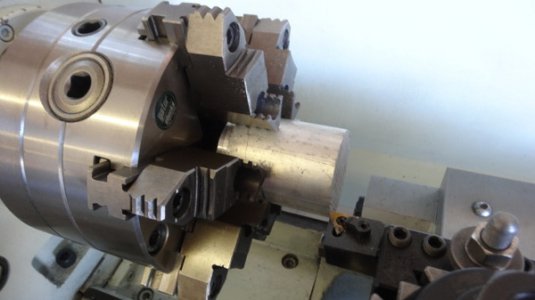
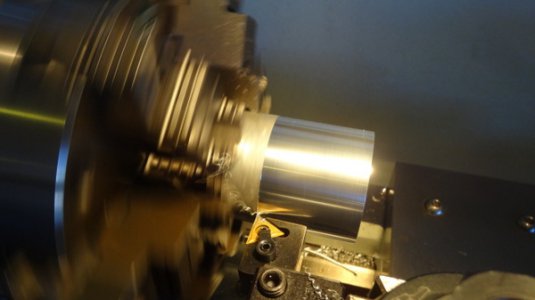
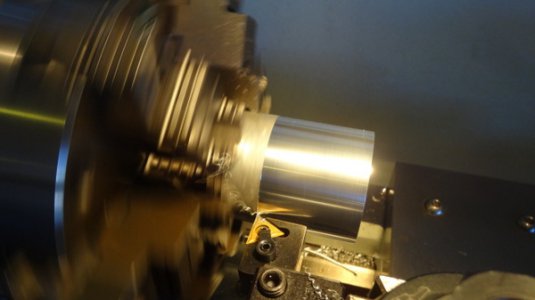
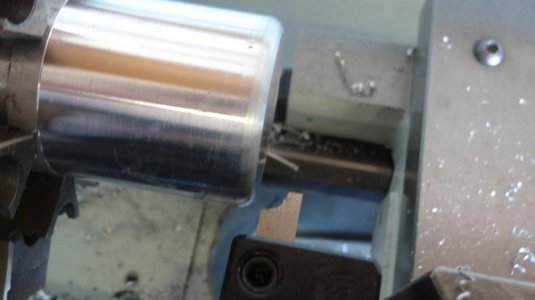
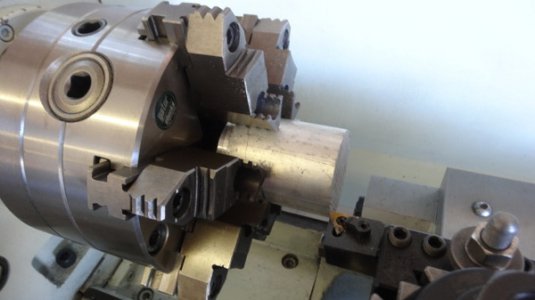
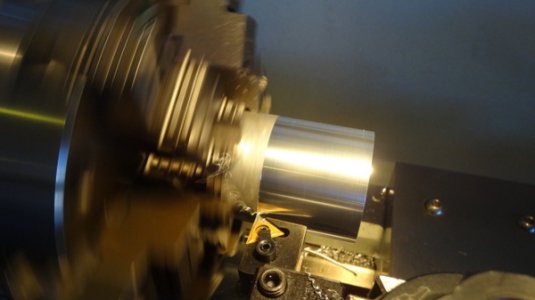
Cutting down the OD.
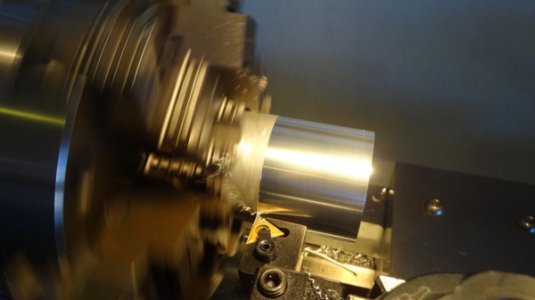
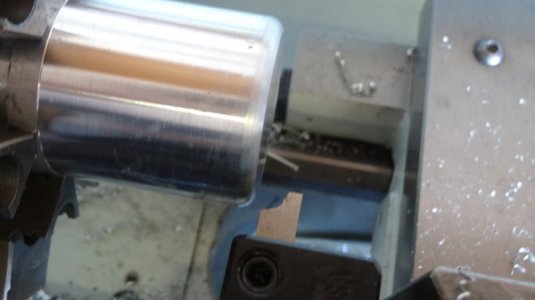
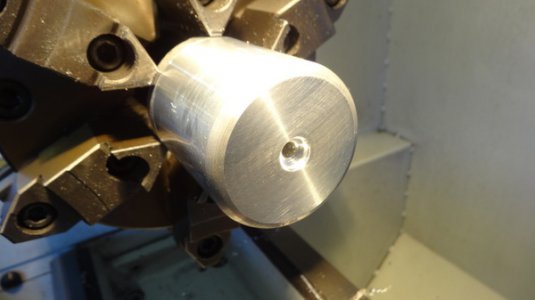
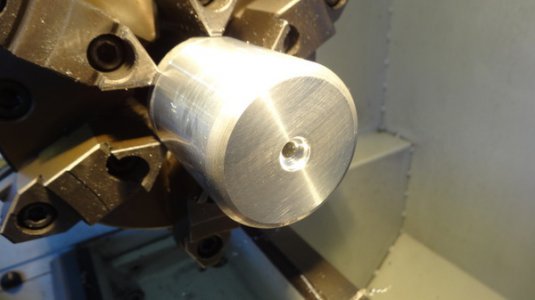
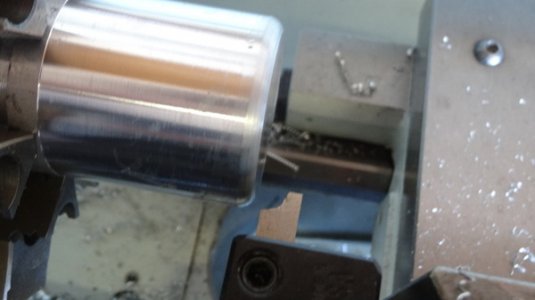
I made a radius cutting tool and turned a radius on the top.
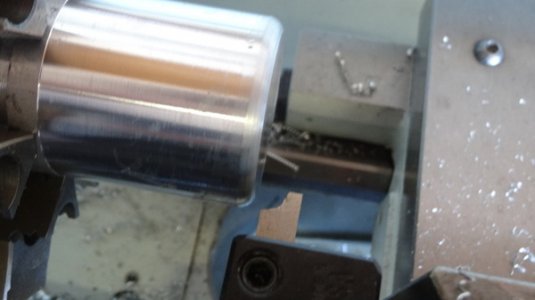
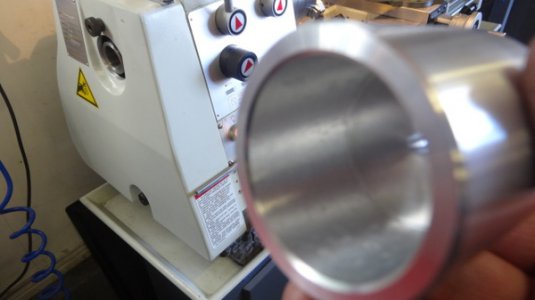
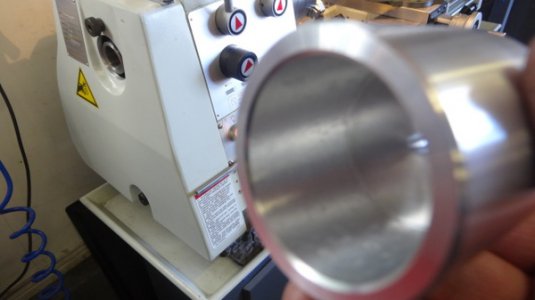
Ready to flip around and hog out the underside to fit over the top of the walking stick.
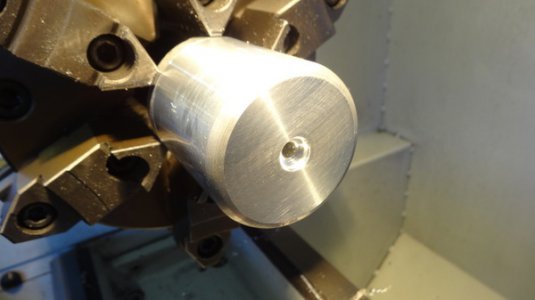
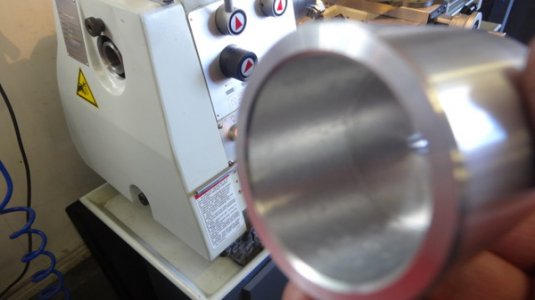
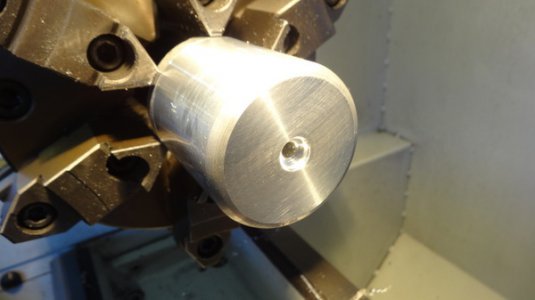
Underside machined and ready for installation.
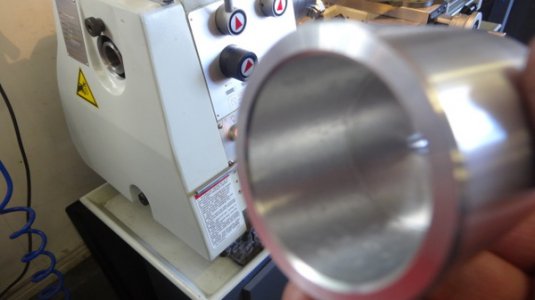
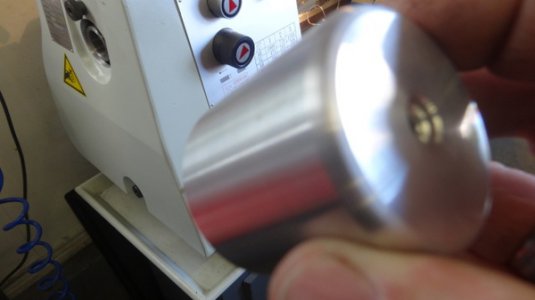
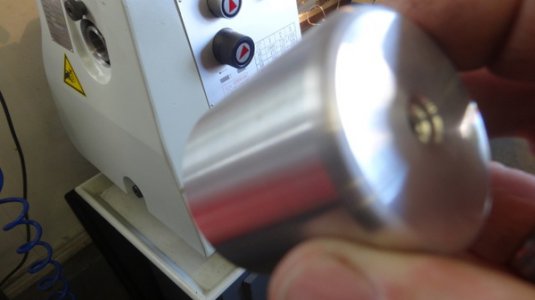
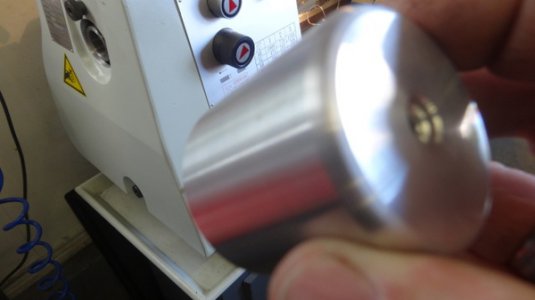
Outside completed and cleaned.
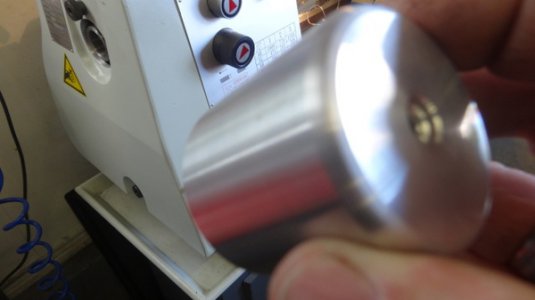
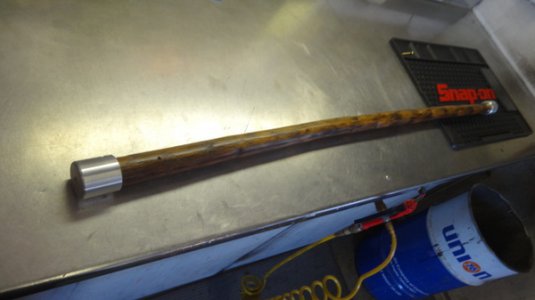
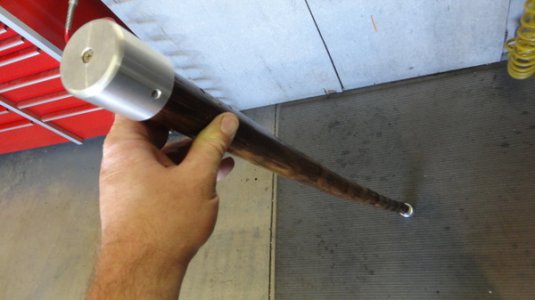
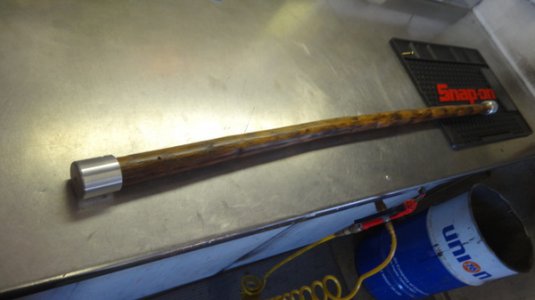
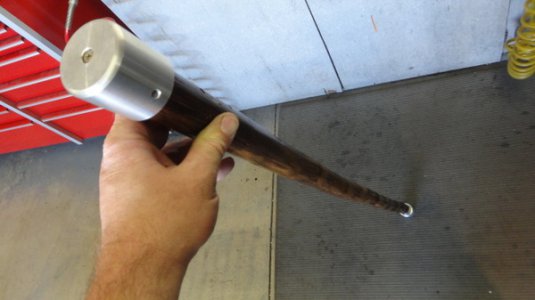
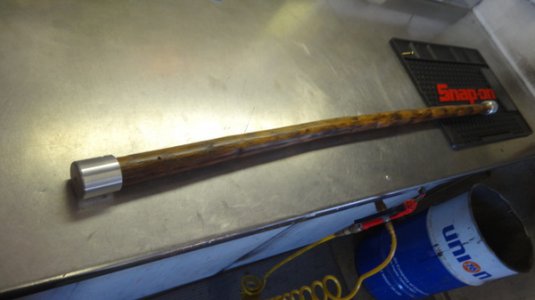
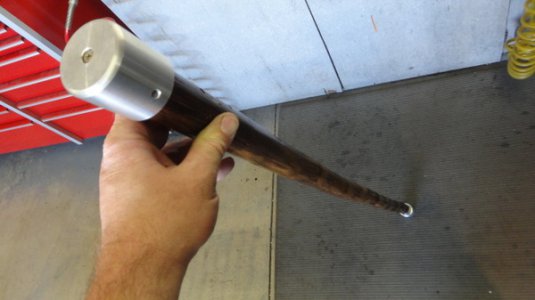
Bottom end completed as well and both installed. I machined them so they are an interference fit as well as gluing them on and screwing them on.
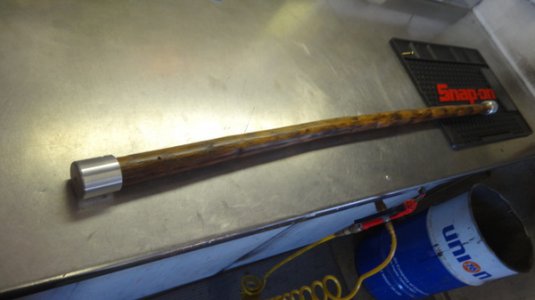
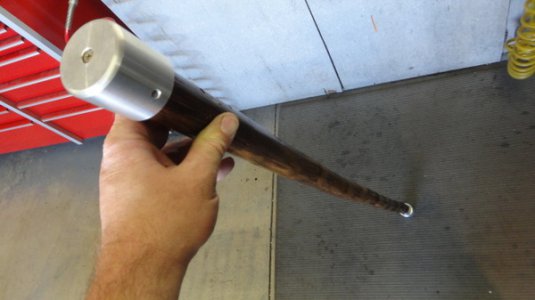
The bottom end is also recessed about .170" so I need to locate some rubber, poly or UHMW to machine and install for the foot. Then all that is left is to get some leather or parachute cord and make a handle and I want to wrap the area just below the top part for her to hold onto.
Mike.
While we were in Texas a few weeks ago attending an RV/Jeep rally one of the guys there had cut and trimmed down some tree limbs/branches for some of the ladies for walking sticks. He gave one to my wife while we were there.
When we got home my wife commented on how she would like to start collecting the pins from National Parks and putting them on her walking stick like my son did over the period of his youth. I decided to add my touch to the stick prior to putting the first pin on it, Big Bend National Park pin.
I cut it down to better suit her height. I then ran a DA over it with some 180 grit sandpaper on it to smooth out the bumps and rid it of some of the splinters before adding a couple of coats of MinWax English Chestnut stain (just because I had a pint on hand for something or other). Once the stain was to the desired darkness I added a couple of coats of automotive clearcoat for durability.
Here is the walking stick hanging from my lift drying after the second coat of clear.

I then had to add some machining touches to it. I dug through my scrap aluminum and found a slug to machine a top cap from.

Cutting down the OD.

I made a radius cutting tool and turned a radius on the top.

Ready to flip around and hog out the underside to fit over the top of the walking stick.

Underside machined and ready for installation.

Outside completed and cleaned.

Bottom end completed as well and both installed. I machined them so they are an interference fit as well as gluing them on and screwing them on.


The bottom end is also recessed about .170" so I need to locate some rubber, poly or UHMW to machine and install for the foot. Then all that is left is to get some leather or parachute cord and make a handle and I want to wrap the area just below the top part for her to hold onto.
Mike.


