2016 POTD Thread Archive

So where are the lathe and mill supposed to go?

Sent from somwhere in east Texas by Jake!
 
I mostly finished painting the South Bend 9C and started putting it together. Somehow I managed to lose the pinion gear from the apron. Searched high and low with no luck. Fortunately I found one on ebay that was reasonably priced. I had hoped to finish this in the next day or two, but I guess that's the way things go sometimes. It's taking up most of the open space on my work bench at the moment.

One good thing, this is a 1941 model. I currently have a 1942 South Bend 9C set up in my shop. It's pretty nice to be able to just glance over and see how things go together instead of trying to puzzle it out from a diagram.

That got me thinking about the guys I bought both lathes from. The 1942 model was the first metal working machine I bought after retirement. The guy who sold it to me had done a nice job of restoring it. Then he got a deal on a 16" (I think) South Bend so he was selling it. He also had a Bridgeport. He told me that his wife wanted new kitchen cabinets. He said OK, but he wanted a Bridgeport. The wife got the new cabinets, he got the Bridgeport, and he got the old cabinets for his work shop. Pretty slick, I say.

The 1941 model came from the retired owner of a construction company. This guy was into working on Model A Fords. His shop was on three levels and I'd guesstimate each one was 50' x 50'. It was built into the side of a hill, so the second level was automotive. One totally restored Model A, two more in progress, and two on the back burner. The third level was for parts and tooling storage. He had stacks of Model A fenders, etc. The first level was wood working, welding, and metal working. He helped me load the lathe using a small restored 1948 front end loader. The house was very nice too. He probably bought a Bridgeport without asking his wife.

On the bright side, I didn't feel bad about haggling him down and got a good deal.

Both nice guys above a certain age who were enjoying themselves in their shops.

Me too.

You too, probably.
 
Last edited:
I was able to get a good start on my mounding adapter for the 3-jaw chuck for my new to me weld positioner last night.

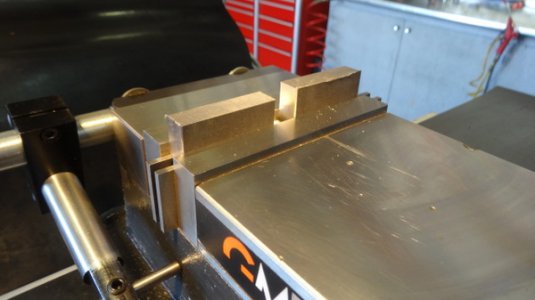
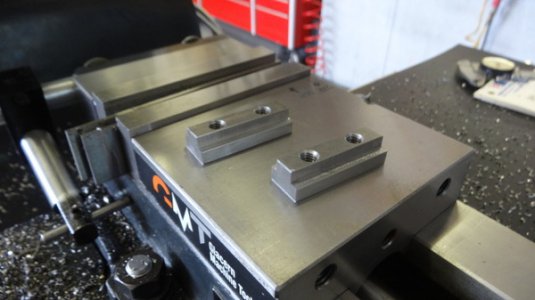
Started by machining some T-nuts for mounting the chuck to the weld positioner's turn table. The turn table has four elongated slots spaced 90-degrees apart. I figured I may as well machine some mounting nuts so I could use them for mounting other items if not using the 3-jaw chuck.

Started with a couple pieces of .5" plate by 2" wide.
112eteu.jpg

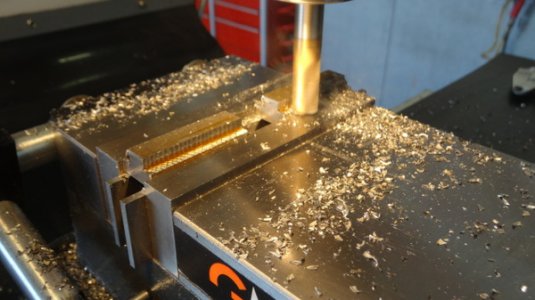
I snuck up on the dimensions by plunging along the sides to within .005" width and .020" depth.
vql92a.jpg

I then dropped the end mill the final .020" depth and moved in the .005" to my final dimension for a clean up cut, then drilled and tapped some 5/16"-18 holes and removed from the mill vise for deburring.
o8ewid.jpg

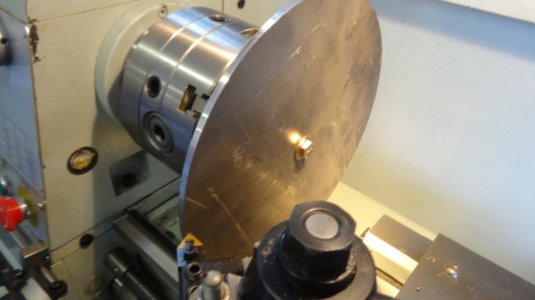
Next up was to cut some .188" plate to match the size of the turn table. I cut some plate out roughly on the vertical bandsaw before chucking it up in the lathe to turn it to exact size. It needed a purge hole in the center anyways so that was a good place to grab it in the chuck.
ab6ude.jpg

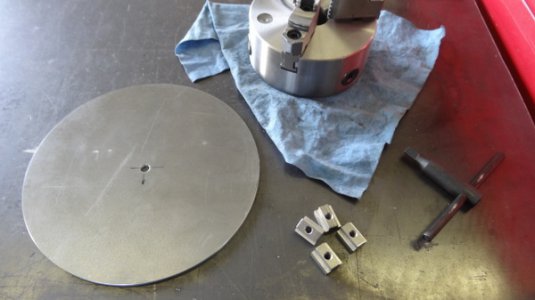
Parts completed so far.
flzgyf.jpg

Tonight I will drill the mounting holes to mount the plate to the chuck/adapter and then drill the four holes in the plate to attach to the turn table. I will then weld the chuck adapter to the plate and call it done.

Mike.
 
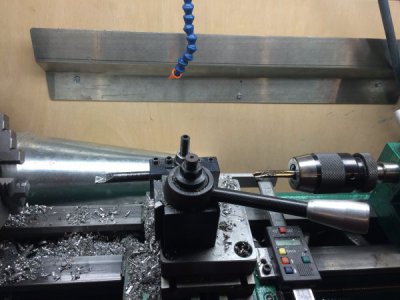
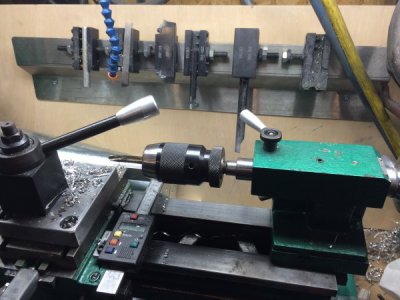
I've been working toward an ER40 collet holder for my Clausing/Atlas MK2 for a couple of weeks. last weekend I found I had to cut internal threads feeding left, if I reversed the spindle and fed right, the lead screw would walk and make inconsistent threads. I drilled through from the other end at 1" diameter for clearance for the threading tool and chased the 1" 10 thread. Without removing the piece from the chuck I removed the chuck and successfully screwed the new holder onto the spindle. It locks up tight with about .0005 runout on the turned OD. I spent most of this week boring out the 8º taper, there seems to be a tiny flare to it, bluing wipes off on a wide band in the middle of the collet. At present I can live with that, maybe sand it out later. Next is to cut the m50 by 1/5 threads. My manual tells me the gears to use to chase 1.5 metric threads, but I had to set it up and check for travel per rev to be sure. Yep, .058 per rev is 1.5 metric pitch. That's good to go. Next is to figure out how to cut the threads without opening the half nut. Instructions said to reverse the motor, so that's what I did. I wondered about reversing the feed, but didn't want to take the chance on losing the thread. I cut the first 3/4 of the thread .002 at a pass, the last .01 at .001 every other pass, spring in between. The last spring pass was enough to let the nut screw all the way on. Here's the set up for chasing the threads, I expect you've all done or at least seen this.
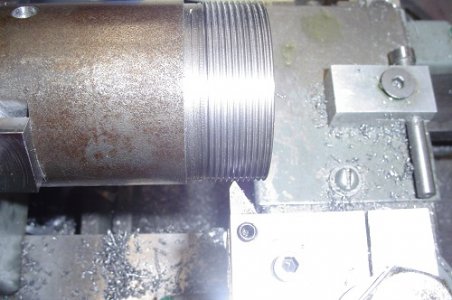
Chasing threads.jpg
I've lost the use of PhotoShop, sorry about the glare.

I began to wonder, just how concentric my holder was, so nothing would do until put a collet in with a pin and checked run out. The picture doesn't show it well, (sorry, no PhotoShop) but to my trained eye, the needle moves .0002. Yes, that 's good enough. I hope it will repeat, when I remove and replace the holder, but I'm not going to check that now, no point in taunting the Devil.
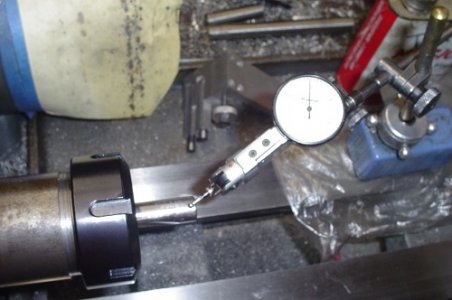
Reading runout.jpg

Still have to finish the OD, and the anti-unscrew clamp, but other than that I'm ready for ER40 work.
 
You can reverse the feed safely. It's quite simple. But Tom Lipton has a video on it that explains it far better than I could. Find his video on metric threading with an inch leadscrew.

Edit - here it is:
 
Finished up my weld positioner 3-jaw chuck mounting last night.

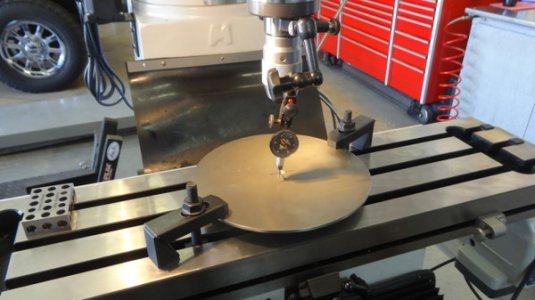
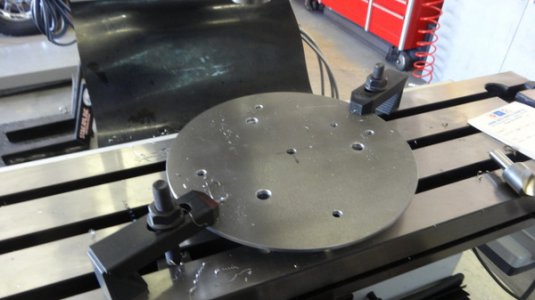
Started by setting up the .188" plate on the mill to drill four holes @ 90-degrees apart for mounting the plate to the turn table and three holes 120-degrees apart to mount the 3-jaw chuck to the adapter plate.
1z1a4ue.jpg

Both bolt patterns drilled.
160qu03.jpg

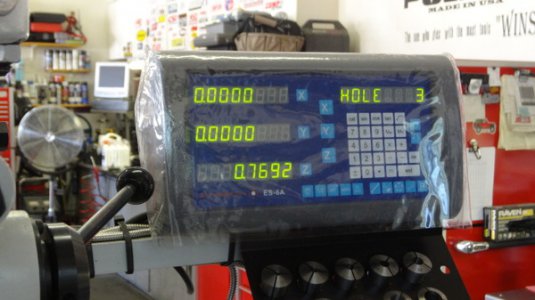
I am so glad I let my son talk me into getting the DRO on my mill. The bolt hole feature is awesome. Find your center, plug in the diameter and how many holes you want plus where you want to start and end and the DRO spits out the X and Y locations of each hole. As long as you enter the correct measurements the bolts drop right in to their respective holes. GREAT feature.
18eyhx.jpg

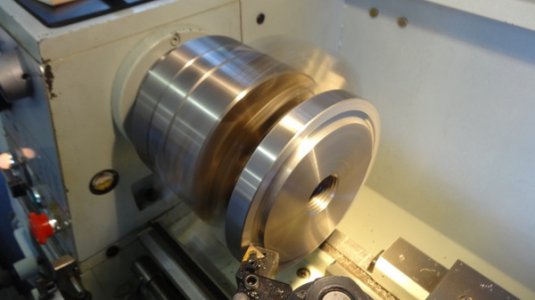
Machining the chuck adapter. I just purchased the cheapest one I could find as I knew it would require machining. This one just happened to be for a threaded spindle but seeing as how it won't be being used for that I will just machine it down to work.
25k7w54.jpg

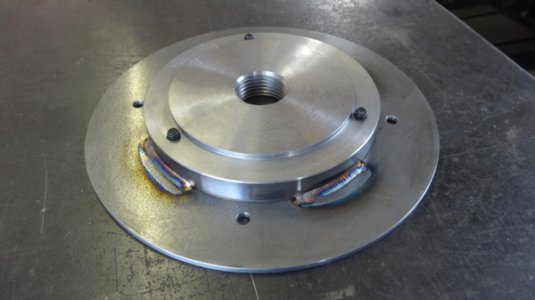
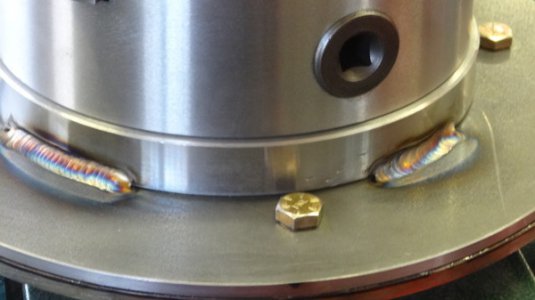
Chuck adapter completed as I welded it to the mounting plate.
2ms095y.jpg

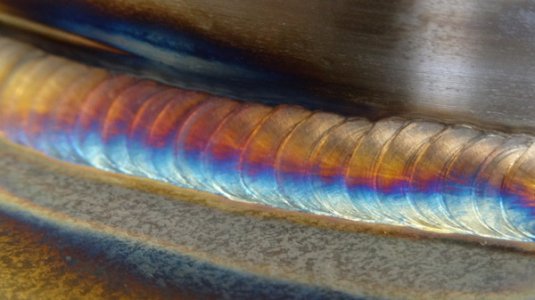
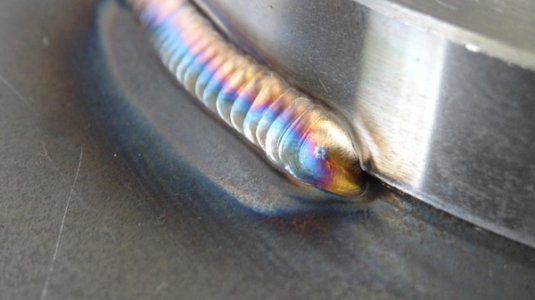
A couple close ups of my TIG welds.
ef5p5.jpg

2jfn5aw.jpg

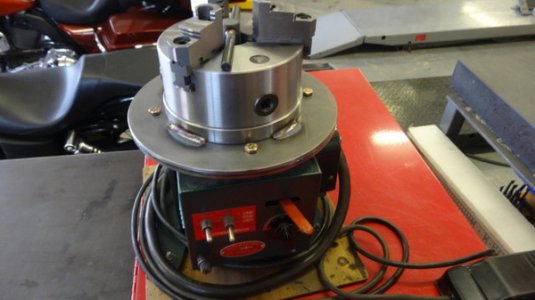
Chuck bolted to the adapter and mounting plate as well as bolted down to the turn table on the weld positioner. All bolt holes lined up perfectly.
vzy15.jpg

Overview of the completed mounting on the weld positioner. Ready for years of use.
33ml9hi.jpg

Mike.
 
But Tom Lipton has a video on it that explains it far better than I could.

Thanks for the link, Jon, I'm glad to see his procedure. I increment my depth with the compound, but I guess either way works.

Interesting, he was threading to a shoulder, I had an undercut I could let the tool run out in. Otherwise it's the same, he's reversing the spindle (and the gear train), as I was, so it's just about the same.

But Tom Lipton has a video on it that explains it far better than I could.
 
Last edited:
My project for today turned out to be packing the softail for a 420 trip to Marienville, PA for the weekend. Wife's truck broke and we had to unload the bike. So woll be traveling through the night and watching for deer on the highway.
That means Monday morning I'll be welding up the truck again. One of the cross tubes that hold the exhaust and a shock broke loose from the frame. Thank the lord I have some friends to take the bed off the truck while I am gone.
 
Back
Top