2016 POTD Thread Archive

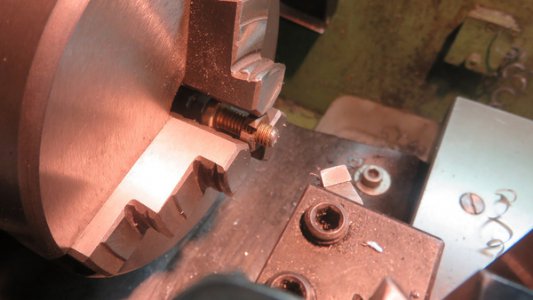
I have been cleaning and playing a little with my new to me 9A. I have never operated a metal lathe before so I have to experiment a little. My son, the blacksmith, asked me to make him a couple stand-offs for a barn door handle he is making for a client. I fiddled around with the first one and he didn't like it so he gave me more explicit measurements. I made one and he loved it. Then I surprised myself and made a second one exactly the same. Both are within one thousandth in every measurement. It may not be a big deal to most of you, but I impressed myself.
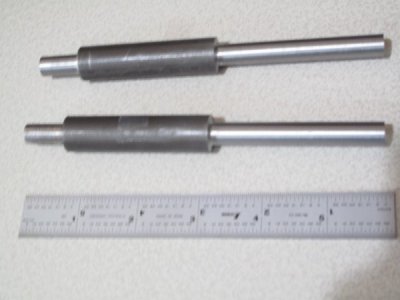
IMG_4367.jpeg
 
Last edited:
Both are within one thousandth in every measurement. It may not be a big deal to most of you, but I impressed myself.

When my work comes out that close, I'm not only impressed, I'm downright surprised.


I don't have a taper attachment and I don't like using the tailstock offset because you have to offset the tailstock. So I've been limited to making tapers no longer than the length that my compound could travel.

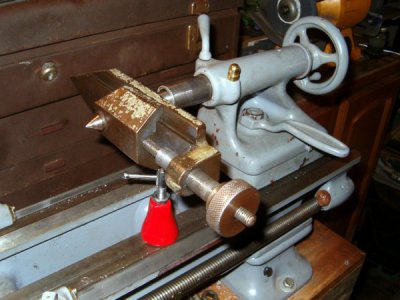
A while back I got the device pictured below in some lot that I bought. Unfortunately I couldn't remove the threaded rod it was mounted on without damaging it. I finally got the idea to make a sleeve with an MT2 taper that fit over it. I secured it with a set screw in the key way of the mounting rod. The jack is to level it. I thought of attaching a bracket with an adjustment screw instead, but I kind of want to keep it original. Someday I might find what it goes to.

It has the same size head as an MT2 center and it adjusts much farther than I could ever use it on my lathe.

Haven't tried it out yet.

tailstock 1 s.jpg
 
Traditional lathe micrometer stops can limit the stopping point of the carriage when machining close to the headstok, this is particularly an issue if one uses a direct connect spider to the spindle. I often design my lathe proximity stop systems to attach to the stock machine micrometer stop, or integrate them into the machine stop. One is still limited by the width of the stop which can be 3-4". I was asked to machine a lathe proximity stop system for a Jet 10x24 lathe that essentially allows no interference of the traditional stops that are mounted on the lathe rail.

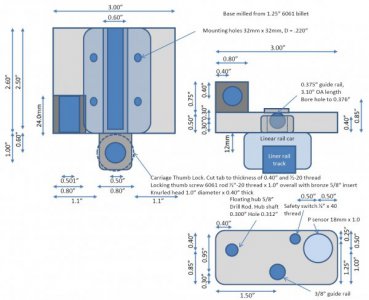
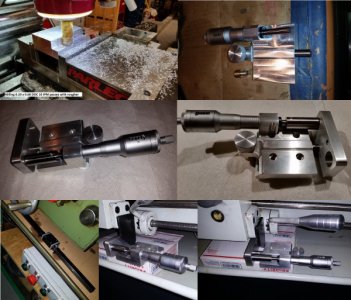
We are using an electronic proximity stop which does not require a hard physical stop, only a trigger plate to be within 8 mm of the proximity sensor. The trigger plate is attached with neodymium magnets to the carriage on the right side when facing the machine. The proximity sensor and fine adjustment mechanism will ride on a sealed linear motion rail carriage, a carriage lock is done with a thumb screw that applies pressure to the rail. The mechanism can be removed from the rail when not in use. The rail is attached to the chip pan on two standoffs under the carriage. The fine adjustment of the P sensor is done using a separate mechanism which incorporates a Mitutoyo Digicounter Digit Micrometer Head which moves the sensor mounting plate. Accuracy of setting the electronic stop should be a~0.0005". There is an adapter shaft that connects the micrometer shaft to the sensor mounting plate, this uses a floating hub design, there is also a 3/8" center guide piston rail. Tolerances need to be fairly tight to prevent jamming, the guide rail hole is honed to 0.001" over the sliding piston shaft.

The P sensor mechanism body was machined from billet aluminum using a high speed rougher with a 0.60" DOC x 0.20" per pass at 2400 RPM, 10 IPM and climb cutting. I was using my bench top BF-30, which had no difficulty with roughing the stock removal. The finishing cuts where done with 3 flute end mills and carbide radius cutters. The friction stop was turned out of 6061 aluminum and uses a 1/2-20" thread, a separate 5/8" bronze tip is threaded and screwed into the bottom of the thumb screw.

I still need to wire the cable and the safety limit switch.

Nez's P Stop drawing.jpg
Nez's P Stop.jpg
 
Last edited:
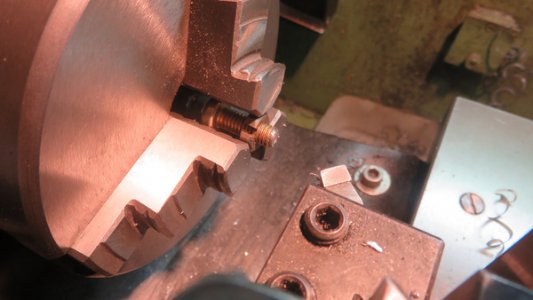
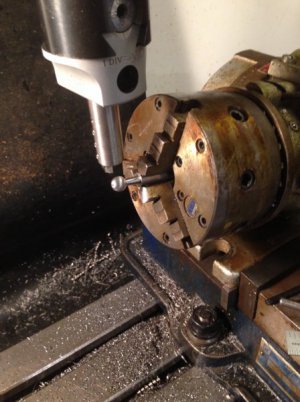
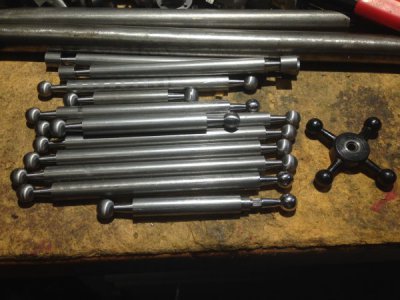
Boy, have I got balls! Needed to make ball shaped ends on bat handles. Many would go to the lathe and plunge it with a form tool or use a ball turner. Through the years I have migrated over to the mill using a fly cutter and whatever device to rotate the part. For me this method is MUCH faster, more accurate and safer. One of the pics is showing the boring head with cutter. The cutter is rather long in this set-up, should be shorter for best rigidity. The cutter was from my last job that needed more length. I tried it on this job and was OK so went with it. Next will be polish the ends that I just made, the straight knurl, cut it off and make the center hub. All the ball ends in the pic maybe took ½ hour to make…Dave.balls1.JPG balls.JPG
 
That is a very precise way to machine a sphere. In fact, that same principle can be used with a cup wheel and grinder to made bearing balls. I have a writeup in an old metal work book, maybe I can get a decent scan of a page or two that explains it. But Dave I'm sure can explain it well. He knows what he is doing.
 
Back
Top