2016 POTD Thread Archive

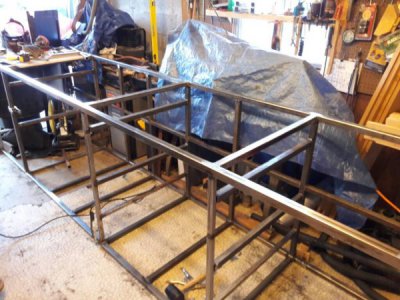
I've lost track of how much steel tubing I've used for this bench, but it's coming along nicely. Again, this is 12' long, to hold the 10" lathe, round column mill, and surface grinder. Puts them all on the same base so there is no wasted space as always happens with individual machine stands. Going to fill it up with drawers and a surprise or two. Nearly all of the regular supports are in, I just need to use the scraps to make diagonal torsion supports, grind the galvanizing off of the coupler nuts I'm using for leveling feet and then weld them on (10 of them, spaced every 3', front and back). Oh, and paint it. And add a (smooth, nice) plywood top. And the drawer glides. And the drawers.

Okay, there's still a lot of work to do, but it's coming along rather well considering how cramped this tiny garage is even without this thing in here. The only way to get to the joints to weld them is usually to climb inside, which is a serious pain, especially with the welding helmet. But it's going to make all the difference in the world when it's done. I'm going to have so much more room, and I will not need to rearrange the shop every time I switch operations.
20161002_182236.jpg

Still laying on its back here. The spacing of the vertical supports (horizontal in the current orientation) is based on the spacing of the mounting holes in the drawer glides.

Looking down the face/top of it to check for flatness, I couldn't be more pleased. It is delightfully flat and square. And rigid. And heavy. I'm very excited to get it finished as soon as I can so I can finally get working in the shop instead of just on the shop for the first time in months.
 
I finished making the new banjos last night. After I get back form my trip to Texas it's on to the gear carriers & studs. Oh, be gentle about the audio I had some issue with the new mic, but thanks to a buddy I figured out what it was, and won't any future problems. :confused:
 
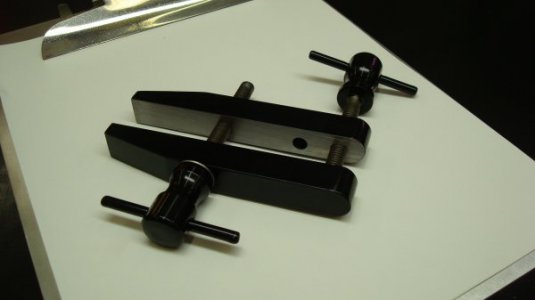
I made a set of machinist clamps during the last couple of days and since I have a big problem with things rusting I tried my hand at gun blueing.
View attachment 136846

This is my first attempt at blueing and they look better then the picture shows.
Will have to see how they hold up against the rust problem.


Ray

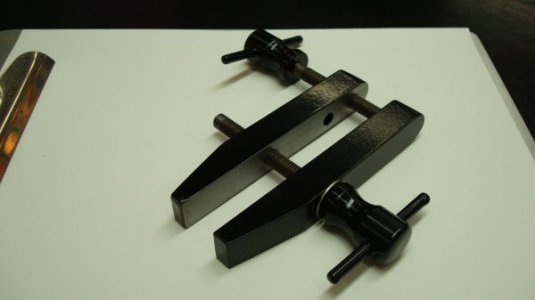
I powder coated my clamp. I made it over 30 years ago when I took my technical school training. Not sure why I kept it this long and now glad I did. It was really rusty and in poor shape before I cleaned it all up and gave it a worthy home.Clamp 01.JPG Clamp 02.JPG
 
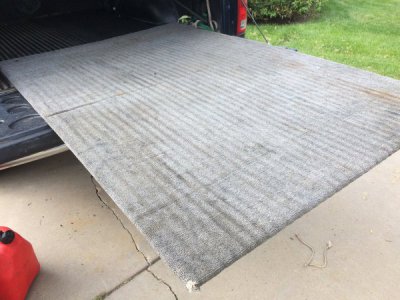
after years of the carpet sliding when i load something heavy into the bed, I glued down my carpet to 1/2 luan...no more bunching up battles.:dancing banana:

IMG_0966.JPG
 
Nothing is so simple that it can't be over-engineered.

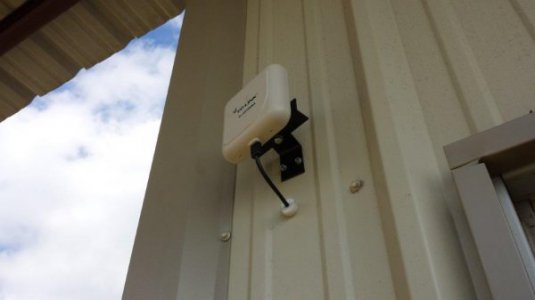
I was putting an antenna in my shop and needed to pass the cable through the steel siding. The cable is 3/16" and the coupler on the end is 3/8". I couldn't find a rubber grommet that would do the job. The closest I found was too stiff to push into the hole. So I decided to make my own pass-thru.
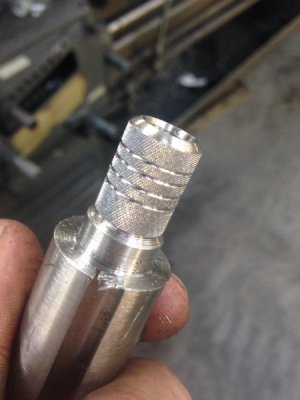
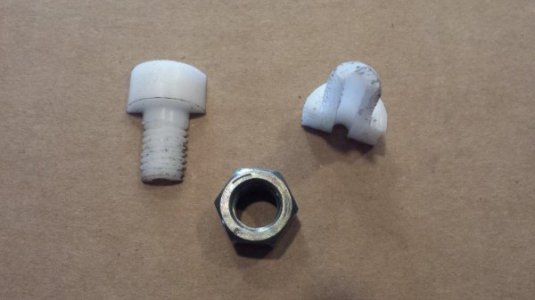
I decided something like a hollow bolt would do the trick. I cut of a piece of 3/4" Delrin rod about 1 1/2" long. I turned down about an inch of it to 0,525 with a taper at the tip to about 0.490. Then I center drilled it to 3/16 and threaded it 13 tpi. I split it in half to allow it to fit around the cable.
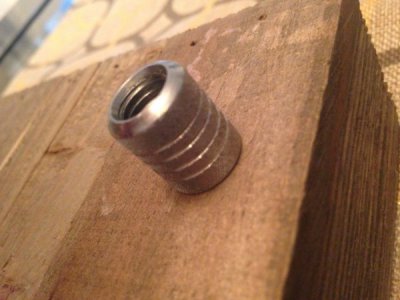
20161004_105845.jpg
The saw kerf was about 0.025, so when I put the two halves together, it was almost the right size for a 1/2-13 nut. The taper at the tip allowed me to easily get a die started to reform the threads.
20161004_105943.jpg
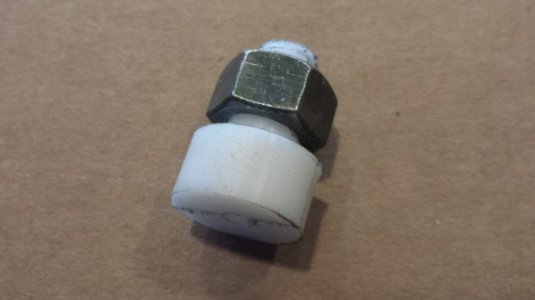
Using a nut to hold it together, I redrilled the 3/16 hole for the cable. I also counter-bored the part at the top a little larger (#11) to make sure the gap between the two halves could close.
20161004_120611.jpg
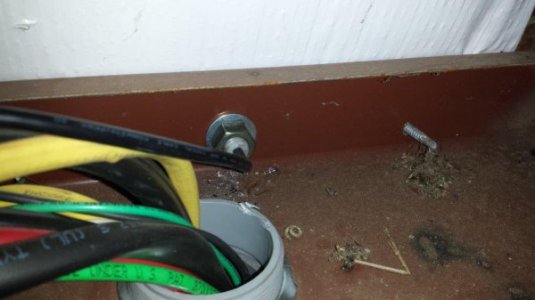
The coupler fit through a 1/2" hole in the siding and the 1/2-13 nut. I sandwiched the cable between the two halves and pushed them through the hole in the siding.I tightened the nut to pull the pass-thru snug against the siding.
20161004_120801.jpg
Finished installation. Weatherproof, bug-proof, and it will protect the cable from the metal siding.

Hope you find this helpful, or at least interesting.

regards,
Leon
 
Blah. Stupidly left the carriage by the headstock with the halfnut engaged and turned on the lathe today without noticing it. Now the leadscrew doesn't turn anymore (or rather, spins freely, but is entirely disconnected from the motor). At least the power feed still works so I could make the holder for a bushing.

But I did discover that running the lathe with the top cover off, it produces an excellent oil volcano. The gears that aren't sitting in oil definitely get a good bath.

Now, after all the other todo's I have, I need to figure out how to fix it. The head of the lathe appears to have two separate gearboxes (one for the headstock, one for the power feed & leadscrew), and the headstock has a cover on top, and the PF/LS box appears to have a cover on the front, but I'm hesitant to take it off (after I drain the oil out the plug it has), as it has the gearbox control levers (for selecting how fast the PF/LS turns).
 
Leon,
Excellent feedthru and write up. Thanks for posting.
 
Dave, I think most lead screws have a shear pin for the very reason you ran into. They are often right at the feed box where the lead screw attaches, no disassembley required.

Greg
 
Back
Top