2016 POTD Thread Archive

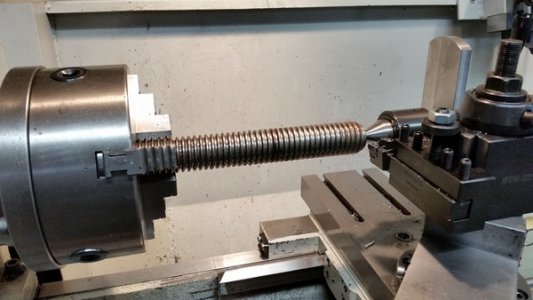
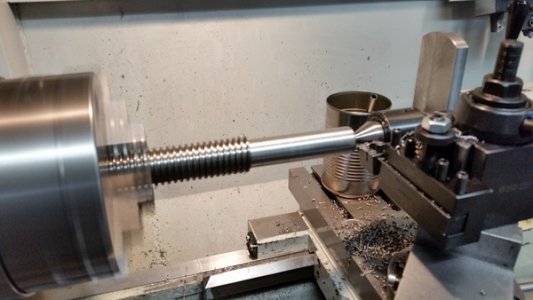
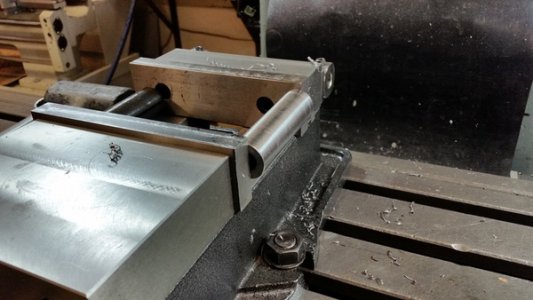
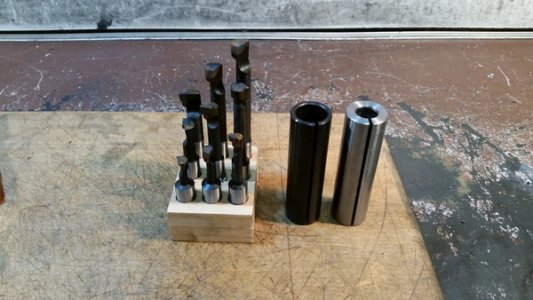
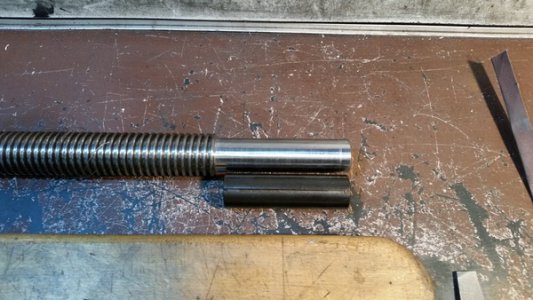
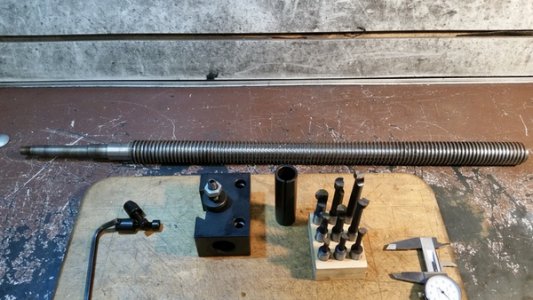
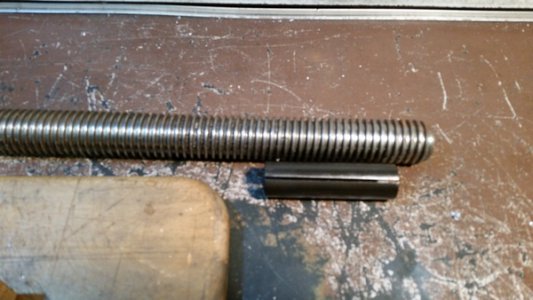
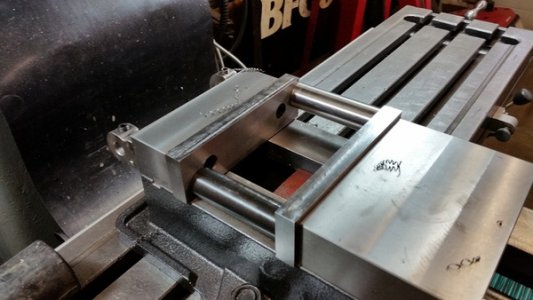
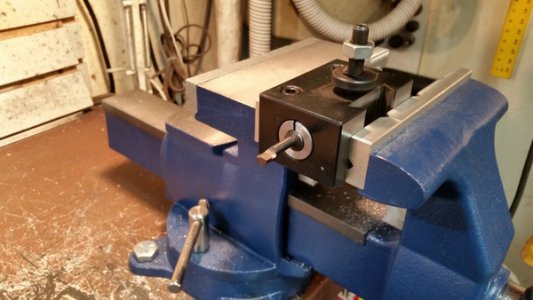
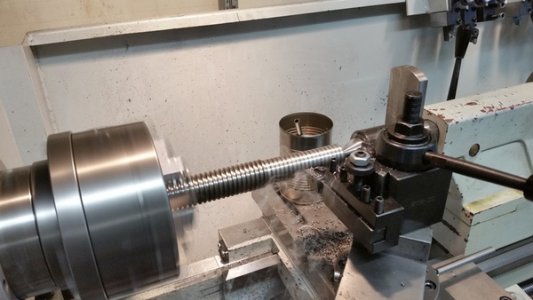
I got this boring bar holder with my quick change tool post set and have never used it because it only fits 3/4" diameter boring bars and I have none that size. I have a cheap set of boring bars that fit my boring head that has 1/2" holes. I made an adapter sleeve to fit the QCTP holder and hold 1/2" boring bars. I used a chunk of the original Y axis lead screw from my Ferro mill. It is 35mm diameter and large enough to produce the needed 1"OD and 1/2" ID needed.

20160131_110106_zpsmvvfvwgm.jpg

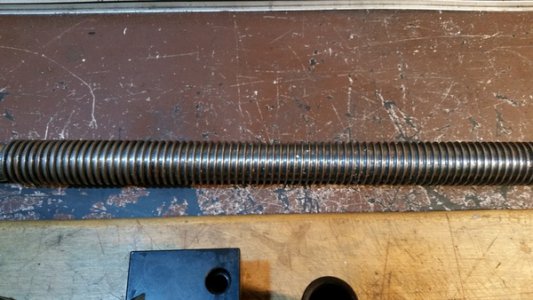
You can see how worn the old lead screw is in the center.

20160131_110112_zpsah6mliif.jpg

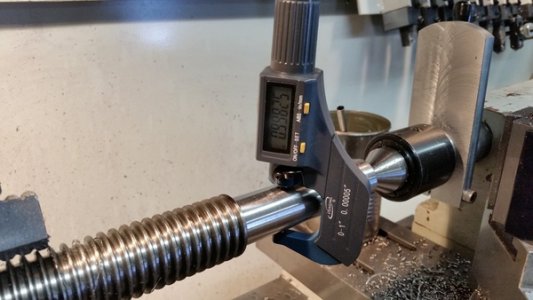
My goal was .998" OD to match the original sleeve and I hit that dead on.

20160131_110136_zpsb2arhinp.jpg

20160131_111303_zpsjttwqli8.jpg

20160131_112251_zps4qjtjhkj.jpg

20160131_113020_zpsuljufdce.jpg

20160131_114447_zpsyqk1cvkj.jpg

20160131_114824_zpsbr4nsjmm.jpg

20160131_115105_zpsjckk5pql.jpg


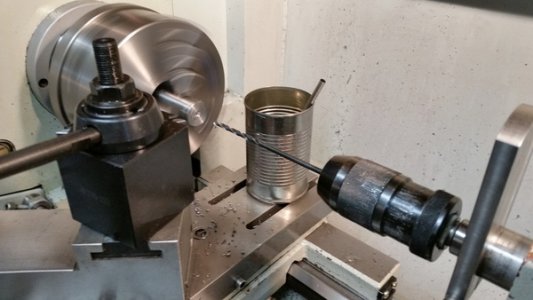
I used extra long drill bits to make the ID bore .500"

20160131_120644_zpsmlcakwyp.jpg

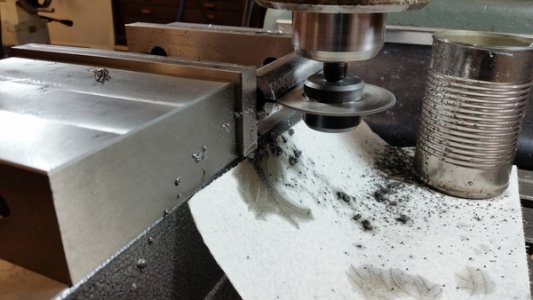
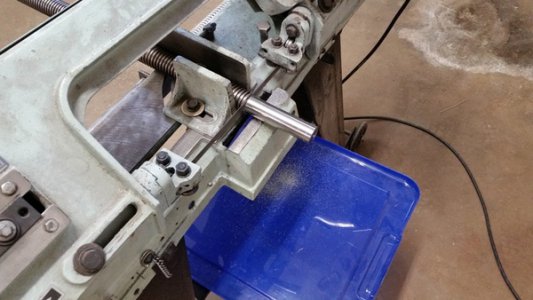
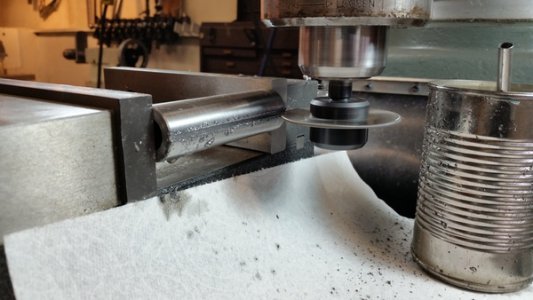
Then I used a slitting saw to make a .040" slit length wise end to end.

20160131_134138_zpsvjyrnn5s.jpg

20160131_134131_zpsfqr2mphs.jpg

20160131_135334_zps1lsenp8o.jpg

20160131_140355_zps0rhcxzvi.jpg

20160131_142217_zpsxhulxano.jpg

20160131_142052_zpsm4yhhln6.jpg

A great way to spend a Sunday afternoon.

20160131_110106_zpsmvvfvwgm.jpg

20160131_110112_zpsah6mliif.jpg

20160131_110136_zpsb2arhinp.jpg

20160131_111303_zpsjttwqli8.jpg

20160131_112251_zps4qjtjhkj.jpg

20160131_113020_zpsuljufdce.jpg

20160131_114447_zpsyqk1cvkj.jpg

20160131_114824_zpsbr4nsjmm.jpg

20160131_115105_zpsjckk5pql.jpg

20160131_120644_zpsmlcakwyp.jpg

20160131_134138_zpsvjyrnn5s.jpg

20160131_134131_zpsfqr2mphs.jpg

20160131_135334_zps1lsenp8o.jpg

20160131_140355_zps0rhcxzvi.jpg

20160131_142217_zpsxhulxano.jpg

20160131_142052_zpsm4yhhln6.jpg
 
I'm running a Miller P350 90/10 gas .035 Hobart wire. Arc length 85, Arc control 50 for the vertical joint. The coupler bracket was 3/8" thick and the 5" channel was 3/16" thick, so I used a counter clock motion with a very slight pause on the heavier material. For the flat weld corner joints the arc length and arc control was reduced for a flatter weld and the manipulation was a whip motion (pushing). I switch up the technique depending on joint fit up as I go but not too much as the fit up are usually fairly consistent. Some times pulling back a bit (longer stick out) can change the heat and present with a cooling of the puddle quicker.
The M-350 can also lay a smooth hot bead when simply dragging or pushing. The photo shows a single hot pass on cradle adaptors with no manipulation. The bead resembles a 7018 arc weld more than a Mig weld. Not sure on your set up, but on the M-350 you can used different gas as well but would need to play with the settings.
View attachment 120911View attachment 120912

Thanks. My welder is all synergic and when i go deeper into the program and change things it is never as good as the synergic program for that material. Basically only need to adjust material thickness and arc length depending on position

I often use the clockwise or whip motion but it still usually looks like your last photo, well the weld occasionally looks like that if all my planets align. I am fairly certain this is not the machines fault.

I can get the dimes look on aluminium using those same movements, like you said thicker to thin material but not on steel.

Welding for me is a hobby not a job so every tip I can get of good welders helps Thanks very much.
 
I don't have pictures, but I turned myself a copy of my spindle. It took awhile for me to be right on the money for the register diameter. It is now laying next to my lathe. I will be starting my collet chuck build soon and will be using the spindle copy as a test plug. I also made a go/no go gauge for the register. The go is exactly the same diameter and the no go is .001" under register diameter.

this is a great thing to do and will make your life a lot easier, but your spindle copy needs to be a wee bit oversized on both the threads and the register (0.001-2 for the register) or your chuck won't screw on. I did the same when I made mine and now I use it more as a no-go gauge. If it screws in snugly, I know I need to do another threading pass and another thou or 2 on the register before I start test fitting.
 
my favorite mig technique is a push pull movement, where you pull the wire away from the puddle about an 1/8th then push back onto the weld about an 1/8th with a short pause, rinse and repeat, it makes the stack of dimes pretty easily, but its all about setting up the machine for the technique, stock settings in my experience never work, you must adjust wire speed to suit, and usually the volt tap
 
this is a great thing to do and will make your life a lot easier, but your spindle copy needs to be a wee bit oversized on both the threads and the register (0.001-2 for the register) or your chuck won't screw on. I did the same when I made mine and now I use it more as a no-go gauge. If it screws in snugly, I know I need to do another threading pass and another thou or 2 on the register before I start test fitting.

Well dang. I was super proud of myself too! Haha. Guess I should make another copy.
 
you should be proud of yourself and it's good practice for the other threading ops too. No need to make another copy (I didn't) - just use it slightly differently. Go to fit, then check on spindle and repeat until it screws on snugly without effort. It'll save you a lot of time with multiple fits and it's always best to test it on the spindle it's going to be mounted on anyway, right? Just leave it in the chuck, turn the whole thing round and try it for fit. The register on whatever chuck is holding the collet chuck will put it back just how it was, so there's no worries with continuing to thread after a fit.
 
Testing and adjusting my 5" (125 mm) 4 jaw chuck

Some time ago after cleaning my 4 jaw chuck (removing all jaws) I noticed that although I indicate a round bar and the TDI shows 0.0004" (0.01) mm near the chuck jaws when I move further away from the chuck to a distance of a few inches, the readings multiply by a factor between 10 and 50!!!
This indicates a very serious misalignment of the chuck or jaws.
I do not recall making measurements both next to the chuck jaws and to the end of the bar, as when I needed to machine a long bar I always support it to the tailstock.
After some tests while I put each of the 4 jaws in different positions and make measurements I noticed that the readings, at the end of the bar, change in a more or less random way according to where each jaw is fitted!!!.
There was no way to keep the near-zero indication at the end no matter the jaw position!!!

To find the position with the smallest error I planned a more systematic measurement approach.

First I always bolt the chuck at the same position on the plate as you can see from the marks both at the chuck and the plate.
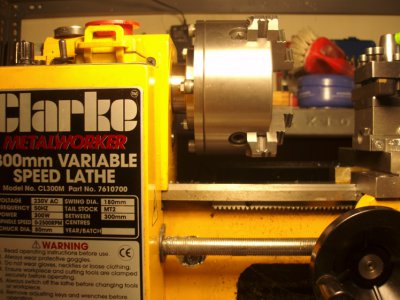
PC300376s.jpg

Next I named the positions on the chuck I, II, III and IV and the jaws 1, 2, 3 and 4.
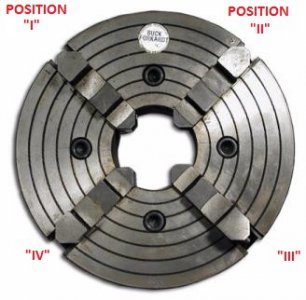
4jaw.jpg

I thought initially that the possible combinations between positions and jaws are 4X4= 16 but after a small research I found out that all possible combinations of the numbers 1, 2, 3 and 4 are calculated this way:

We will use each of the four numbers as the first number. For example number 1 will be the first.
There are 3 combinations for the second number
1-2
1-3
1-4
Total (to use each number as the first): 4 numbers × 3 choices = 12 ways to choose the first two numbers.
After the first two there are only 2 more numbers left to choose as a third number. That's 4×3×2 or 24 ways to choose the first three numbers.
After the first 3 numbers there is only 1 way to choose the fourth. That's 4×3×2×1 or still 24 ways

1. 1234
2. 1243
3. 1324
4. 1342
5. 1423
6. 1432
7. 2134
8. 2143
9. 2314
10. 2341
11. 2413
12. 2431
13. 3124
14. 3142
15. 3214
16. 3241
17. 3412
18. 3421
19. 4123
20. 4132
21. 4213
22. 4231
23. 4312
24. 4321

On top of that, I needed to make 24 changes of the 4 jaws plus 24 indications at each end of the bar and record the data... That TAKES TIME!!!

So I started making all possible combinations of the jaws to the chuck, align the bar as close to the chuck as possible and then make measurements of the bar at a distance.

I II III IV Error @Position (I zerowed the TDI at the opposite position)
1 2 3 4 + 0.40 III
1 2 4 3 + 0.26 I
1 3 2 4 + 0.22 I
1 3 4 2 + 0.23 II
1 4 2 3 + 0.08 IV
1 4 3 2 + 0.40 III
2 1 3 4 + 0.20 III
2 1 4 3 + 0.35 IV
2 3 1 4 + 0.36 II
2 3 4 1 + 0.62 II
2 4 1 3 + 0.51 I
2 4 3 1 + 0.41 II
3 1 2 4 + 0.18 I
3 1 4 2 + 0.22 I
3 2 1 4 + 0.47 I
3 2 4 1 + 0.36 II
3 4 1 2 + 0.58 I
3 4 2 1 + 0.23 II
4 1 2 3 + 0.37 III
4 1 3 2 + 0.15 III
4 2 1 3 + 0.32 I
4 2 3 1 + 0.32 II
4 3 1 2 + 0.36 I
4 3 2 1 + 0.57 II

As you can see from the above data The best choice is to use 1, 4, 2, 3 jaws to positions I, II, III and IV accordingly. That was the combination with the smaller error. To make it even better I needed to correct it further.

For that reason I indicated a test bar to the 4 jaw chuck, using the smaller error jaw combination and then without removing the bar I removed the chuck and supported by the bar in between centers.
Next I very lightly skimmed the back of the chuck.

After mounting the chuck on the lathe the error is still there but now is 0.0015" (0,04 mm) at the end of the bar.
I was so bored from the numerous jaw changes and measurements that I called it DONE for tonight.....

Further measurements needed but at least I am happier with it as it is now.

To avoid any future mix up of the jaws, I marked each position on the chuck and also marked each jaw using the same mark.

I hope my next 4 jaw independent chuck will have 4 identical jaws!!!

Thank you for reading

Petros
 
Last edited:
I applaud your efforts, that's what is required to know your machinery. Think of what you wouldn't know if your chuck didn't have run out.
 
Back
Top