2017 POTD Thread Archive

I am. I like that it is watertight and relatively cheap but the resolution could be better. The field of vision is so wide you really have to be right up on your work or you have to use the zoom in the software. I'd prefer something nicer with a zoom but the money just isn't there.
 
Ours is a bit different.

Story first...

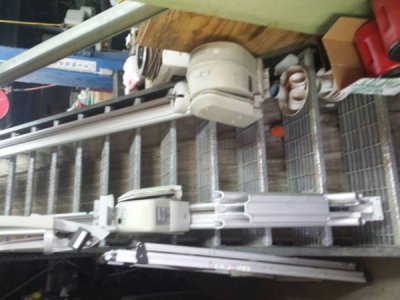
Years ago at a thrift store we picked up a stair lift that was very low hours for second level in shop.

2 issues...was right side (not reversible as is...needs parts to swap) and the track was a bit short so you walk up a couple steps.

We installed it for both our future as feet bad and for simple moving heavy stuff.

Recently got a pair of , ever model with extra track and correct side.

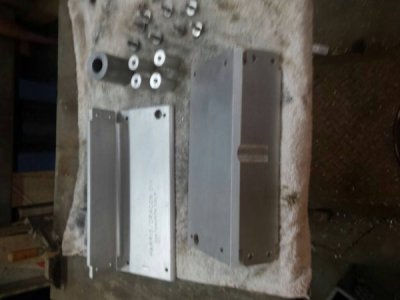
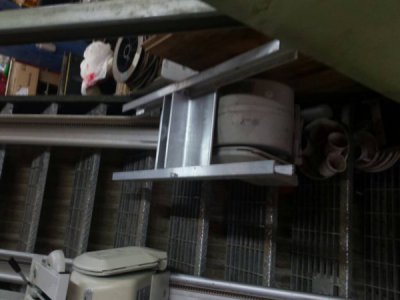
Both on stairs and no bites selling old one do making a platform that mounts where chair goes.

Had to buy a chunk of round stock from scrap rare but rest of aluminum was all surplus communication racks found on side of road...Read free.

Much more work to be done.

Can carry 295 or so pounds.

20170827_121913.jpg20170827_124612.jpg20170827_140332.jpg

Sent from my SAMSUNG-SGH-I337Z using Tapatalk
 
I finally got the parts to convert the cross slide and compound of my PM1228 from 80 thousandths to 100 thousandths per turn. I switched them out this afternoon. After a bit of head scratching it got took apart and miraculously all went back together with no screws or springs left over. I was particularly impressed with myself that I didn't drop any of the little parts or screws and have to crawl around on the floor with a flashlight to find them.

Well, I did actually drop one of the little knob shaft keys, but it didn't disappear. I should go purchase a lottery ticket.

Included in the set were conversion parts for the tail stock. I'm not sure I will change it out. I actually never noticed (therefore, never used) the veneer dial on it. I've always just used the scale etched on the big sliding tube/morse taper doo-whacky.

Sorry, no pictures. My hands were way too greasy.

Do you have a thread about the conversion? I have the same lathe and might consider the upgrade...
 
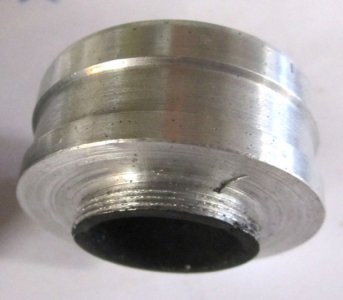
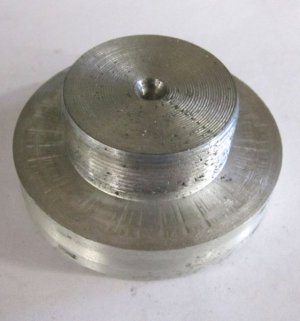
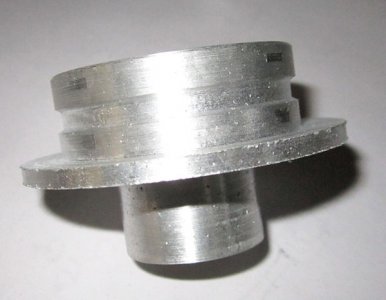
Made all this today
adap5.jpg
making this with a 1mm thread. the line is a shallow gouge only.
adap1.jpg
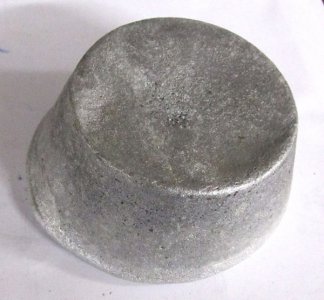
from this
adap6.jpg
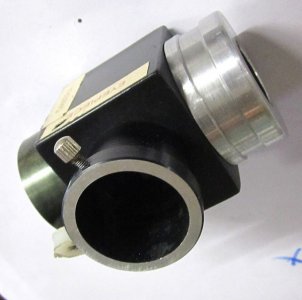
to fit in this, a flip mirror for the telescope.
adap2.jpg
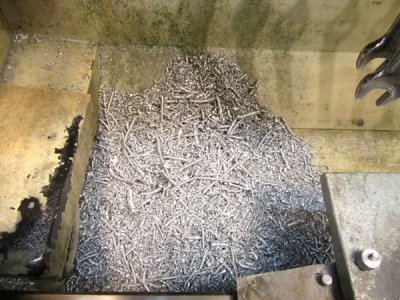
Why so many chips you might ask?
because the first attempt produced this
adap3.jpg
but the thread was left handed (dont ask):bawling:
The second attempt produced this
adap4.jpg
but I wasnt paying all the attention I should have been and made the nose too small.:bawling:
Eventually I won.
The thread is a bit rough because the middle of the ingot was full of inclusions and porosity
but it screws on and works fine and in use the thread is not visible. :laughing:
 
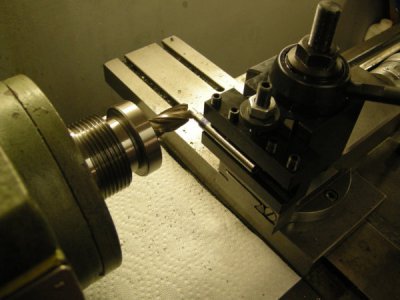
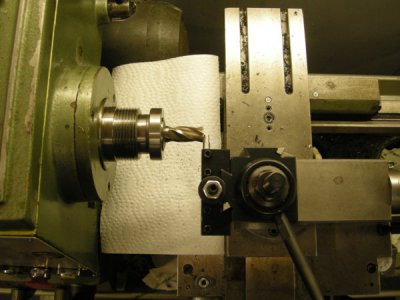
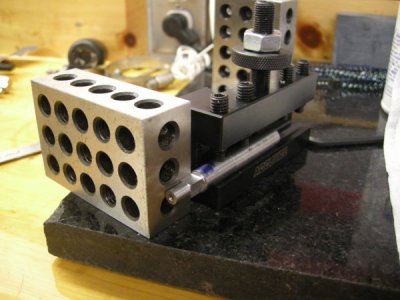
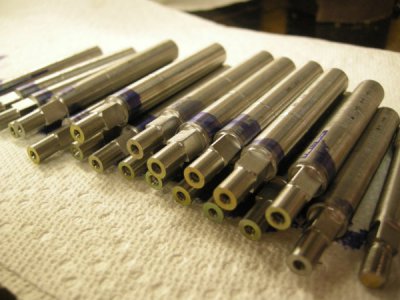
Finished up a lot of lathe milling tonight. 4-flats per valve spindle, x 20 spindles (miniature replicas). A few minutes to setup each cut and about 5-10 seconds on the lathe. One pass using a 3/4" 4-flute end mill @ 600 rpm. Pretty happy with the results!

DSCN9950.JPG DSCN9951.JPG

I would cut one flat, then rotate the spindle 180* against a 1-2-3 block to ensure the flats were parallel:
DSCN9956.JPG

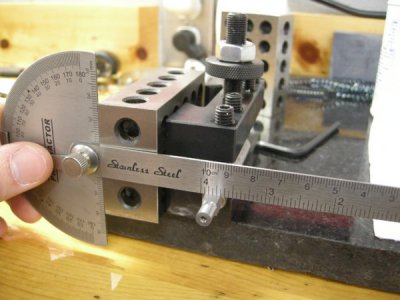
Then use my protractor locked at 90*, against a 1-2-3 block to start the third flat. The final flat was setup the same as the previous picture. Once I got going it went relatively quick.
DSCN9955.JPG

DSCN9953.JPG
 
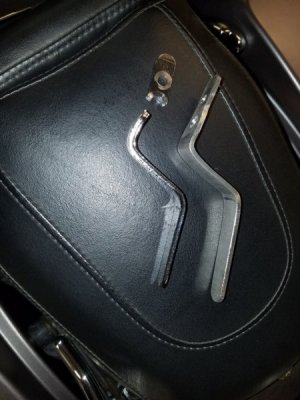
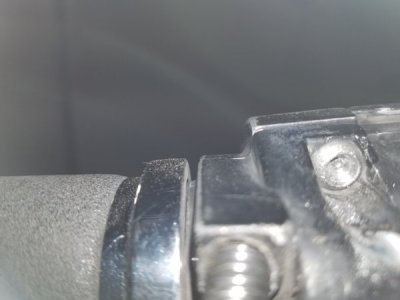
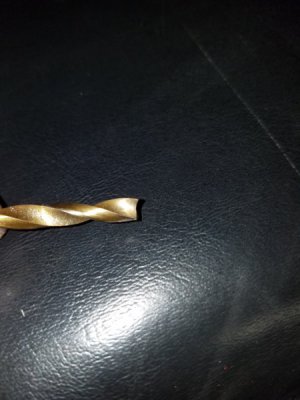
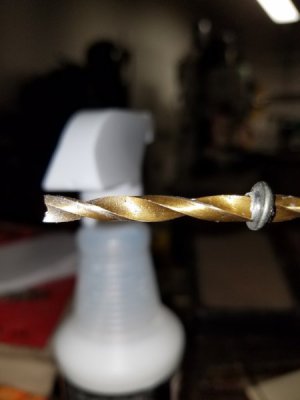
So I am working on 1990 motor cycle (fxsts) fixing the front break light (cause I think they are impotant) when I realized the guy I bought it from had stripped the head of the button cap screw holding switch housing. Well you can't get at it to slot it. So the next thing is drill and use an easy-out. Snap goes the easy-out. So now how to get the screw out. Well I came up with this plan since the easy-out was not deap enough to just drill the head out. I took an old drill ground it flat then reversed the point angle so the outside of the flutes were longer the the center. Creating concave end. It worked. I was able to drill around the Easy-out and remove the head of the screw. Once the two have were apart vice-grips were use to get the rest of the screw out.20170901_202752.jpg 20170901_202817.jpg 20170901_203012.jpg
 
The way I have removed those stripped screws. Was to use a sharp prick punch on the top edge in the direction to loosen. The punch will dig in and the combination of direction and shock has always worked for me.
 
The way I have removed those stripped screws. Was to use a sharp prick punch on the top edge in the direction to loosen. The punch will dig in and the combination of direction and shock has always worked for me.
Good idea! Even if I had thought of it I wouldn't have had the space. Well not without taking out more parts.
 
Back
Top