Adventures of a newbie

Ben17484

Registered
Registered
Joined
Jul 6, 2022
Messages
498
Hi All,

I've decided to start a thread to show the projects I'm going to be working on whilst learning.

For a bit of background, I've had a couple of lathes and a couple of mills in the past but never really did much with them, but did do enough to know I enjoy the hobby and I wanted to get more in to it.

I've finally got to the point that I have my home hobby workshop set up to the point that I can start doing some projects with the machines I have, so I wanted to document what I'm doing.

My set up:

IMG_2471.jpeg


IMG_2474.jpeg

I've a ToolCo VM32 Milling Machine and a Warco GH600 lathe and I'm ready to go!

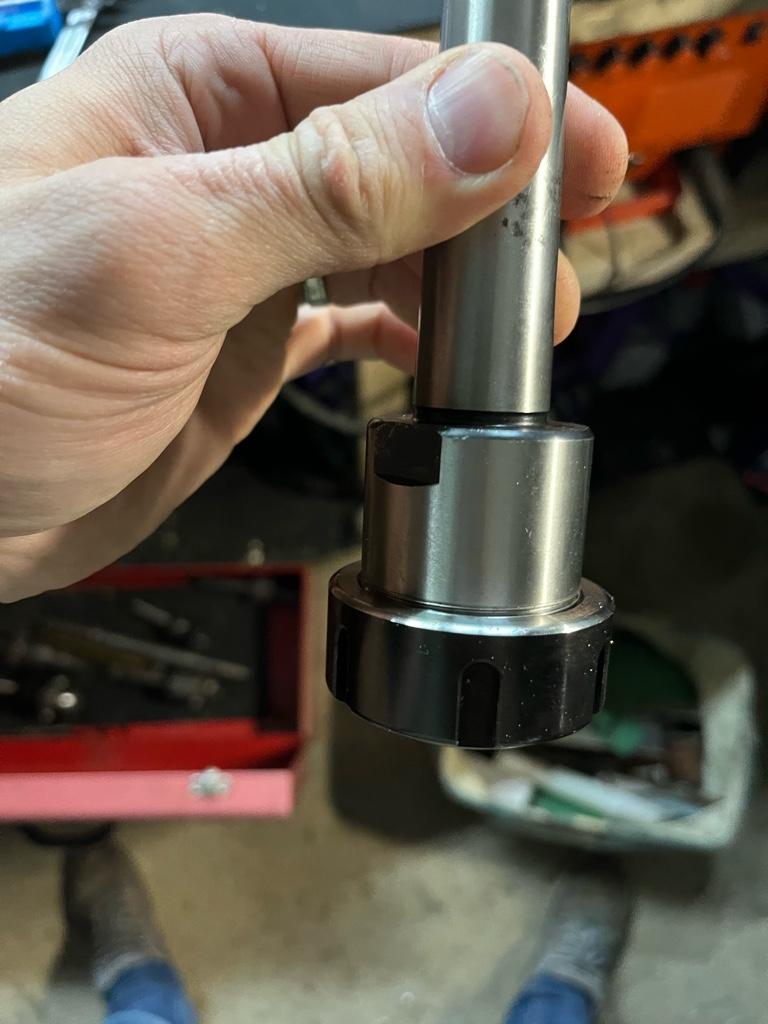
I've picked up a bunch of tooling over the last couple of years to use and will gradually get around to learning how to use them.

This thread will be me doing all of the usual beginner projects, Chuck backing plates, draw bars, tail stock die holders etc etc, so nothing you'll not have seen 1000 times before!

I'm going to use this as a diary of my projects (and hopefully progress) and hope to get some feed back from you lovely lot as to things I could have done better!
 
First project, fitting the QCTP. Not too hard, but a new tool post bolt required. I already tried this once a few weeks ago and really wasn't happy with how it turned out, so I decided to try again:

IMG_2502.jpeg
IMG_2530.jpeg
IMG_2537.jpeg
IMG_2539.jpeg

With this being the second time I made this, I went slower and really tried to hit dimensions as closely as possible even though it wasn't 100% necessary. I also changed the angle of the compound for the single point threading as someone noticed in another thread on here that I had mine set to 60 degrees instead of 30 degrees (apparently asian lathes and American made lathes are labelled with the zero point starting at a different orientation, so I always heard that you had to set the compound to half of the included angle which would be 30, but due to labelling differences that shows as 60 degrees on my lathe). The top of the bolt was 14mm x 1.5, and the bottom 18mm x 2.0. I'm loving having a quick change gearbox for the threading and feeds :) I'm pretty happy with how the part turned out. The threads look good and were a very snug fit, the finish wasn't bad and the dimensions I aimed for I achieved to within 100 microns (I realise this isn't really that close in machining standards, but for what I'm calling my first real project, I'm happy with it).
 
A couple of questions.

What is this:
IMG_2540.jpeg

It's not a drill chuck, so I'm a bit lost. I picked it up with a previous lathe where a bunch of tooling came with it.

Second question. How should I tighten the collet in the holder here:

IMG_2542.jpeg

On most collet chucks that I've seen, the body had flats milled on it allowing you to hold the body tight whilst tightening up the collet nut (is that the correct term?). This has no flats milled on to it. This is by far the best collet chuck I have in terms of run out, so I want to use it (I have a cheap ER32 and ER25 that seem to have a lot of run out, this has practically no runout), but don't really understand how to tighten the nut properly without just gripping the body with a pair of grips. Any ideas?
 
The first one appears to be an Alfred Herbert quick change drill chuck


You need a pin spanner to tighten the collet chuck.
1699633674518.png
One of the only times we here in the U.S. call a wrench a spanner.
 
The first one appears to be an Alfred Herbert quick change drill chuck


You need a pin spanner to tighten the collet chuck.
View attachment 465986
One of the only times we here in the U.S. call a wrench a spanner.

Thanks MrWhoopee. Don’t think I’ll have much use for the quick change drill Chuck then.

For the pin spanner, would I neee to drill a hole for the pin to drop in on the collet chuck?


Sent from my iPhone using Tapatalk
 
Thanks MrWhoopee. Don’t think I’ll have much use for the quick change drill Chuck then.

For the pin spanner, would I neee to drill a hole for the pin to drop in on the collet chuck?


Sent from my iPhone using Tapatalk
No, it engages in the slots. Actually, the correct tool would be a hook spanner, which has a flat surface where it engages the slot.

1699636663572.png
 
No, it engages in the slots. Actually, the correct tool would be a hook spanner, which has a flat surface where it engages the slot.

View attachment 465987

I have one of these, this part is fine as it engages with the part that screws on. The thing I can’t do is keep the body of the collet chuck still whilst using this to tighten the ‘nut’


Sent from my iPhone using Tapatalk
 
I have one of these, this part is fine as it engages with the part that screws on. The thing I can’t do is keep the body of the collet chuck still whilst using this to tighten the ‘nut’


Sent from my iPhone using Tapatalk
The other end is engaged in the spindle, which is (presumably) locked up in some manner. That may be a problem on a lathe without a backgear. If you can't devise some sort of spindle lock, then a strap wrench will grip the body of the collet chuck.

1699638105516.png

You might want to drill some holes in the body of the collet chuck for a pin spanner. Lots of ways to solve the problem.
 
The other end is engaged in the spindle, which is (presumably) locked up in some manner. That may be a problem on a lathe without a backgear. If you can't devise some sort of spindle lock, then a strap wrench will grip the body of the collet chuck.

View attachment 465994

You might want to drill some holes in the body of the collet chuck for a pin spanner. Lots of ways to solve the problem.

I don’t have back gear and it’s an MT3 taper with draw bar. The problem I have is when trying to loosen the collet nut by holding a spanner at the top of the draw bar, is that is just undoes the the draw bar.

My other collet chucks have flats milled in to allow for a spanner to hold the chuck itself:

3d769b28ac0384163043a0222baf3303.jpg


I would have thought these would be pretty standard? I guess I need to mill them on myself or so drill a hole for a pin spanner. I just wanted to make sure I’m not missing something obvious before altering the tools.


Sent from my iPhone using Tapatalk
 
Back
Top