- Joined
- Jul 6, 2022
- Messages
- 498
Back to the milling machine power feed.
After successfully having two ‘learning experiences’ (failures):
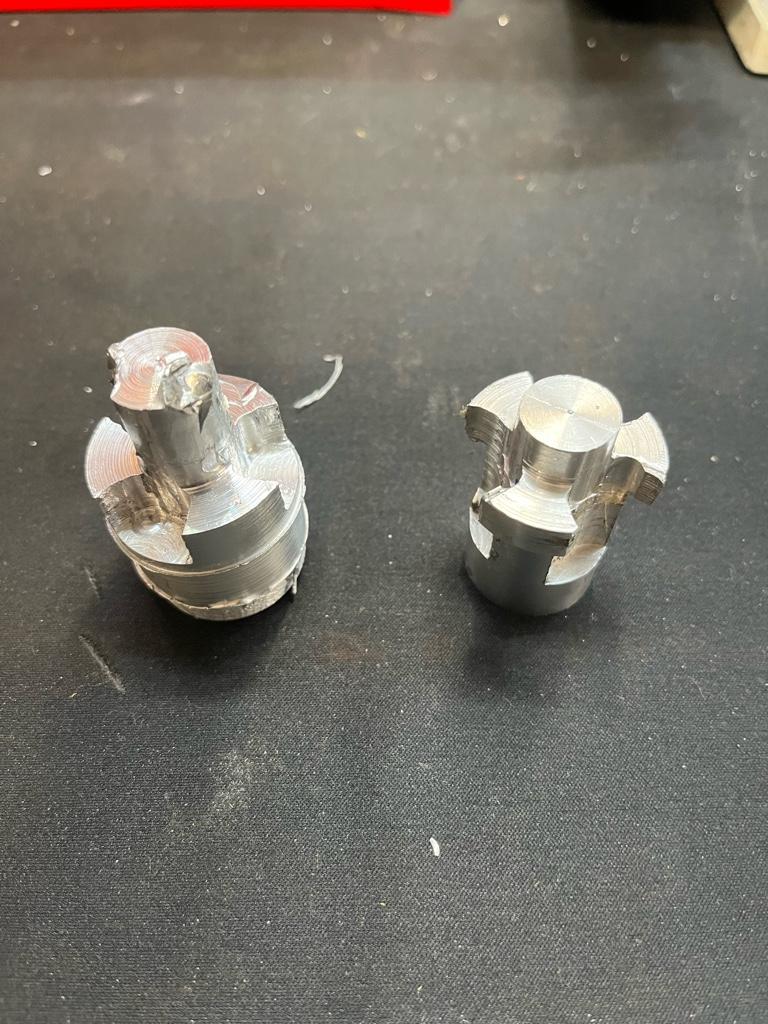
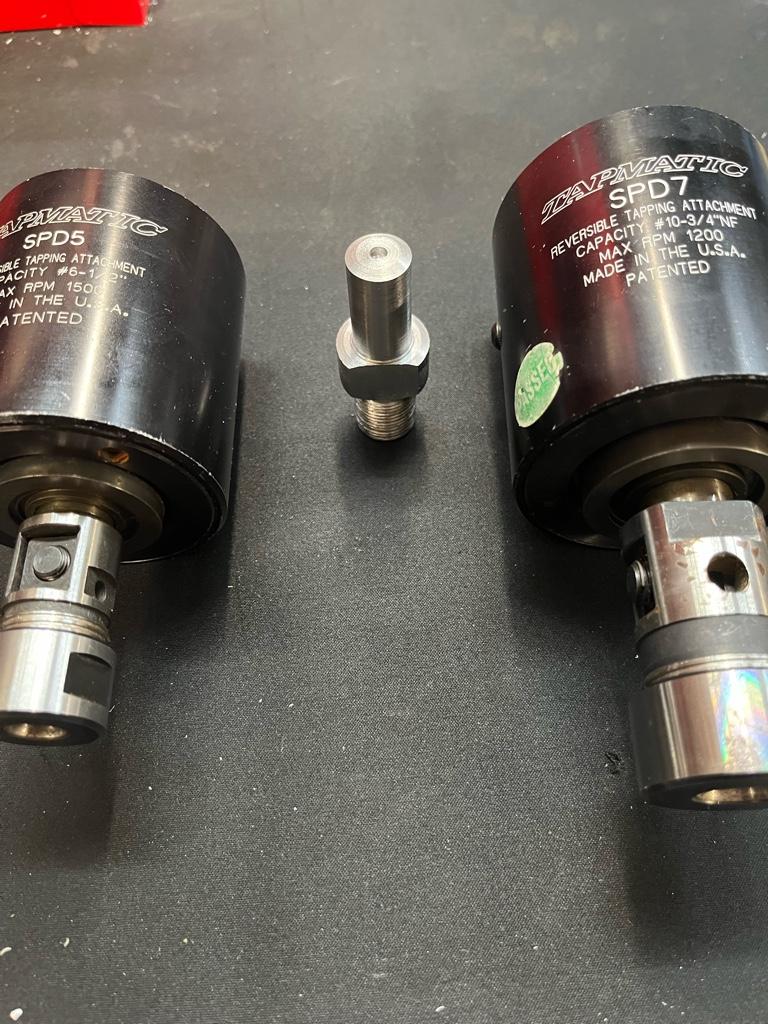
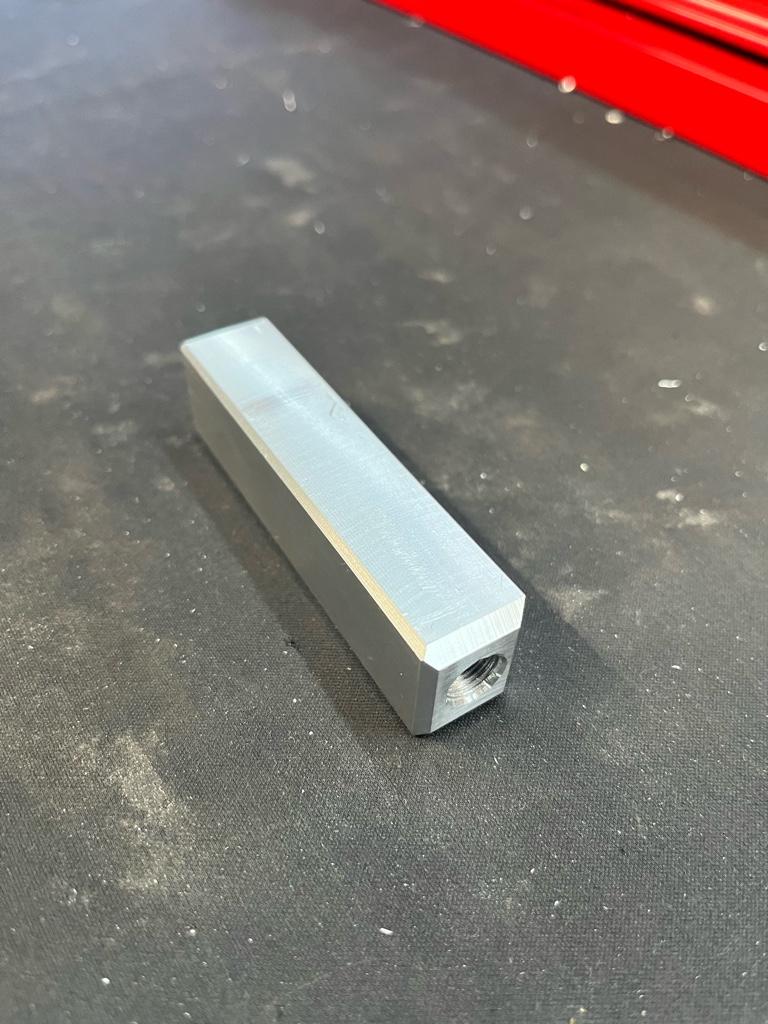
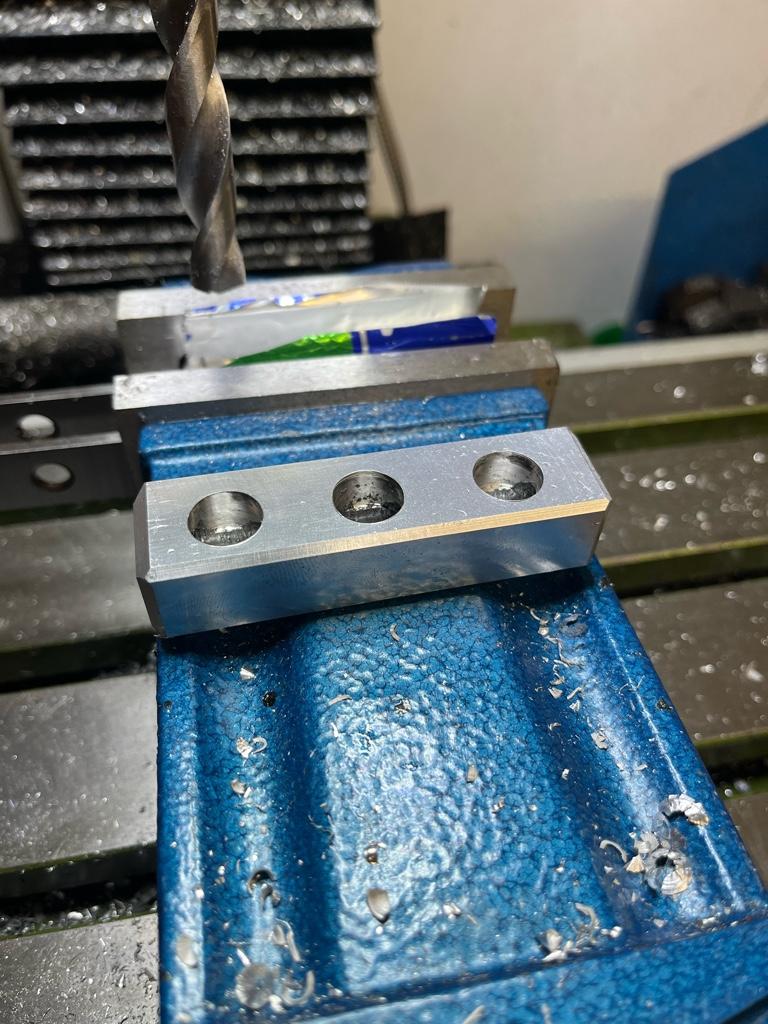
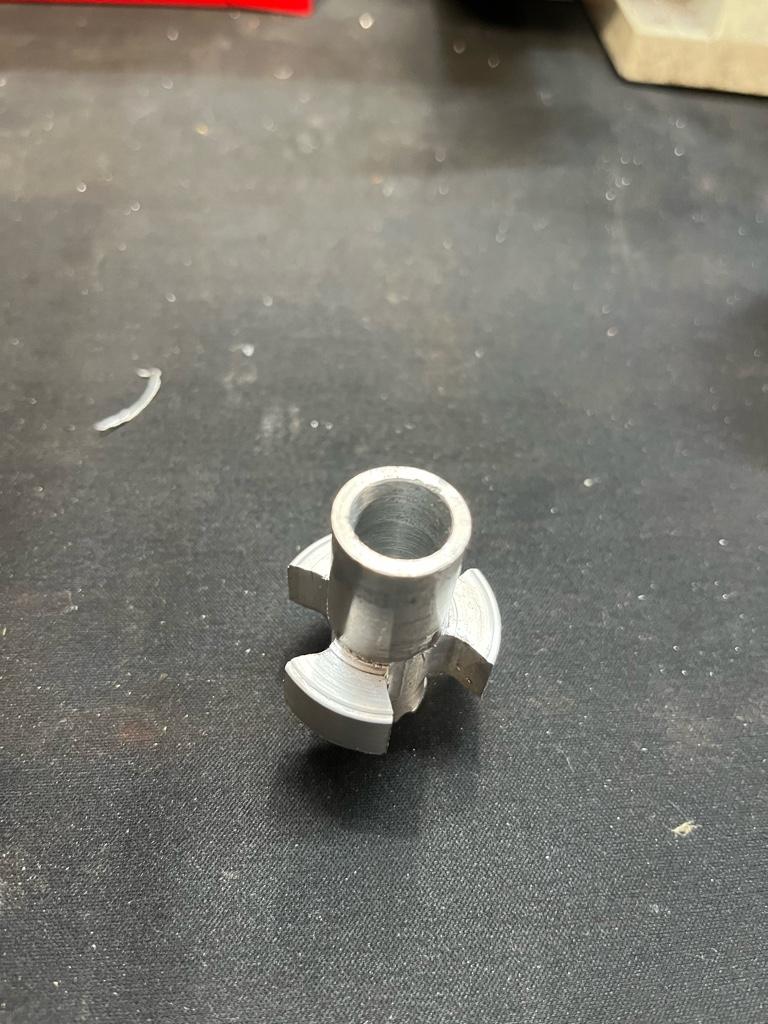
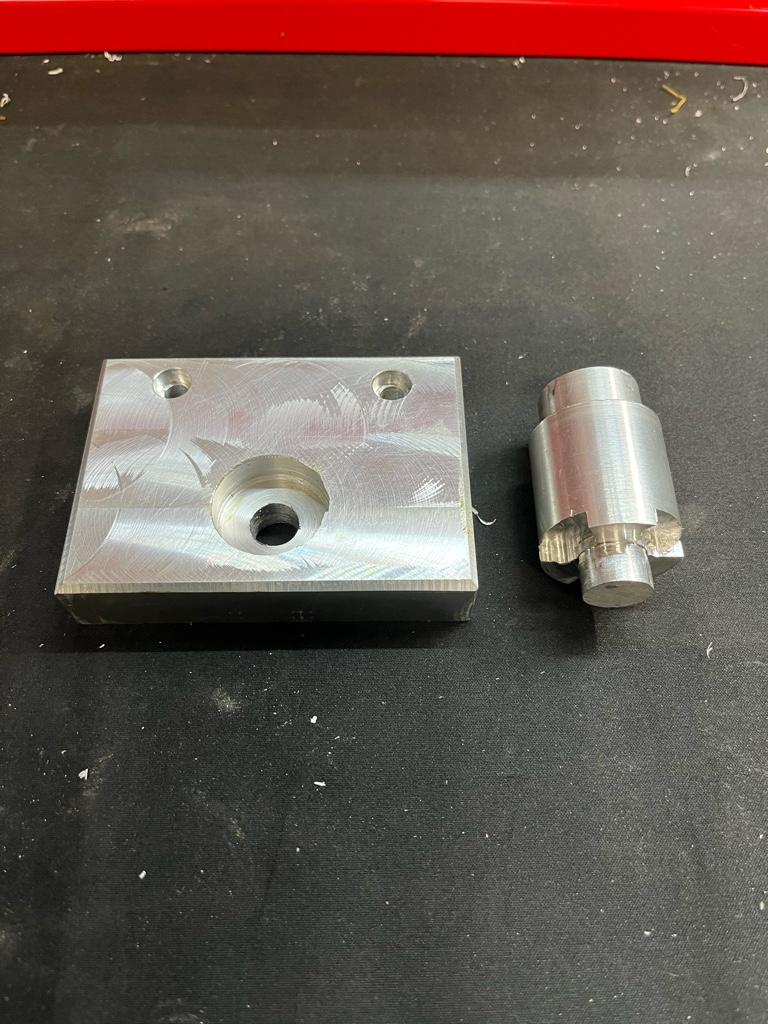
I machined an adaptor that works:
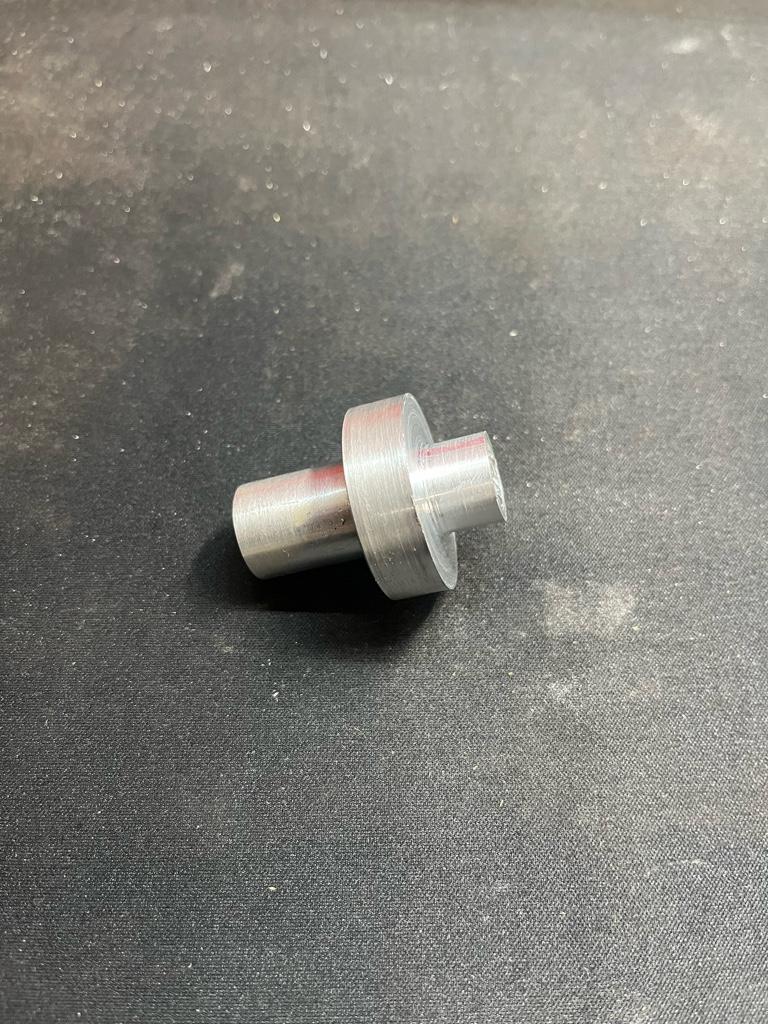
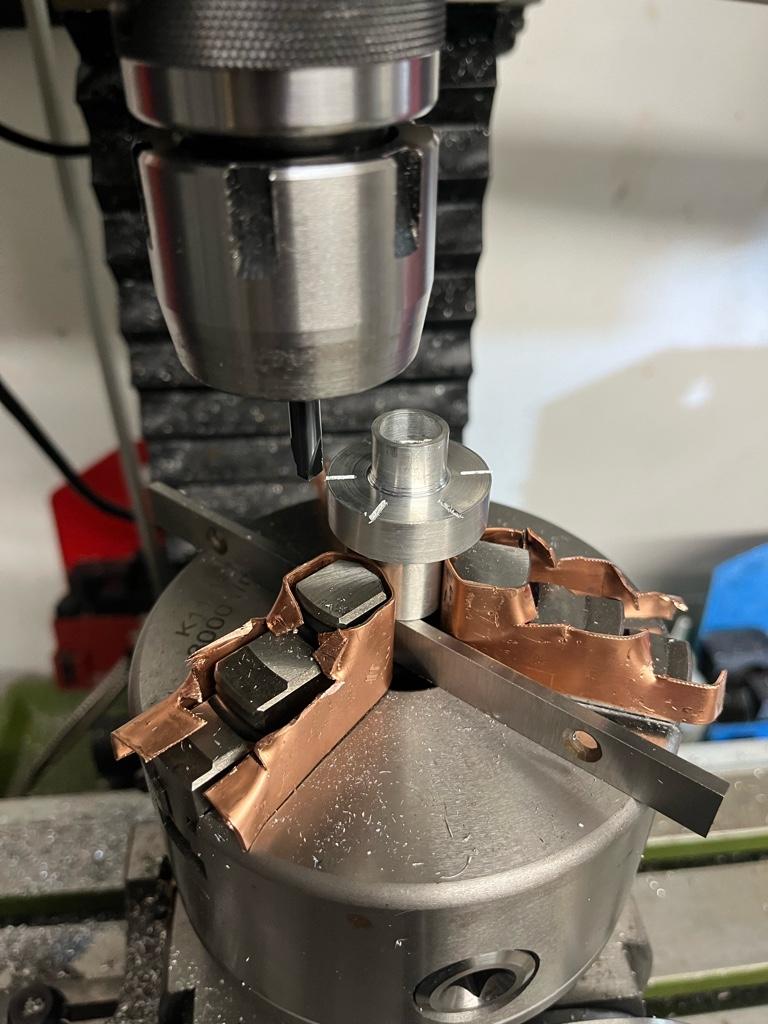
I need to broach a key way in the adaptor to sit over the key in the leadscrew of the mill.
Having never done that before (the list of ‘have not done befores’ is big but getting smaller after these first few projects), I need to get on to YouTube and figure it out. I don’t have a press of broach set, so I think I can either do this in the lathe with a ground HSS bit in the tool holder, gradually moving the compound out each pass, or do this in the mill with the quill gradually feeding the table with each pass. any recommendations as to which is easier (or less error prone), or even a different way?
Sent from my iPhone using Tapatalk
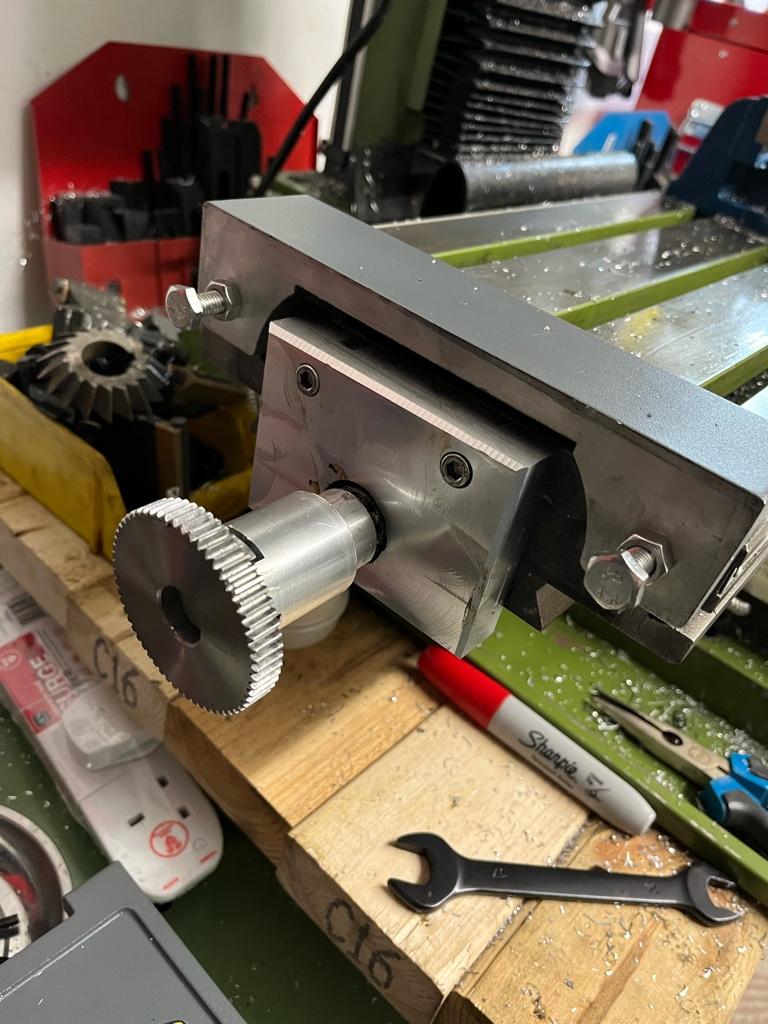
After successfully having two ‘learning experiences’ (failures):
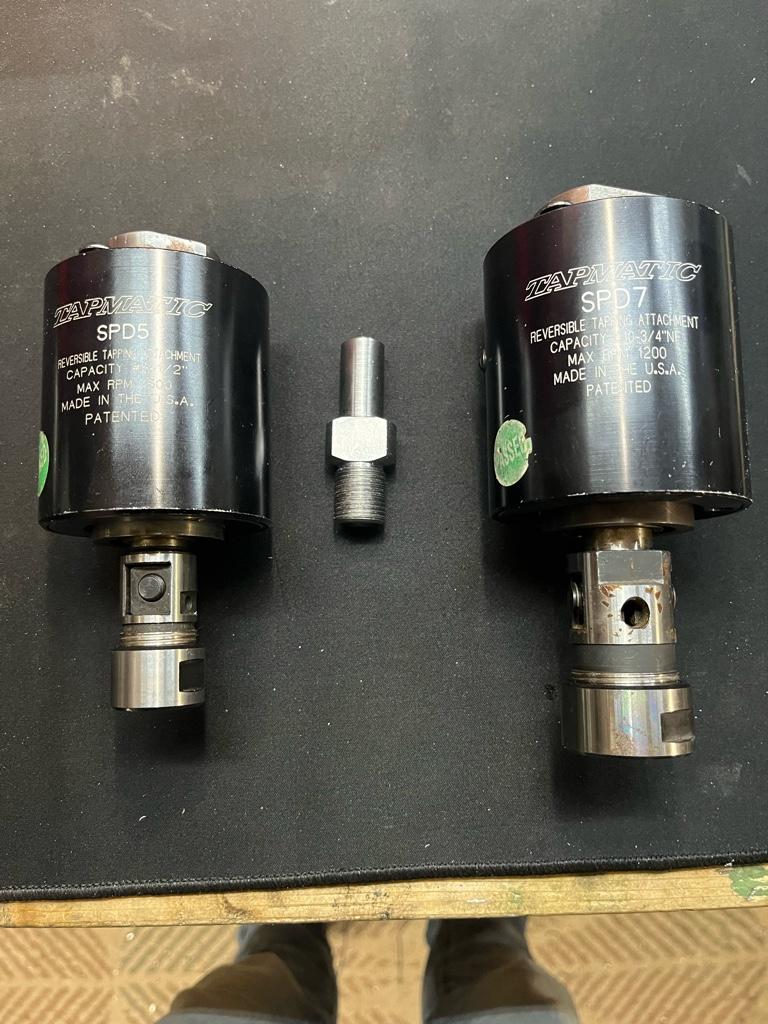
I machined an adaptor that works:
I need to broach a key way in the adaptor to sit over the key in the leadscrew of the mill.
Having never done that before (the list of ‘have not done befores’ is big but getting smaller after these first few projects), I need to get on to YouTube and figure it out. I don’t have a press of broach set, so I think I can either do this in the lathe with a ground HSS bit in the tool holder, gradually moving the compound out each pass, or do this in the mill with the quill gradually feeding the table with each pass. any recommendations as to which is easier (or less error prone), or even a different way?
Sent from my iPhone using Tapatalk

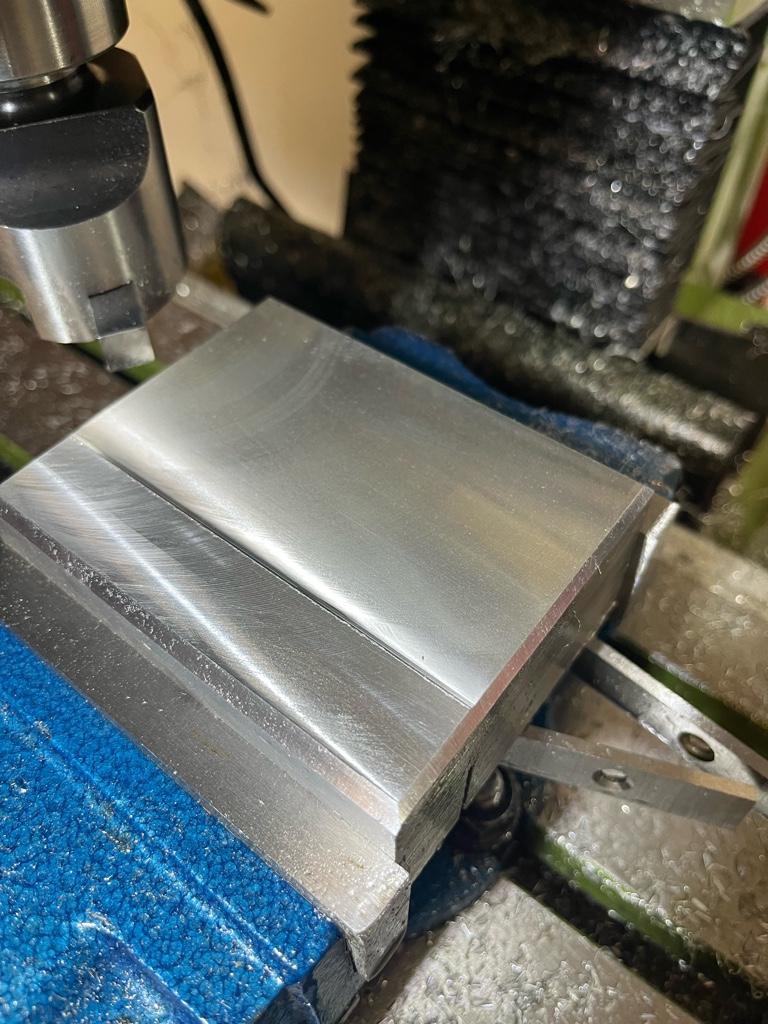
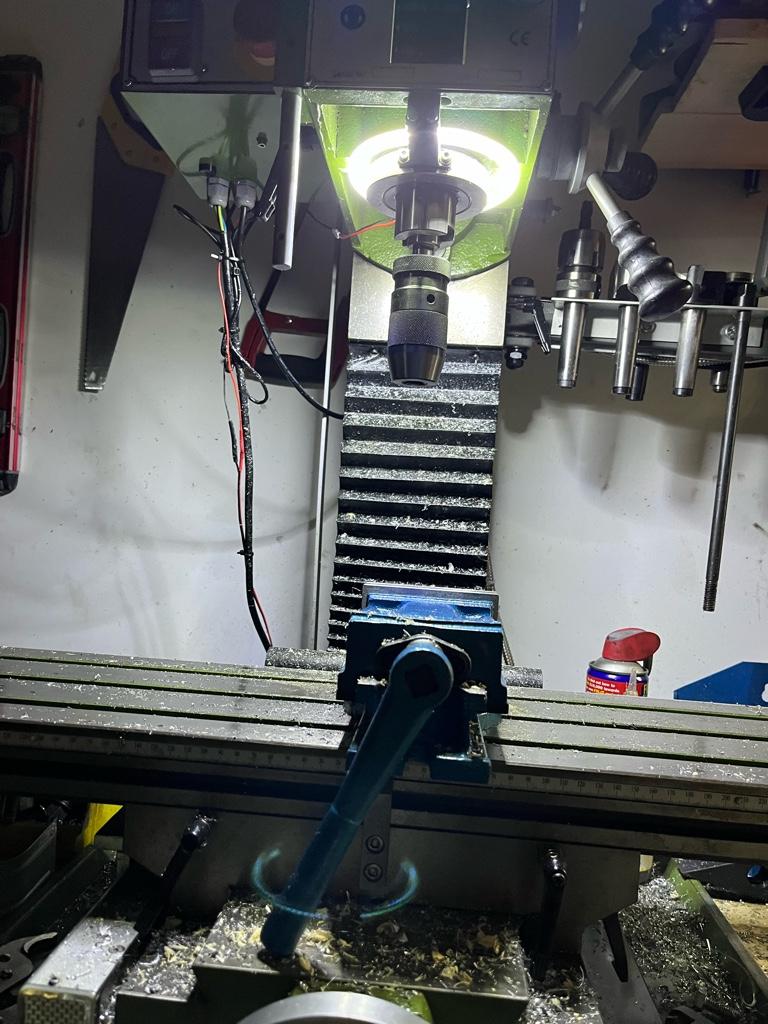
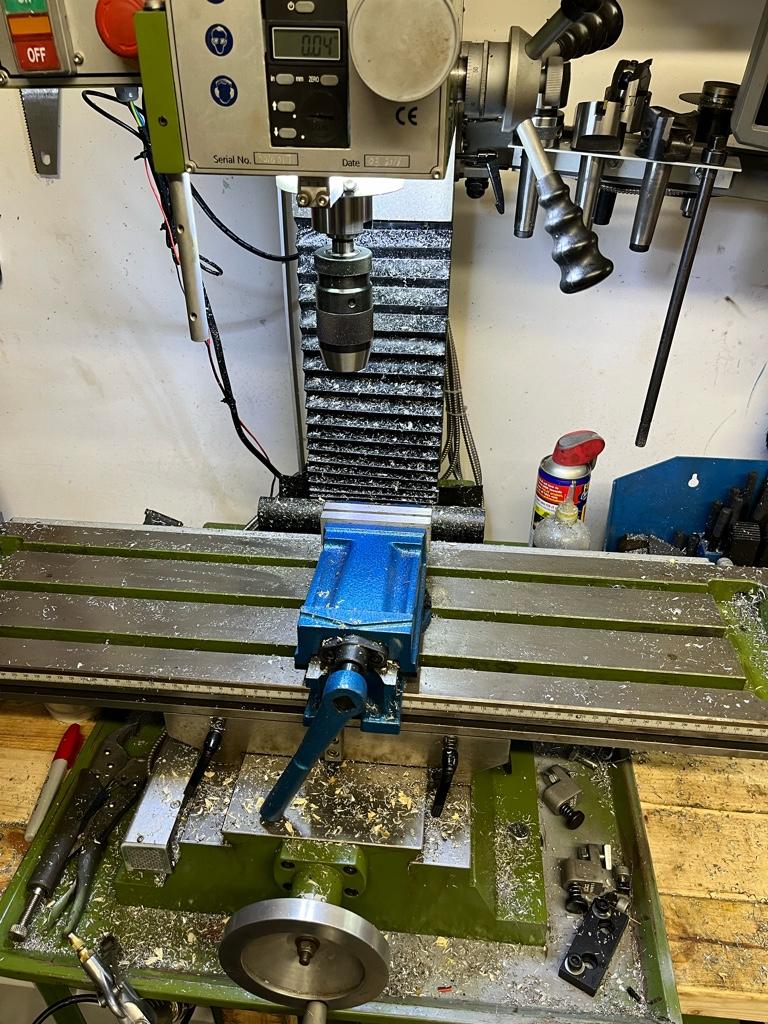
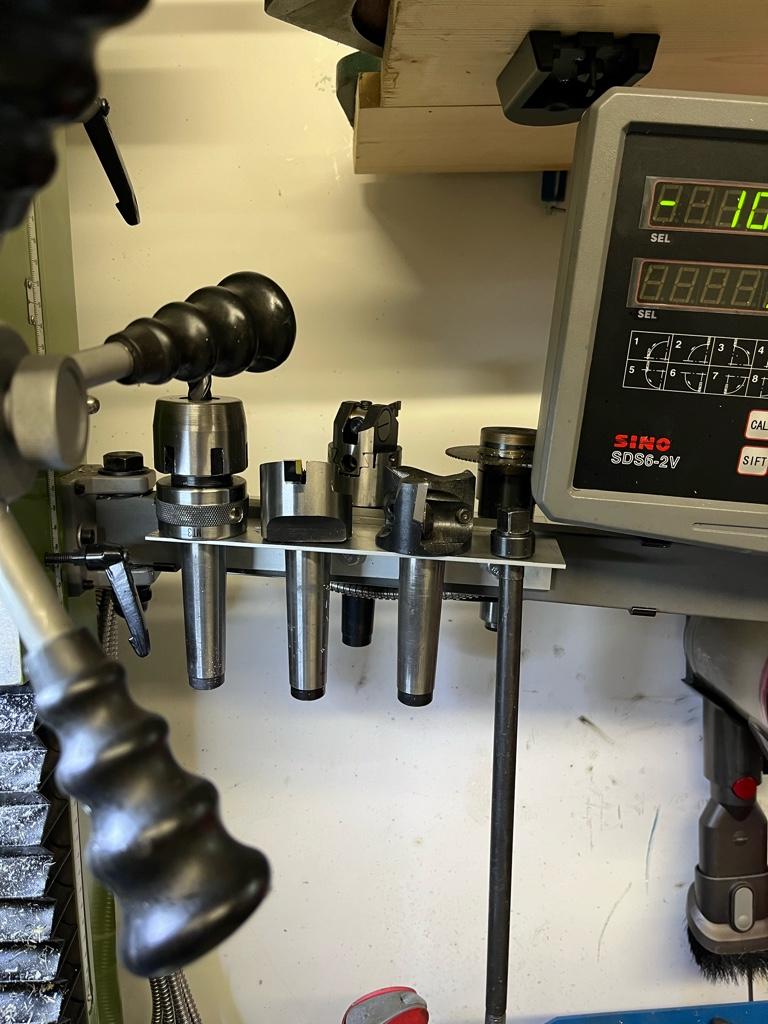
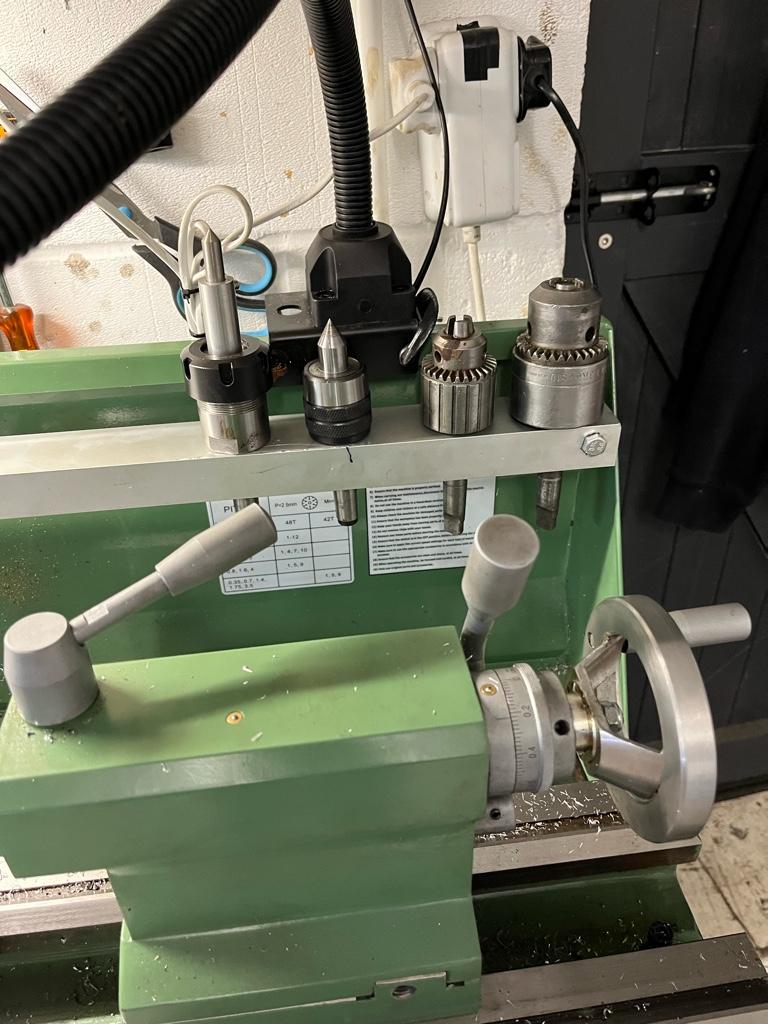
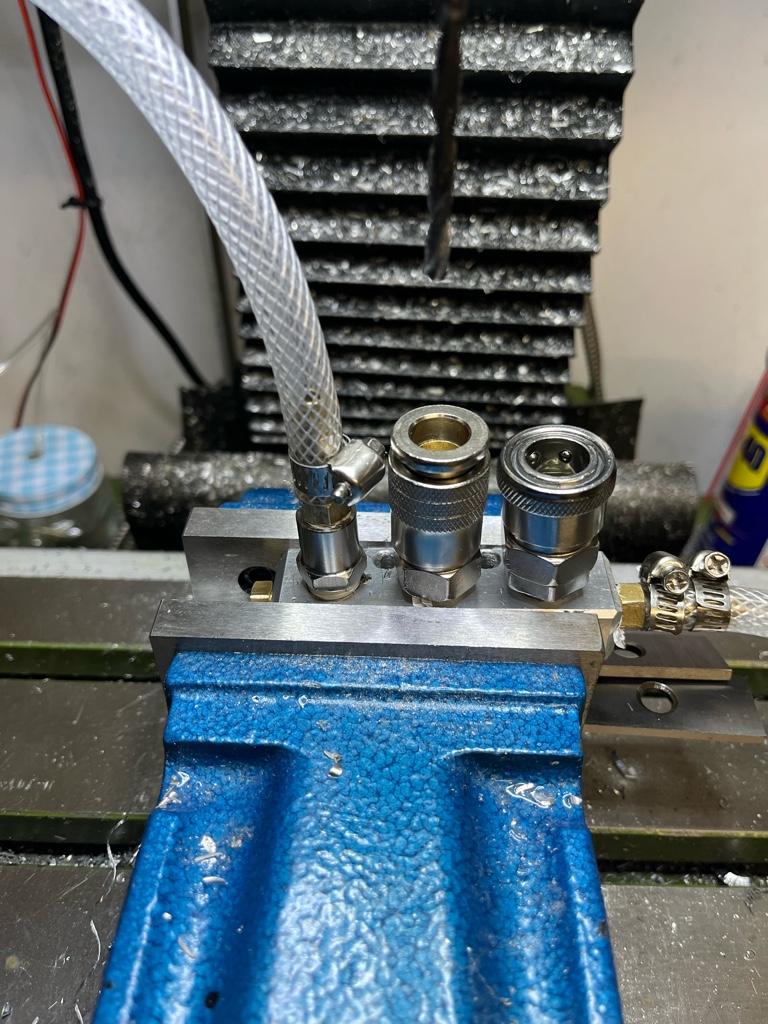
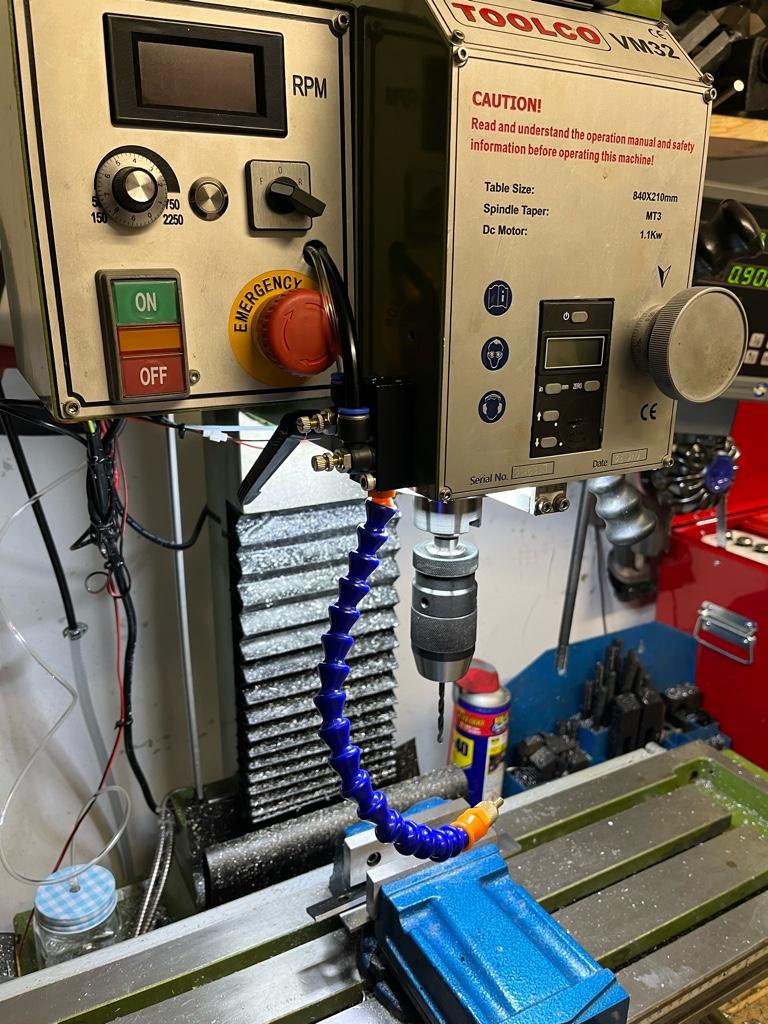
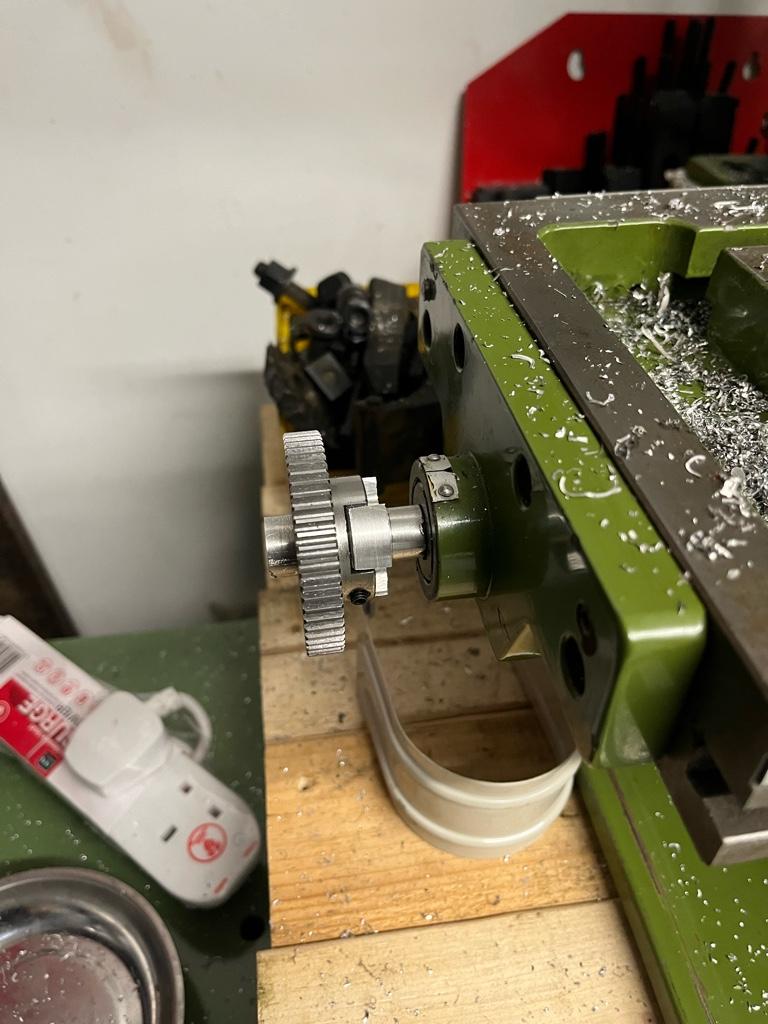
 just playing with it this afternoon made me realise just how much easier life on the mill will be with this compared to hand feeding the X axis making the plate for the power feed.