Going to try to rebuild my 10L

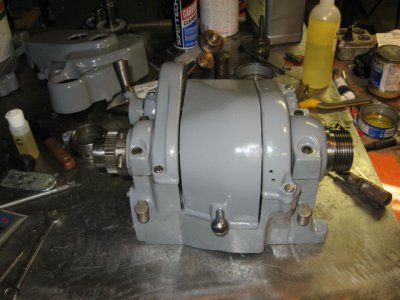
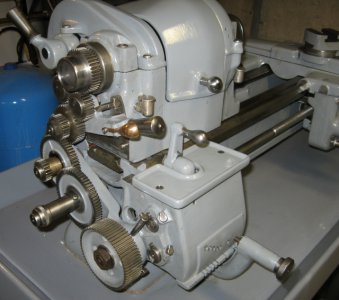
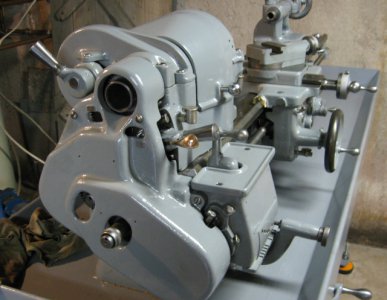
Its been a while but I got quite a bit done on my rebuild. I finished up the headstock and it went pretty smooth. Below are some before and after pictures. By the way I figures out if I deleted some of the pictures in one of my other posts it will now allow me to post pics,:)) I will be posting some pictures of the gearbox later.
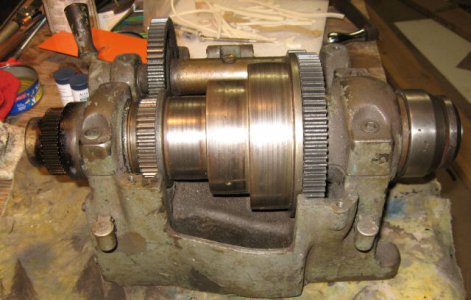
IMG_1337r.JPG IMG_1356r.JPG IMG_1362r.JPG

Cant wait to get this finished.
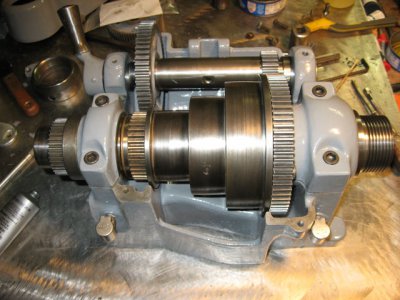
IMG_1337r.JPG IMG_1356r.JPG IMG_1362r.JPG
 
Looks darn good to me!
 
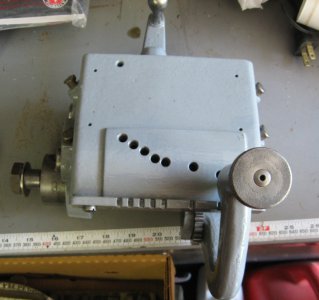
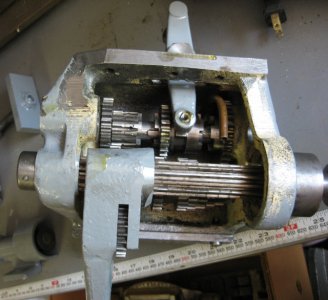
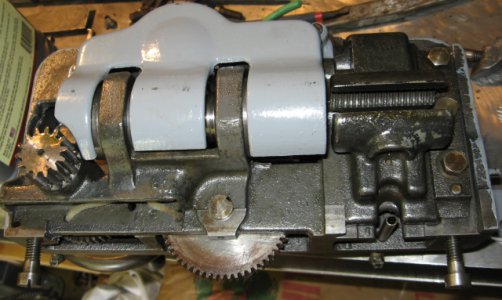
I'm finally back. I got the gearbox, apron and various other parts done during the winter, had to wait for spring to work on the bed. Kind of tough to clean in 3 feet of snow.
IMG_1543r.JPG

IMG_1544r.JPG

IMG_1546r.JPG

IMG_1547r.JPG


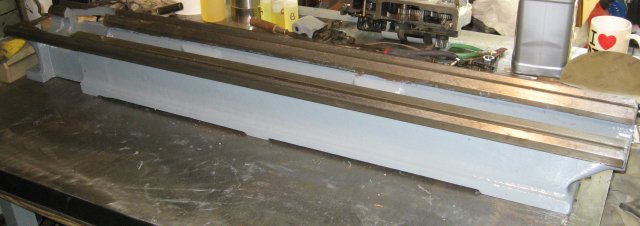
I have the bed done now and all painted.

IMG_1548r.JPG

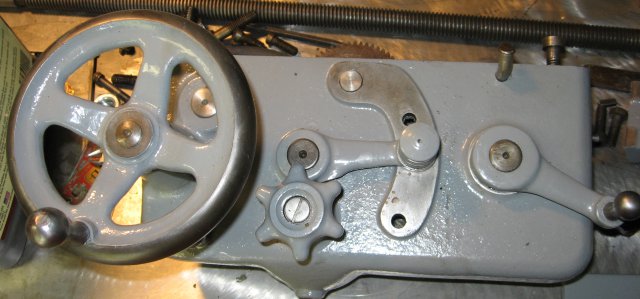
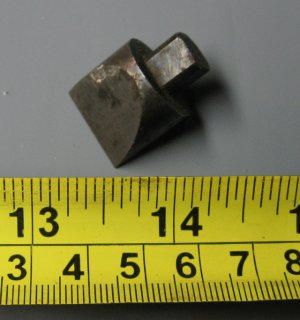
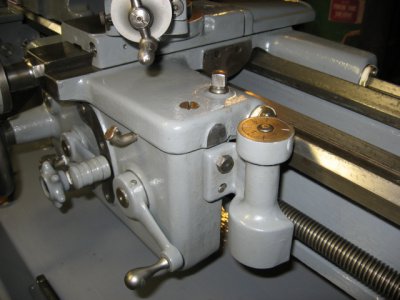
When tearing the lathe down the lathe this part fell out of the apron (I think) is this part of my lathe or just a stray part from some other type of machine that may have been there for 50 years.

IMG_1552r.JPG

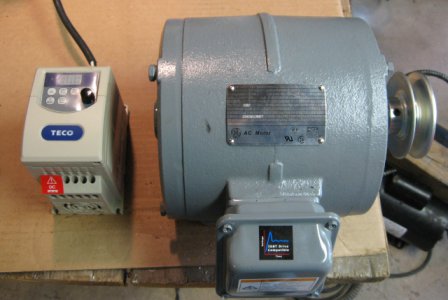
T have the cabinet all cleaned up and painted and am going to start to put this baby back together. I have decided to spring for a VFD drive, I have read a lot of good things about them. I saw a TECO with a 1 HP GE motor online for $189. That's it for now will post some more pics as I assemble it later.
 
She's looking great! Keep the pics coming as I am enjoying watching your rebuild come together.:encourage:
 
I've only rebuilt a 9a so not exactly like yours. I wish I would have repainted mine but it was too cold and I'm impatient. My only guess for the extra part is the half nut interlock. Mine did not look like that however. If you're certain that's not it then disregard. Otherwise you could check this by insuring that your half nut lever will not move when the feed select is either up or down. Nice job on the progress. It's interesting to get to know exactly how these old machines went together.
 
I got my VDF and motor. The VDF is a Teco JNEV-101-H1 and the motor is a 1hp GE, cost me $215 including shipping. Hooked it up real quick on the bench, I figured my highest spindle RPM will be about 1477, we will see when I have all the pulleys hooked up. I think I'm going to like it. I also just ordered an electrical box for the VDF a ON-OFF-ON switch and the remote keypad option for the VDF. I'm not sure if I want to use the original fwd/rev switch or the new one, we'll see.

IMG_1557r.JPG


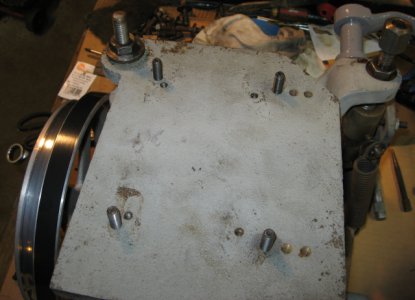
I modified the motor mounting plate on the underneath drive so I can easily mount the motor later by installing threaded studs. It was hard enough installing the underneath drive never mind with a 50 pound motor attached to it.

IMG_1554r.JPG

IMG_1555r.JPG

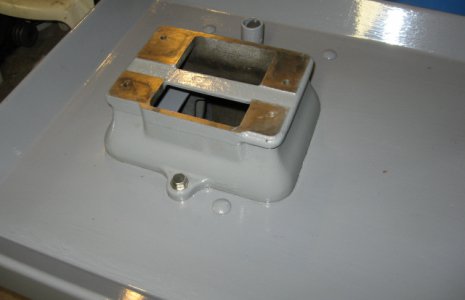
Mounted my first piece on the cabinet, I put RTV under it to seal it.:frog:

IMG_1564r.JPG

That's it for now, more to come. frog[1].png
 
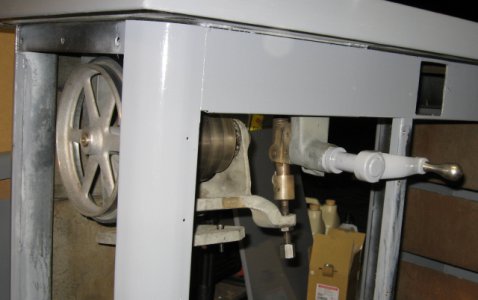
Got a lot more done, installed the leg under the tailstock end and had to shim the rear of it, as it is only adjustable one way. Earlier I said I RTV'ed the headstock leg to the bench, don't do it. I had to take it back off and it took like a half hour, I now have a gasket under it.

I bought some machine levelers and leveled the bench and threw the bed on, I will finish leveling it when it is fully assembled.

Everything went together pretty easy.


IMG_1571r.JPG

IMG_1572r.JPG

IMG_1575r.JPG

IMG_1577r.JPG

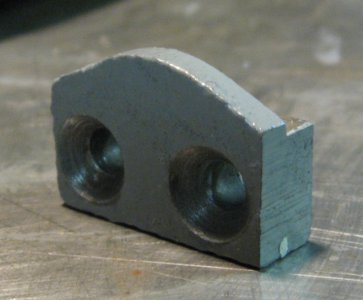
I have one little piece left over, can anyone tell me what it goes to, :dunno:it's about an inch long.

IMG_1578r.JPG

Next up will be hooking up my VFD in a nice box and mounting that on the back of the cabinet, also have to refinish all the metal tags. More to come.
 
That piece holds the reversing tumbler on the headstock. Look under the reversing lever on the headstock. You will see two tapped holes. Corresponding will be a slot in the reversing lever casting that will match up with the piece you have pictured. you can actually see one of the holes in the first picture of your last post.
 
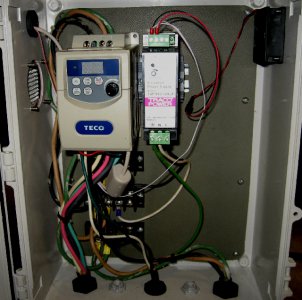
Latest Update. Mounted the VFD in the cabinet along with a 24V power supply for the VFD and a small fan. The cabinet is mounted on the back of the lathe.

IMG_1599.rJPG.jpg

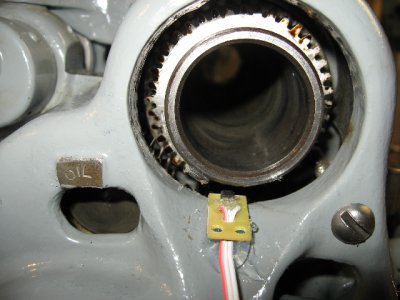
I finally found a location for the pickup for the tachometer, I just used RTV to fasten it in place and put the magnet on the spindle.

IMG_1603r.JPG

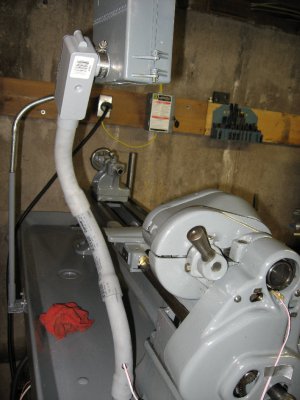
I bought some electrical conduit fittings and mounted a box on them which will hold the VFD remote keypad and tach readout.

IMG_1604r.JPG

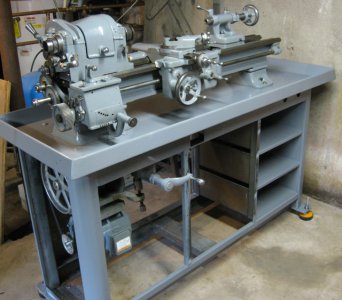
Here you can see the lathe all in one piece, finally, :beer:I still have to finish leveling it, (it's close) and refinishing all the tags.
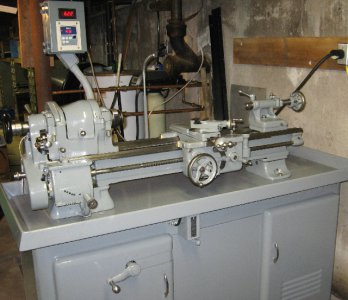
IMG_1606r.JPG

I used a serpentine belt for the drive which I laced together.

That's it for now.:D
 
Back
Top