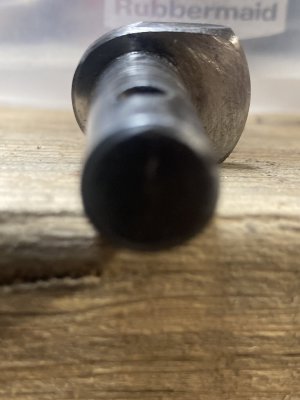
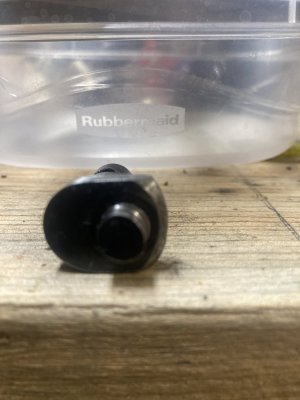
Magnetic chuck project

I think it would have been easier doing the offset journal in a second ops. Chuck your material and cut that diameter with the cross hole. Then put in 4jaw side you just cut in jaws. Offset material in chuck whatever that number is. Then cut that major diameter and the other side. Cut off excess done.
With how you cut the offset first you will have to flip the part, re-offset your offset to cut on center of the material. Then cut your shaft. That make sense?
Im not following you , the posts are offset to each other.
I guess I dont see a way to machine 2 posts off set 180’ with out offsetting the offset?
Guess I would have to see that on video?

Its been a struggle just trying to figure out how to lay it out
 
It’s actually a pretty easy process turning an offset. Only one of the shafts is off center. So you start with .500 material chuck it up. Cut the handle section of the shaft first let’s say .375 one inch long. Then flip the part putting the .375 in a 4jaw. Offset part whatever your stroke is for the magnet engagement. Once offset cut the other end journal. It looks as if you cut the offset journal first. It’s easier to cut it second.
 
It’s actually a pretty easy process turning an offset. Only one of the shafts is off center. So you start with .500 material chuck it up. Cut the handle section of the shaft first let’s say .375 one inch long. Then flip the part putting the .375 in a 4jaw. Offset part whatever your stroke is for the magnet engagement. Once offset cut the other end journal. It looks as if you cut the offset journal first. It’s easier to cut it second.
Im still left with figuring out how to place the other shafts off set. Been eye balling it trying to figure out how to measure it and mark it ?
image.jpgimage.jpg
I guess I was fooled by this offset of the middle section or journal ?

I get what your saying.
I could have center turned one post , do the offset on the other side and then mill grind as needed shape in middle.

I tried turning down close to the “middle” size then offsetting
 
Chuck it up where you can rotate it. Put an indicator on the eccentric. Measure the highest and lowest points. Bob's yer uncle

Sent from my SM-S911U using Tapatalk
 
Chuck it up where you can rotate it. Put an indicator on the eccentric. Measure the highest and lowest points. Bob's yer uncle

Sent from my SM-S911U using Tapatalk
Completely new to this
Not sure how that helps me locate the other offset location correctly?
 
Hold the part you just machined, which is offset to the rest of the bar; leave enough sticking out of the 4-jaw to get a dial indicator on the same portion held in the jaws. (The indicator tip will be right next to the jaws, just to the spindle side of the larger portion.)

Adjust the 4jaw so that the indicator TIR is consistent with your desired offset. With the jaws a little loose, rotate the part so that the portion you will machine is as centered on the spindle rotation (or tailstock, same thing) as possible. It doesn’t have to be perfect. Finish tightening the 4jaw to get the indicator TIR to the desired value.

Now when you machine the remaining portion, it will be offset from the first-machined portion by the desired amount. This method won’t achieve perfect alignment of the two portions relative to the original stock, but will produce a crank with the desired offset. You don’t care about the crank portion between the two offset shafts; you will probably shape that in-between portion on a belt sander after finishing the two shaft portions.
I will get there eventually
I still dont know how determine the offset?
 
I will get there eventually
I still dont know how determine the offset?

What about: chuck the original by one side in a 3jaw (or centered in a 4jaw). Use indicator to measure TIR of the other, offset, side. Use that measured TIR when setting up the new part in the 4jaw.

Or: using another method, measure the offset of the two shafts in the original part. Use double that measurement for dialing in the 4jaw TIR.
Im going to have to brew a cup of coffee and take all this in:
From words to visualization is just not kicking in
 
Back
Top