-
Welcome back Guest! Did you know you can mentor other members here at H-M? If not, please check out our Relaunch of Hobby Machinist Mentoring Program!
You are using an out of date browser. It may not display this or other websites correctly.
You should upgrade or use an alternative browser.
You should upgrade or use an alternative browser.
Mosin Rehab Project 2015
- Thread starter Holescreek
- Start date
- Joined
- Nov 1, 2014
- Messages
- 23
Wow!
Beautiful work! Insane amount of effort! We sporterize and accurize M-Ns, but nothing like
your project!
Hope it's a one holer!
If you are interested, email me or post and i will describe my bedding analysis technique
that uses a dial indicator.
Congrats
Beautiful work! Insane amount of effort! We sporterize and accurize M-Ns, but nothing like
your project!
Hope it's a one holer!
If you are interested, email me or post and i will describe my bedding analysis technique
that uses a dial indicator.
Congrats
- Joined
- Nov 10, 2013
- Messages
- 837
Really nice workmanship, curious as to finish weight?
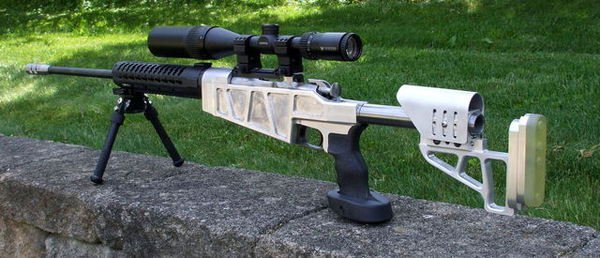
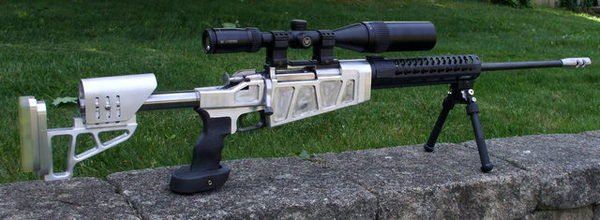
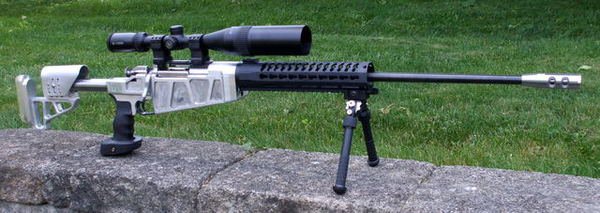
I weighed it he day I did the test fit. 15 pounds unloaded. Too heavy for a hunting/carry rifle but perfect for a bench shooter. I got the stock bedded last weekend and have been taking care of some minor details in between spring time household chores. I plan on assembling it again and taking it out for a test shoot before breaking it down again for finishing.
- Joined
- Aug 24, 2013
- Messages
- 73
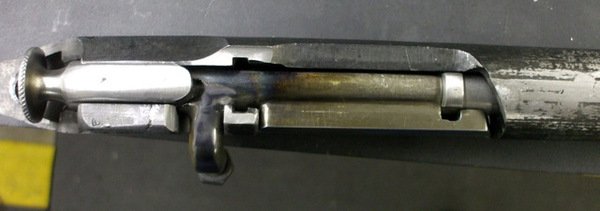
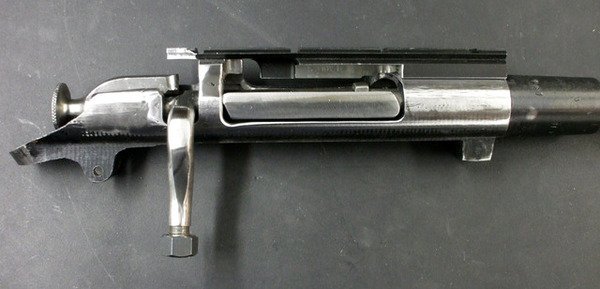
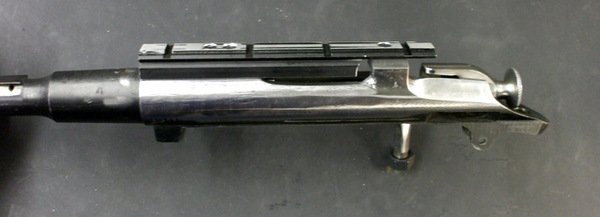
While in the mill I machined a flat area above the stripper clip gate to accept a bridge for a rear scope mount.
I welded the bridge onto the receiver then re-cut the underside of the scope rail to make perfect contact with the receiver parallel to the bore and trimmed the rear bridge height to level the rail.
I'll go back and pretty everything up when I'm closer to being done.
I need to put some thought into the trigger, Timney's are slightly more expensive than a whole new rifle and Bold doesn't make one for the M-N. I've been told that I can modify the M-N to accept a Bold Mauser trigger assy but haven't looked into it yet. I'm working on ideas for a stock, it'll probably be aluminum similar to the Mauser.
- Joined
- Nov 10, 2013
- Messages
- 837
Got the bolt knob and the stock tube plug made last weekend:
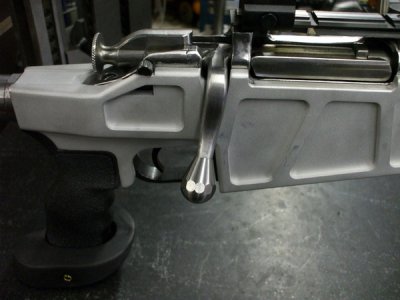
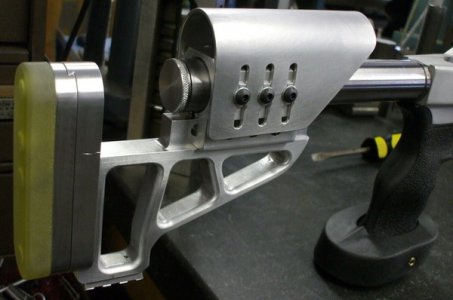
The stock tube is 4130 left over from my AR days when I used to make my own buffer tubes. The plugs are silver soldered in but the rear plug is threaded into an insert so I can add weight if necessary later on. I'll silver solder the bolt knob on and blend the joint later. I also added a piece of pic rail to the bottom of the stock for a monopod to come later.
I have the gun reassembled and ready for a test fire after I get it bore sighted.
- Joined
- Nov 10, 2013
- Messages
- 837
I put the rifle together last weekend (unfinished) to give it a run and test out the effectiveness of the brake. I didn't see much if any "braking" going on and am already finishing up it's replacement. I shot some video to use for analysis:
- Joined
- Jun 29, 2015
- Messages
- 44
Really interested in this build looks like what im looking for to do to my. 303 british. Really interested in how you came up with stock and lower design.
- Joined
- Nov 10, 2013
- Messages
- 837
I took the summer off to get long neglected home maintenance and remodeling done, I'm back on the rifle now.
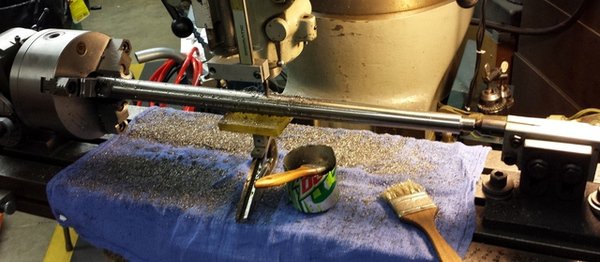
The accuracy of the original barrel was disappointing at best so I ordered a barrel blank and started over. I got the barrel turned, threaded and chambered then set it up and cut the flutes down the length.
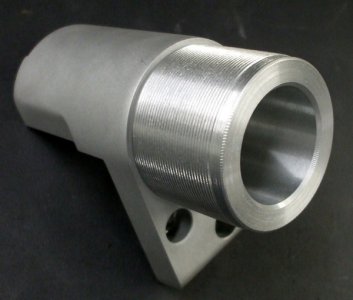
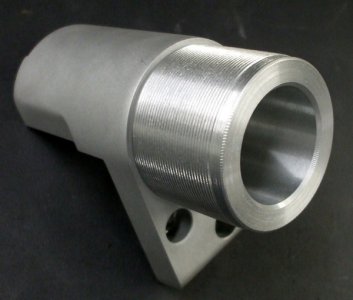
The new barrel is considerably larger in diameter than the original and the adapter I made to hold the hand guard onto the receiver didn't have a large enough hole through it for the barrel to fit. A short time with some calipers and my CAD program and I had a solution.
Pics for a better explanation:
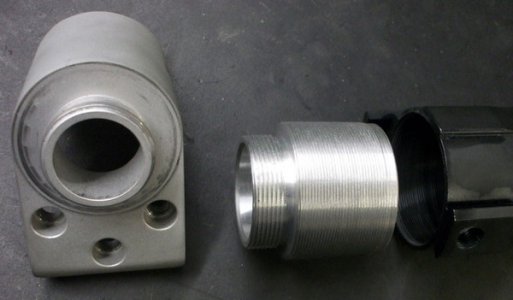
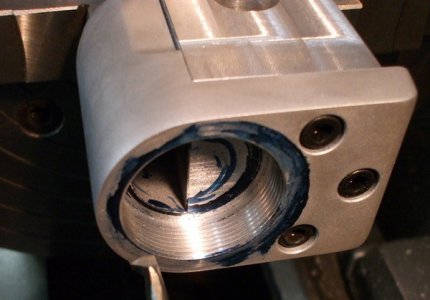
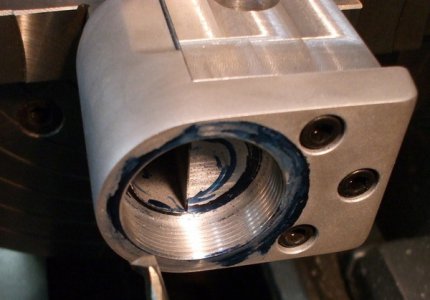
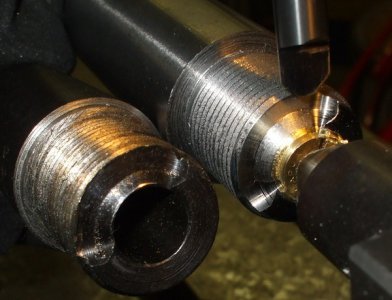
I needed to make an adapter for the handguard with a larger hole through the middle for the new fat barrel. The handguard is metric of course, M47x1. My lathe doesn't do metric but 26 TPI is very close to 1mm. I made the other end of the adapter 1.5"-18 and the hole through the middle is 1.225" ID.
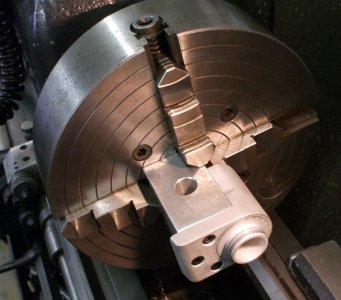
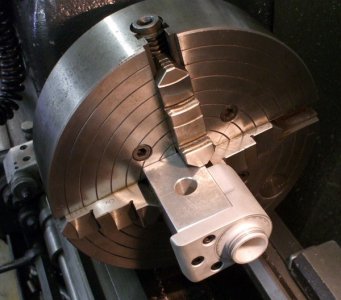
Today I made an adapter for the receiver piece so I could turn it in the 4 jaw chuck, whacked the threads off and internally threaded it for the adapter.
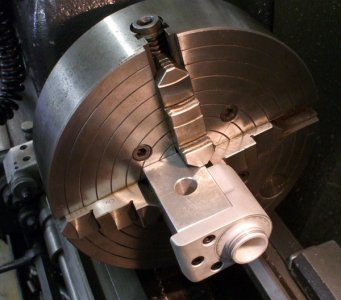
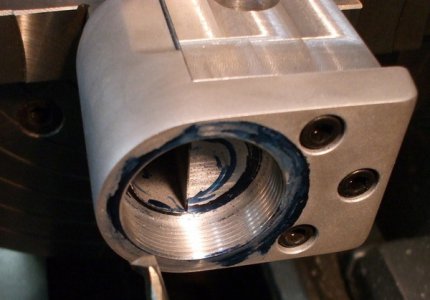
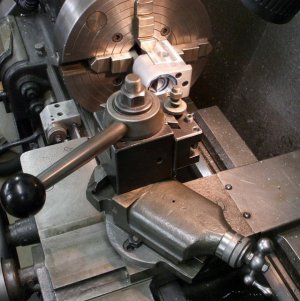
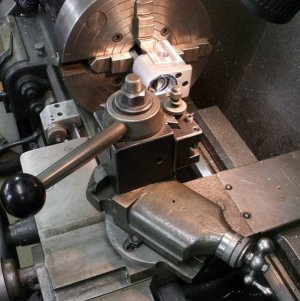
Since it comes up a lot here is the setup I use for internal threading:
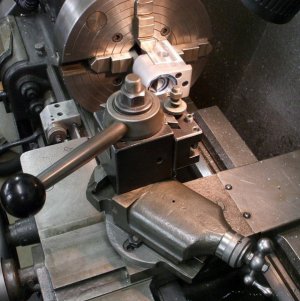
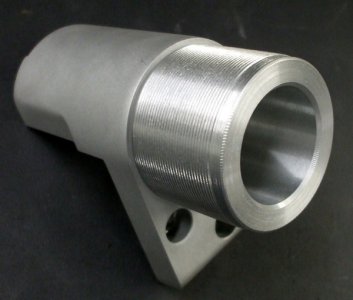
The finished piece assembled:

Now I need to get the barrel extractor cut done and the barrel permanently mounted then grind out the previous bedding in the barrel channel of the stock and re bed the action with the new barrel.
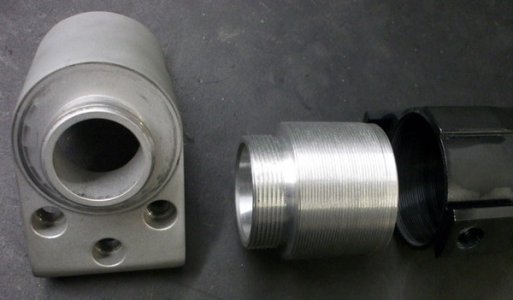
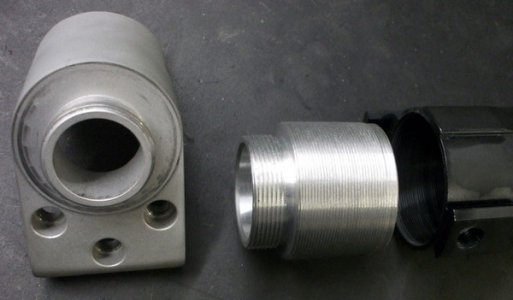


The accuracy of the original barrel was disappointing at best so I ordered a barrel blank and started over. I got the barrel turned, threaded and chambered then set it up and cut the flutes down the length.

The new barrel is considerably larger in diameter than the original and the adapter I made to hold the hand guard onto the receiver didn't have a large enough hole through it for the barrel to fit. A short time with some calipers and my CAD program and I had a solution.
Pics for a better explanation:

I needed to make an adapter for the handguard with a larger hole through the middle for the new fat barrel. The handguard is metric of course, M47x1. My lathe doesn't do metric but 26 TPI is very close to 1mm. I made the other end of the adapter 1.5"-18 and the hole through the middle is 1.225" ID.
Today I made an adapter for the receiver piece so I could turn it in the 4 jaw chuck, whacked the threads off and internally threaded it for the adapter.


Since it comes up a lot here is the setup I use for internal threading:


The finished piece assembled:

Now I need to get the barrel extractor cut done and the barrel permanently mounted then grind out the previous bedding in the barrel channel of the stock and re bed the action with the new barrel.


Last edited:
- Joined
- Nov 10, 2013
- Messages
- 837
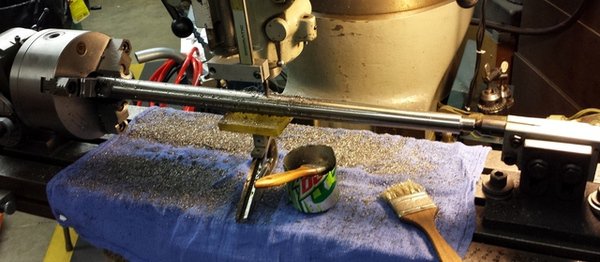
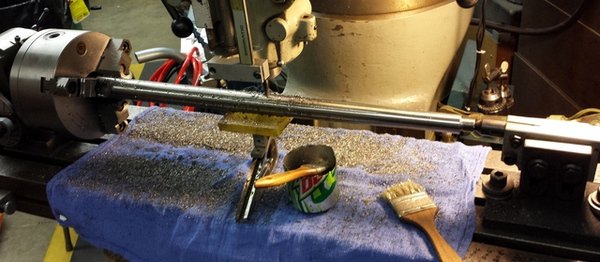
Yesterday I figured out how to cut the extractor groove since the barrel is too large to fit in a 5C collet (at the chamber end) like a PSL barrel. Lucky for me I still had the mill set up for fluting and hadn't put the vise back on yet. I pulled the dividing head off and mounted the little Harding indexer to control the small end and used a dead center inside a cartridge primer pocket on the chamber end.
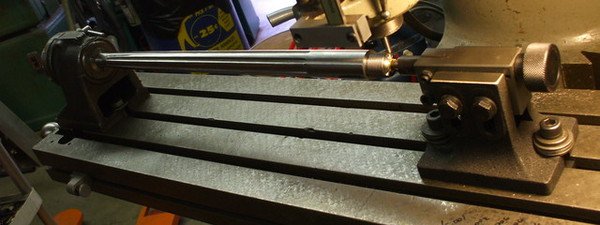
I used the carbide cutter I ground for PSL extractor grooves and matched the Mosin dimensions.
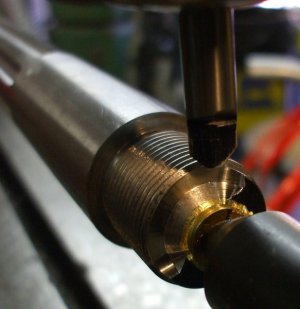

I used the carbide cutter I ground for PSL extractor grooves and matched the Mosin dimensions.


