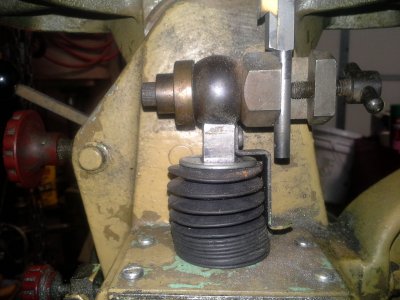
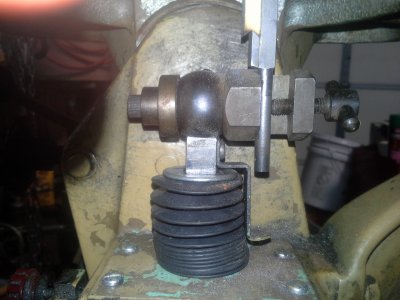
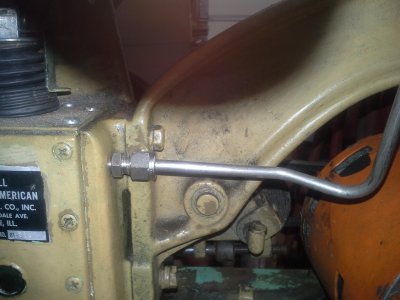
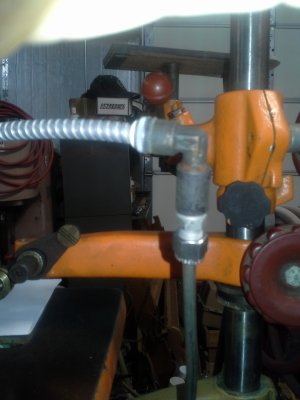
Need advice on rebuilding bellows on die filer.

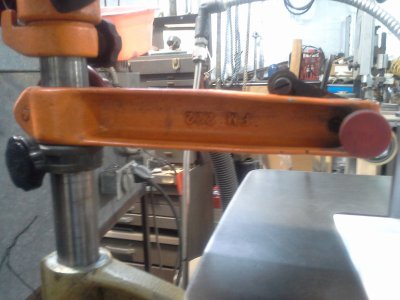
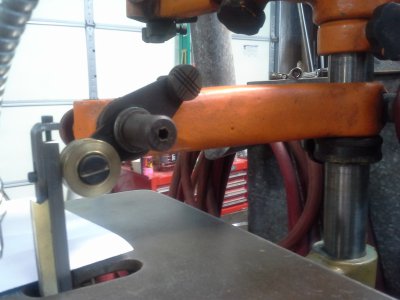
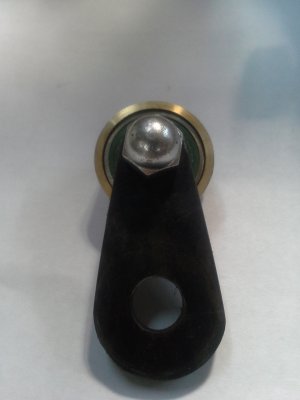
More pictures of filer roller,over arm and file holding mechanism on the underside of the table.
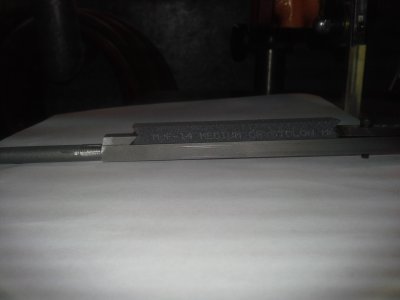
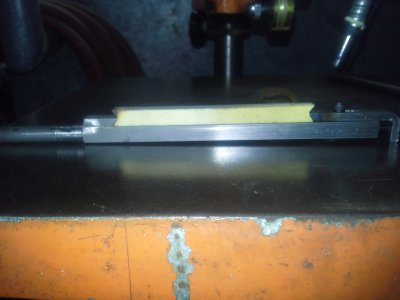
There is also some pics of the honing stone attachment that All Amreican Tool made.
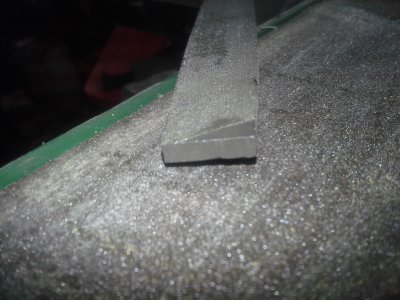
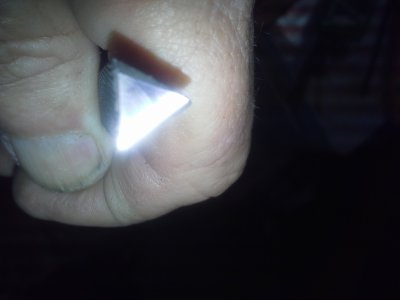
The one pictured are homeamde copies of their tool. I found a place that sells 1/4" square stones that are 6" long,so I made the holder take 3" pieces. They are cut into halves with a diamond wheel in a Dremel tool and then chevron notched with another diamond tool that I found at the Chinese Tool Store (Harbor Freight). The final pics are of the end of files that I honed to a smooth finish. Not a mirror,but I can't feel the tiny scratches with my Mark 1 precision fingernail. Hard fitting parts just became easy!
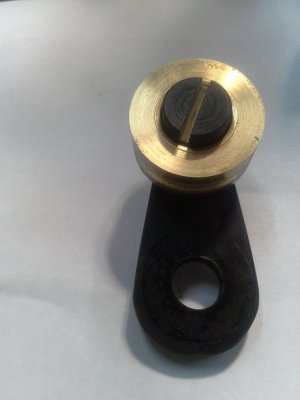
phone pics 745.jpg phone pics 746.jpg phone pics 747.jpg phone pics 748.jpg phone pics 749.jpg phone pics 750.jpg phone pics 751.jpg phone pics 752.jpg phone pics 753.jpg phone pics 754.jpg phone pics 755.jpg phone pics 756.jpg phone pics 757.jpg
 
AWESOME JOB AND PICTURES!!
Thank You, I finally understand how and why you made that teardrop piece.
Learned alot from your pictures and clear explanations.
You just inspired the heck out of me!
Thanks,
Jon
 
A collar connects two pipes together with female threads in each end.
The nipple is 2.5 " long to allow drainage without making a mess.
I removed the table. Drain gearbox. Take side cover off. Remove the 6 screws that hold the top plate to the gear box. There are two plates,the bellows bottom is sandwiched between them. Remove the two allen screws that hold the 1/2 inch square to the scotch yoke.
Remove the top plate and shaft. The square shaft has two "washers" at it's top. The top one will move upward to free the top of the bellows. Replace the bellows and reassamble in reverse order. Pretty straight forward I thought. I used 6" of bellows material. I think it would be able to use only 5" but I bought a foot so I just cut it in half.
I put the drain in the lower left corner of the front of the gear case. The nipple is screwed into the box and a collar is on the outer end with a plug to allow drainage into a container to avoid a messy cleanup.
These pics are all I have for now. I can take more if needed.
Well,well,well, the pics are upside down or sideways.........hopefully you can see what you need to see anyway.....

View attachment 70510 View attachment 70511 View attachment 70512
 
I'm playing with the remains of an All-American die filer and just patched the cracked areas of the rubber with some bicycle inner tube patches. It seems to be working so far, just clean the area thoroughly and rough the rubber up well. Patch kits are cheap-support your local bike shop!
 
I'm working on my All American die filer. It was full grease dirt dust grime and crud. The bellows is shot and I ordered the part suggested from McMaster Carr. The entire machine has been torn down and I'm seeing the real chance of oil leaks if I don't get the maching back together correctly. Besides making new gaskets I didn't see a sealing system for the plastic head screws that adjust the brass bearing which control up and down movement of the vertical shaft. The manual I have list a tube of permatex no 2 for sealing the housing to base. What should I use to keep oil from leaking past the plastic head screws?
 
That's an excellent question. They do sell a number of tubed products at Mcmaster-Carr.
I love that machine, runs much slower than my butterfly die filer.
 
Back
Top