New bike project.

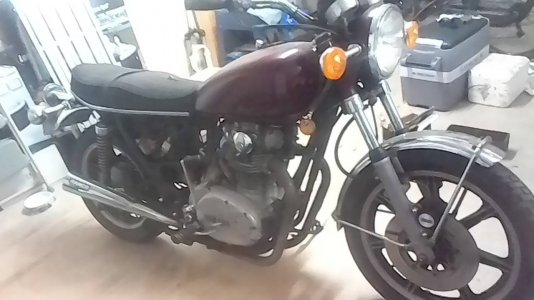
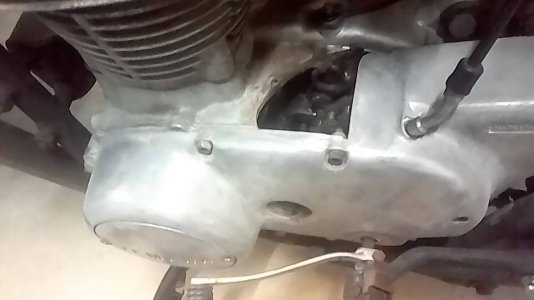
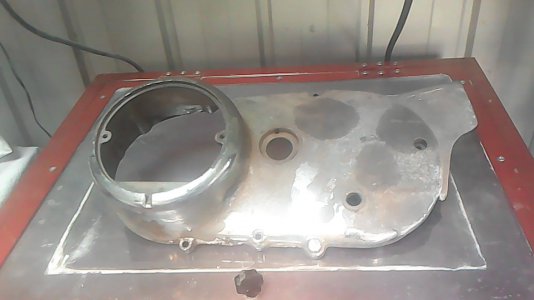
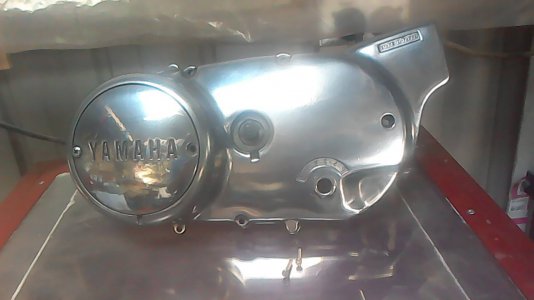
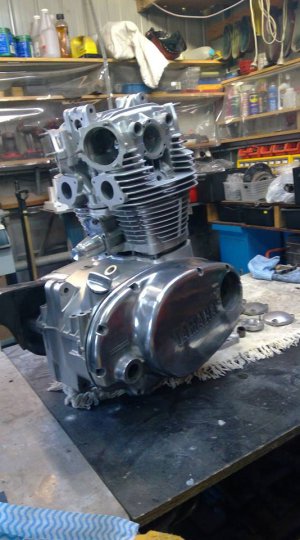
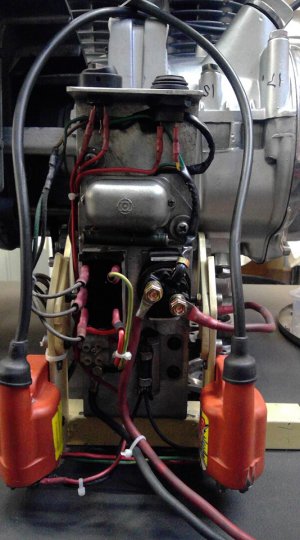
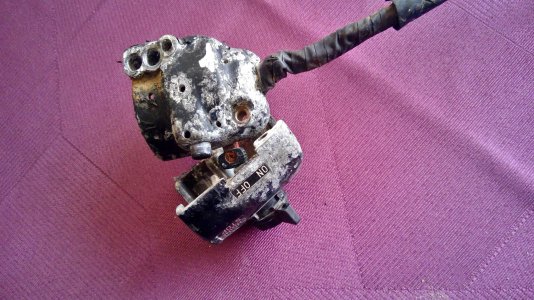
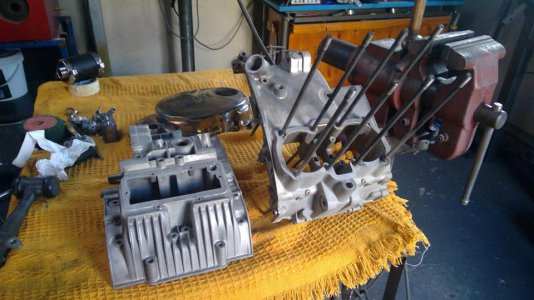
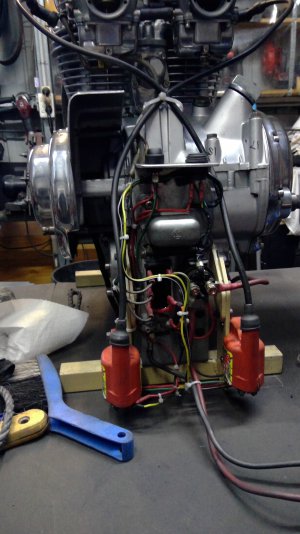
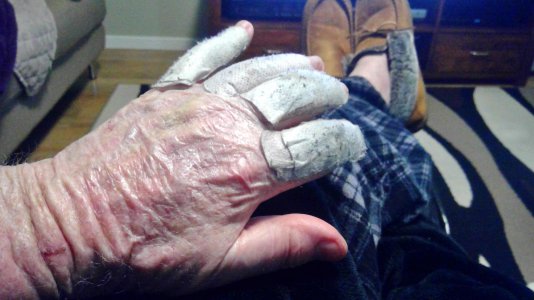
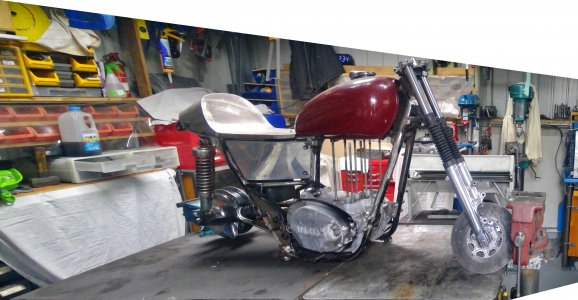
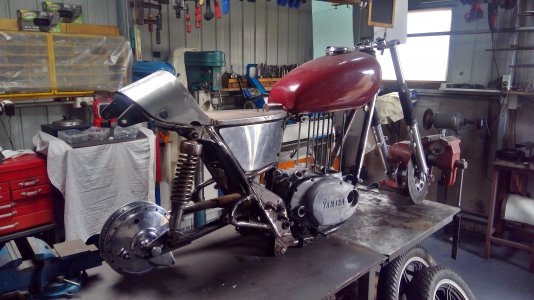
New project, a bike with a motor this time, I’ve been working on this for a while so done quite a bit so far. It’s been 20 years since I sat or worked on a bike, last one was a Triumph Bonny, they just cost too much these days so I settled for a 74 TX650 wreck and boy did it turn out to be a wreck. I have psoriatic arthritis so I’ve largely lost the use of my hands but I manage a few hours work on it every day. I’ll never be able to ride it thanks to the PsA so this will be a long term project: Every nut, bolt spoke, piece of steel was rusted through. Inspection also revealed the chain had come off at same stage, as well as removing the top section of the crankcase as in the picture, it also tore the top section of the gearbox drum shifter bearing housing off. After tearing the engine apart I sent off for a second hand set of crankcase.

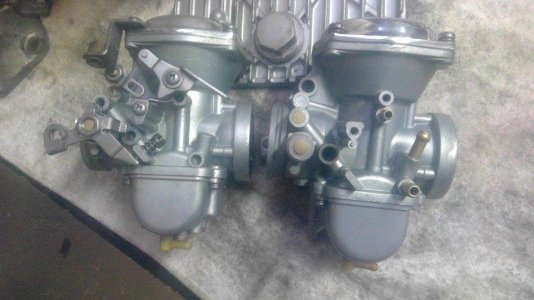
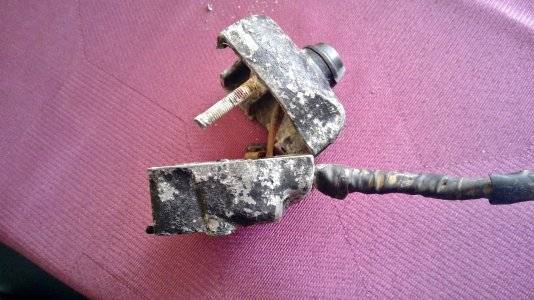
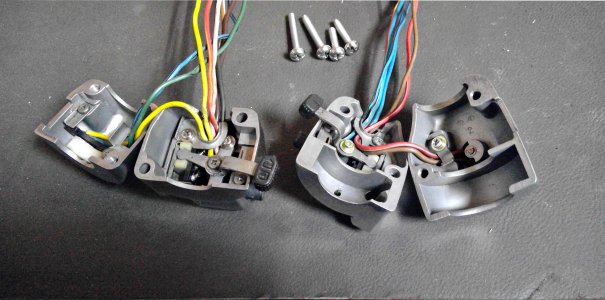
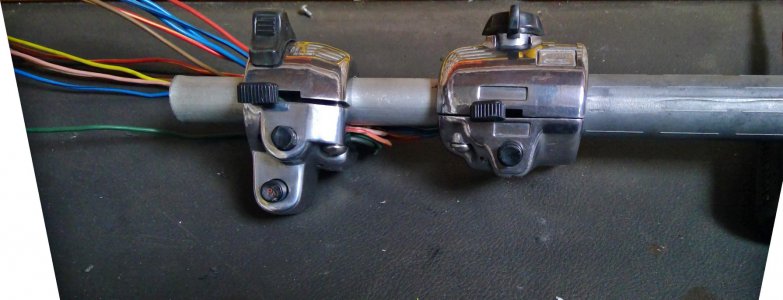
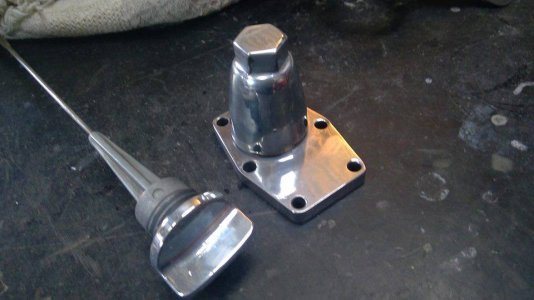
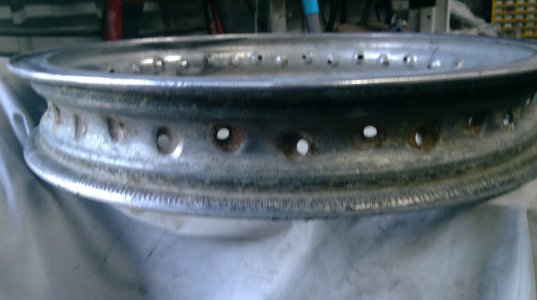
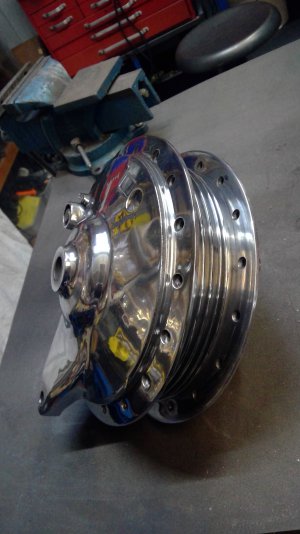
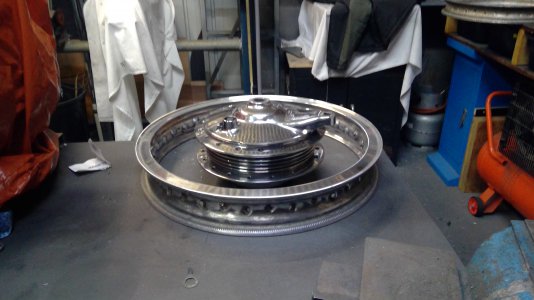
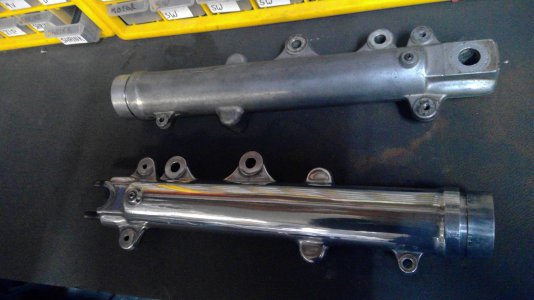
The bike came with an extra set of carbs, mag wheels and a pair of spoked wheels and a box of assorted bits and pieces. While I was waiting for the cases, I cut the rusted spokes off the wheels, stuck the hubs on the lathe, trued up the castings and then polished them using cloth wheels and progressively finer compounds. The rims, which were badly damaged from tyre irons and badly pitted from oxidisation, were repaired, ground and polished. While on a polishing kick I also polished the top triple tree, lower fork sliders, brake backing plate, brake fluid distributor, brake master cylinr and also bead blasted the switches and polished them up. Polishing on the buffer machine really hurts my hands so I have to loop a roop around my neck, tie it to the item to be polished to support it and then polish. It took quite a while to do the polishing as I could only manage an hour or under each day, any more and I’d be laid up recouperating for a few days. A very painful job for me, polishing. Some pics of the journey:
 

Attachments

  • yambarn.jpg
    yambarn.jpg
    88.1 KB · Views: 821,230
  • casehole.jpg
    casehole.jpg
    58.7 KB · Views: 149
  • carbs1.jpg
    carbs1.jpg
    70.8 KB · Views: 106
  • cover.jpg
    cover.jpg
    61.4 KB · Views: 92
  • cover2.jpg
    cover2.jpg
    60.1 KB · Views: 100
  • engine.jpg
    engine.jpg
    77.8 KB · Views: 103
  • electric1.jpg
    electric1.jpg
    148.4 KB · Views: 101
  • switch.jpg
    switch.jpg
    530.7 KB · Views: 102
  • switch1.jpg
    switch1.jpg
    672.8 KB · Views: 98
  • switch 5.jpg
    switch 5.jpg
    409.8 KB · Views: 91
  • switch 4.jpg
    switch 4.jpg
    189 KB · Views: 90
  • cases 1.jpg
    cases 1.jpg
    86.3 KB · Views: 86
  • dipcam.jpg
    dipcam.jpg
    55.6 KB · Views: 83
  • rim.jpg
    rim.jpg
    216.8 KB · Views: 86
  • WIN_20190808_17_09_25_Pro.jpg
    WIN_20190808_17_09_25_Pro.jpg
    574.2 KB · Views: 88
  • WIN_20190808_17_04_49_Pro.jpg
    WIN_20190808_17_04_49_Pro.jpg
    1.9 MB · Views: 89
  • sliders.jpg
    sliders.jpg
    362.8 KB · Views: 89
  • WIN_20190811_17_41_04_Pro.jpg
    WIN_20190811_17_41_04_Pro.jpg
    653.3 KB · Views: 108
Very nice work. I have a Yamaha TT500 I'm customizing as a tracker and also have an XS650 engine that I'd love to find an old Rickman frame for. Some day maybe, all this is 2000 miles away right now so it will have to wait.

John
I have the remains of a 1981 TT500 sitting in the shed. Silver and Black tank model. I ran IT 400 front end and piggyback rear shocks, fitted a 17" rear rim, 2" longer swingarm, really radical cam, 36 mm Mikuni, custom exhaust,(power didn't start until 2500),then hang on, Renthal bars, 20 litre plastic tank for long distance enduros. Getting old as I can't remember the brand names.
Was a handful in the tight so used to swap cams for some tracks but on an open run was bloody awesome.
One of the best bikes I ever had for playing Ivan major on. Mindblowing beach bike. Nothing like topping the biggest dune around.
Nothing beats a 500 thumper for pure fun! Make sure you fit a bigger oil feed pipe to the top end as the starve a bit for oil at peak revs. Valves are plenty big enough as is just clean up the ports and abrasive blast when done. A bit of rugosity helps with fuel atomisation. Pay attention to the transition area under the inlet valve as it is a bit not good on the short side.

I actually had three of them but the '81 was the one I really went to town on. Bought new and was having a full on competition with a mate who bought one of those Honda things.
Man, just writing this has bought back some memories!
 
I’ve always wanted one of those big Yamaha thumpers. I think it’s the Manx vibe that I like.


Sent from my iPhone using Tapatalk
 
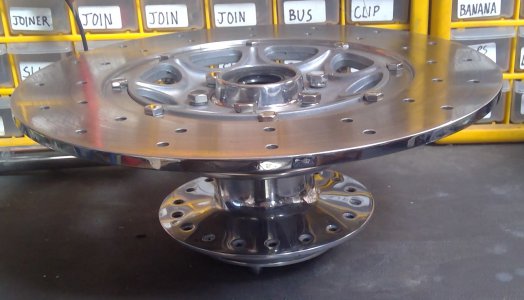
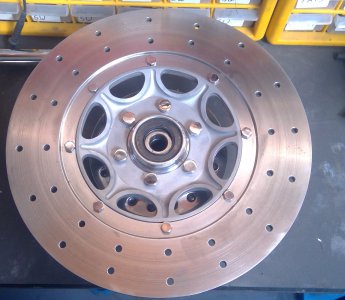
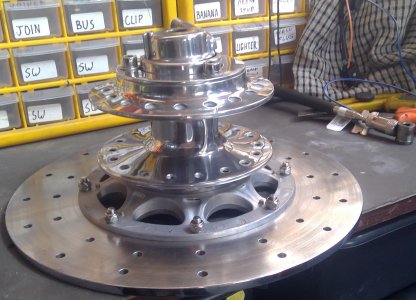
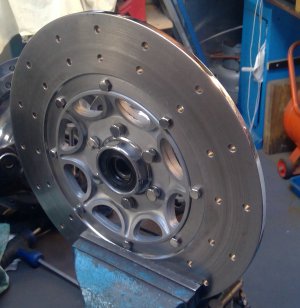
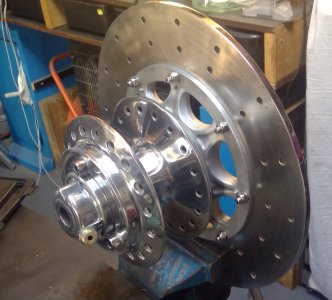
A little more work: Just put the front hub together using sealed bearings, bead blasted the disk holder and drilled a few holes in the disk. Also put the rear hub together with sealed bearings. The Teles are also together, I removed all the casting marks from the sliders and polished them again, they look 100% better without the casting marks. Unfortunately I dropped the left side slider and damaged the seal surround, bugger! I'll try the aluminium brazing rods I have and see i f I can repair it. I'm thinking of doing away with the sidecovers and either making a polished aluminium battery carrienr and making a feature of it, or I'll shorten the sidecovers at the front and attach brackets to the battery carrier for the sidecovers, that way I wont have to mak e splayed manifolds.
All one handed, had the left hand index and second finger fused and the ring and pinky got new PIP joints. Not easy with just one hand all this work, but, this Yamaha is yelling at me!
 

Attachments

  • WIN_20200817_19_05_23_Scan.jpg
    WIN_20200817_19_05_23_Scan.jpg
    871.4 KB · Views: 48
  • WIN_20200817_14_35_07_Scan.jpg
    WIN_20200817_14_35_07_Scan.jpg
    1 MB · Views: 47
  • WIN_20200817_14_29_12_Scan.jpg
    WIN_20200817_14_29_12_Scan.jpg
    1.1 MB · Views: 41
650_2.jpg


I bought a brand new TX650A back in the day. (Were we ever that young?) It was a time in my life (before marriage, obviously) when I was changing bikes roughly as often as I changed my socks. I kept that 650 for almost 10 years and have no idea how many miles I put on it. It followed me from Maine to Japan to Florida. I often regretted selling it.

f1.jpg


6 years ago or so, I found a '79 XS650SF Special and relived my youth for a few years with it. Went completely through it and did a "rings and valves" rebuild on it. Eventually found it was to small for my big butt (40 years and 40 pounds will do that...) and sold it to a kid who immediately beat it to death by trying to ride it like a crotch rocket.

My current ride is a '16 Yamaha FJ09 with the 900cc cross-plane triple. What a motor!
 
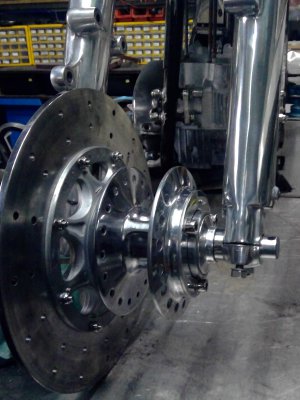
Finished off the front hub: I drilled the disk with some lightning holes, installed new sealed bearings, polished the hub and because the left side cover that covers the disk mount holes was rusted, I fabbed a new aluminium one and polished that as well. Bought some stainless fasteners, polished them up and assembled the hub. I want to go with an electronic speedo, if I can find one, so the speedo drive on the left will probably go and I'll turn up a stainless spacer in it's place. For a bit of extra bling, I also polished the edge of the disk. Hub should look nice laced up to a polished ally rim with polished stainless spokes.
 

Attachments

  • WIN_20200828_14_45_15_Pro (2).jpg
    WIN_20200828_14_45_15_Pro (2).jpg
    360.7 KB · Views: 25
  • WIN_20200828_14_45_07_Pro (2).jpg
    WIN_20200828_14_45_07_Pro (2).jpg
    574.3 KB · Views: 24
  • WIN_20200828_14_44_31_Pro (2).jpg
    WIN_20200828_14_44_31_Pro (2).jpg
    625 KB · Views: 23
  • WIN_20200828_14_42_41_Pro (2).jpg
    WIN_20200828_14_42_41_Pro (2).jpg
    419 KB · Views: 22
  • WIN_20200828_14_42_08_Pro (2).jpg
    WIN_20200828_14_42_08_Pro (2).jpg
    465.4 KB · Views: 24
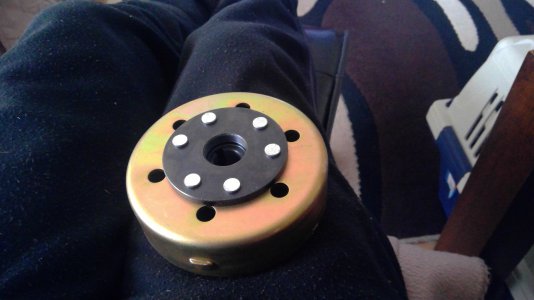
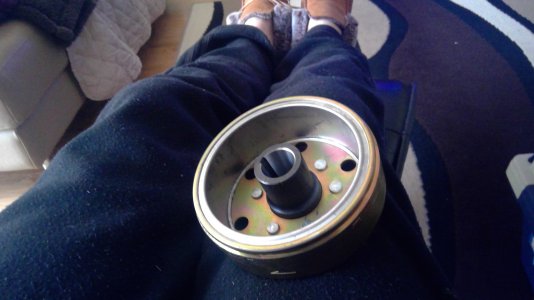
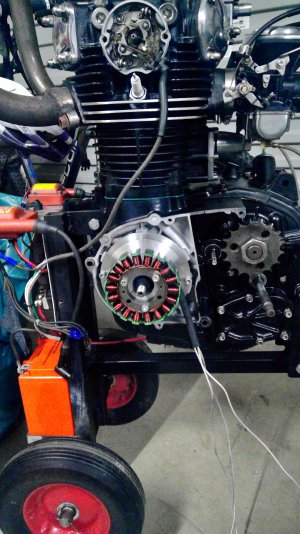
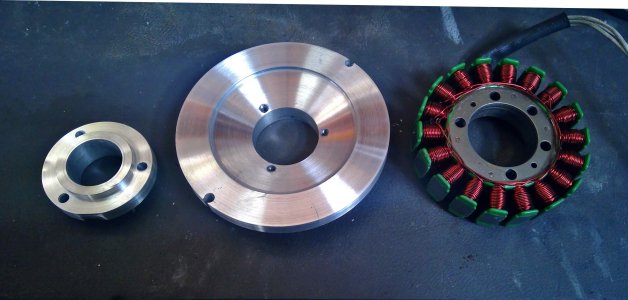
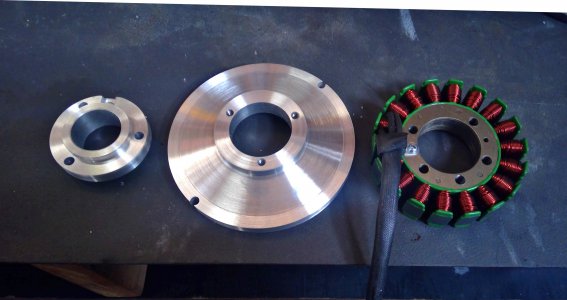
A nice new rotor arrived this morning. A trip out to wingfield in order to find a big lump of aluminium to make a mounting bracket from is in order now. Tell you what though, knock Chinese made products all you like, but both the stator and rotor are excellent quality. Compared to the original Japanese made ones from the 70s, these are superb. I suspect that the kit suppliers in America get theirs from China, for a lot less than I paid, get them to make a mount and sell the kit for $400.
 

Attachments

  • WIN_20200831_08_55_34_Pro.jpg
    WIN_20200831_08_55_34_Pro.jpg
    1.6 MB · Views: 22
  • WIN_20200831_08_55_22_Pro.jpg
    WIN_20200831_08_55_22_Pro.jpg
    1.6 MB · Views: 21
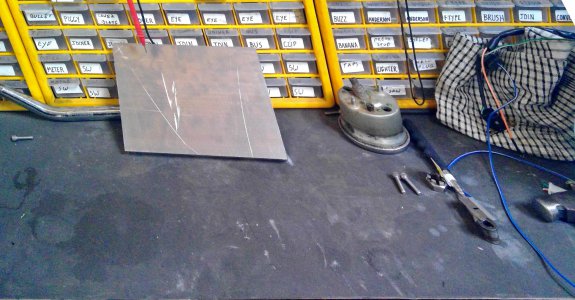
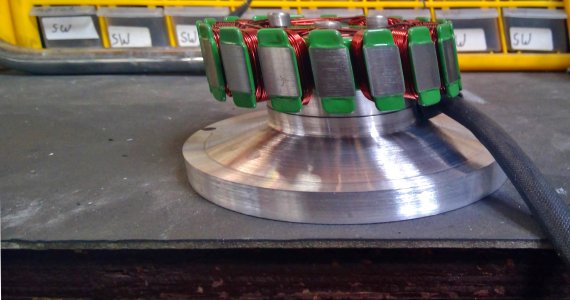
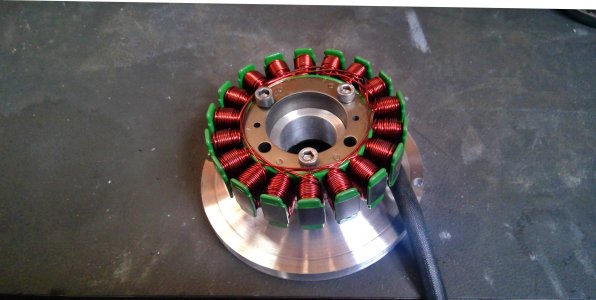
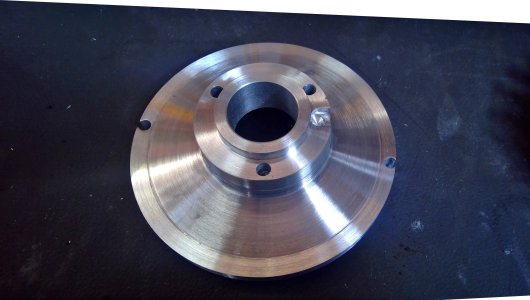
Finished off the stator mount for the PMA today. I bought a couple of slabs of aluminium, thickest I could get was 25mm, so I settled for that. That meant making a 10mm spacer. After waiting ages for the bandsaw to cut the slab down to a size that would fit in the four jaw I chucked the square slab and made it round, dished the underside to clear the crank bearing mount, bored a 60mm hole through the middle and drilled a couple of holes for mounting.

Next came the spacer: Turned down a 70mm round ally bar to fit inside the stator windings and turned down a couple of locators either side to locate the spacer under the stator and to locate the spacer inside the base, thus making sure the stator is mounted central. Drilled a few more holes and tapped them, then stuck it all together.

Drilling and tapping all these holes scratched the hell out of the ally, so I mounted spacer and base in the lathe again and used some emery to get rid of the marks.

Fits on the engine nicely, just have to file a woodruff down to match the 6mm keyway in the rotor to the 5mm keyway in the crank. After that, solder some terminals on the end of the stator leads, yeah I know, I'm a rebel.

Next job is to turn up a cam for the points. I'm going to convert the twin points system to a single, lots of messing around here trying to get the points firing at the correct intervals.
 

Attachments

  • WIN_20200905_16_52_04_Scan.jpg
    WIN_20200905_16_52_04_Scan.jpg
    1.2 MB · Views: 23
  • WIN_20200905_16_16_10_Scan.jpg
    WIN_20200905_16_16_10_Scan.jpg
    1.3 MB · Views: 23
  • WIN_20200905_15_53_44_Scan.jpg
    WIN_20200905_15_53_44_Scan.jpg
    577.6 KB · Views: 23
  • WIN_20200905_15_53_11_Scan.jpg
    WIN_20200905_15_53_11_Scan.jpg
    888.5 KB · Views: 21
  • WIN_20200905_15_51_53_Scan.jpg
    WIN_20200905_15_51_53_Scan.jpg
    734.6 KB · Views: 20
  • WIN_20200905_15_50_03_Scan.jpg
    WIN_20200905_15_50_03_Scan.jpg
    857.8 KB · Views: 20
  • WIN_20200905_15_49_36_Scan.jpg
    WIN_20200905_15_49_36_Scan.jpg
    772.9 KB · Views: 23
Modified the fork legs: Removed the lower mudguard mounts on both legs and the caliper mount on the left leg, ground everything down smooth and polished both legs. I also discarded the speedo drive and replaced it with a stainless bush and ally dust cover I spun up, pressed together and polished.
 

Attachments

  • hub2.jpg
    hub2.jpg
    398.8 KB · Views: 26
Back
Top