-
Welcome back Guest! Did you know you can mentor other members here at H-M? If not, please check out our Relaunch of Hobby Machinist Mentoring Program!
You are using an out of date browser. It may not display this or other websites correctly.
You should upgrade or use an alternative browser.
You should upgrade or use an alternative browser.
Optimum MH 50V mods and accessories
- Thread starter Unlogic
- Start date
- Joined
- Nov 7, 2019
- Messages
- 434
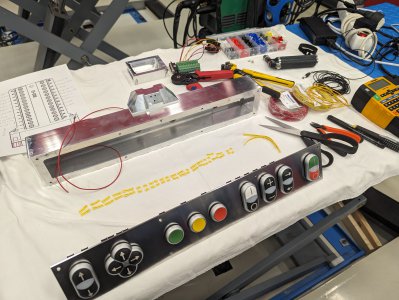
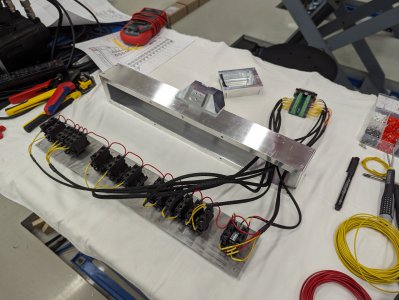
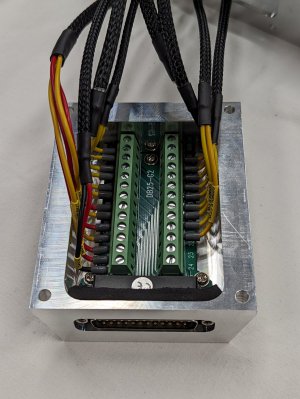
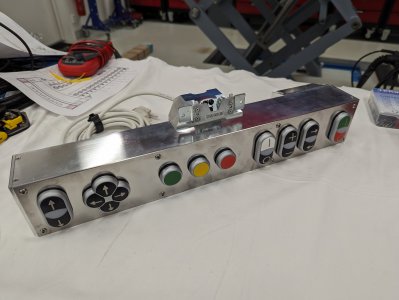
I'm absolutely envious of your clean setup. The work you do seems as close to flawless as is possible, really inspiring to see. Keep it up! 

Thanks for the feedback guys!
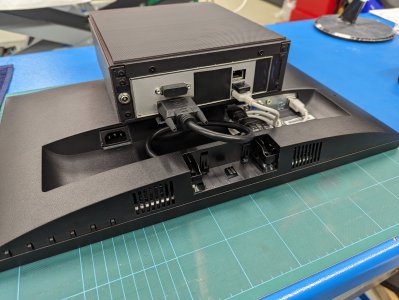
I ended up with a small unplanned side project after I was done with the control panel. The fancy adjustable gas spring equipped monitor mount I had purchased proved to be way to flimsy...
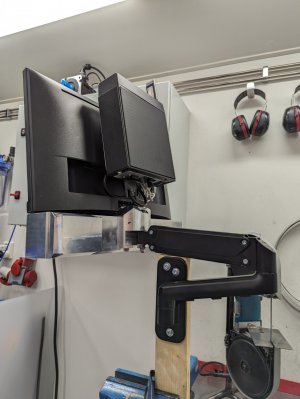
It would hold the weight just fine but if I pressed a button on the control panel the whole thing would flex and shake for a long time afterwards.
So I realized I needed something more heavy duty but I was unable to find anything more sturdy readily available so I decided to build one myself.
Went to the local metal supplier and picked up some rectangular and square tubing with thick walls along with some solid round bars of 30mm and 25mm diameter.
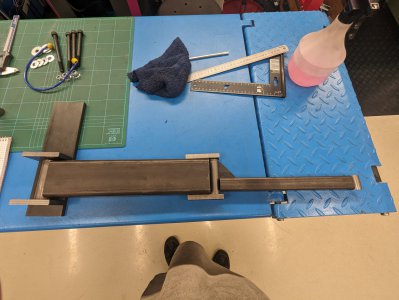
Everything temporarily laid out before machining.
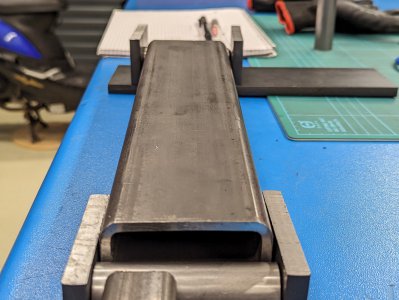
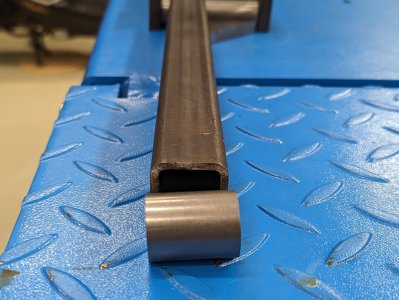
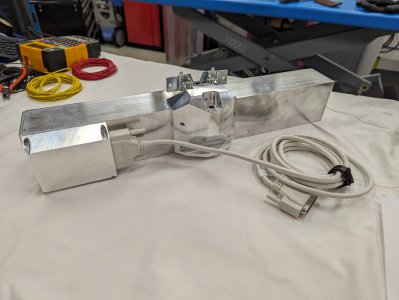
Everything machined ready for welding along with some brass washers that I managed to pick up at Bauhaus of all places.
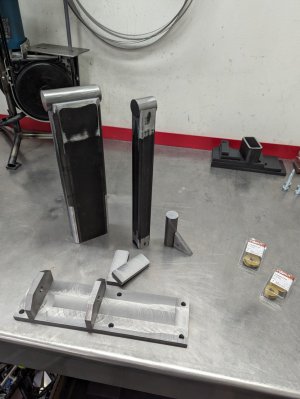
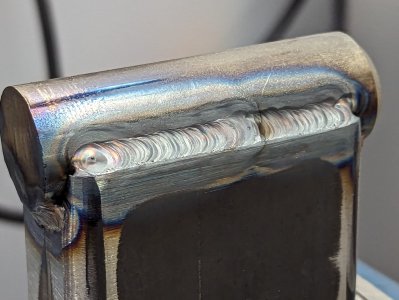
Things tend to move about during welding so I welded the arms first before doing the final machining and drilling the holes for the hinges in order to make sure everything was straight and aligned.
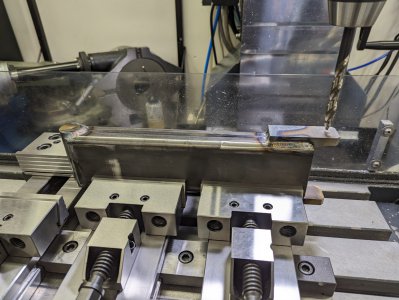
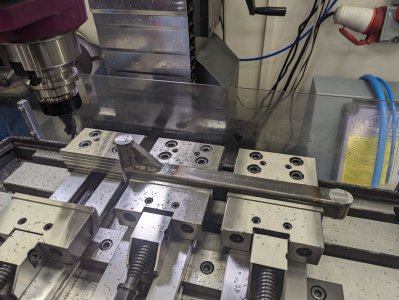
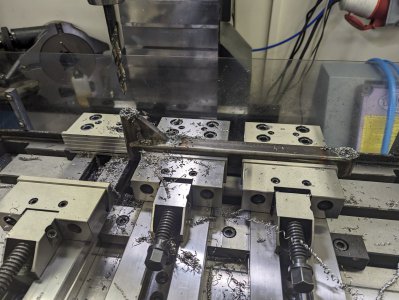
To prevent warping of the base plate during welding I made this little jig, but I'm not sure if it helped much at all because the plate became slightly warped anyway...
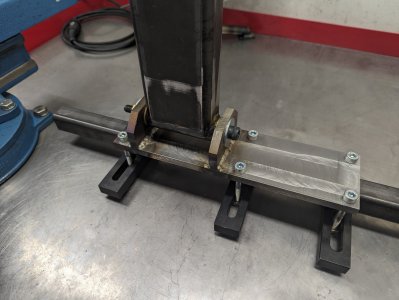
First test assembly of the finished parts.
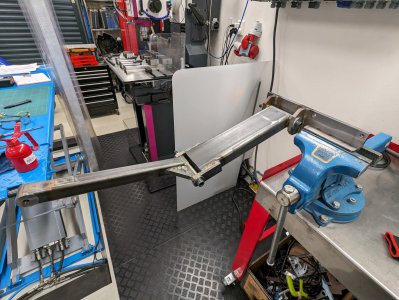
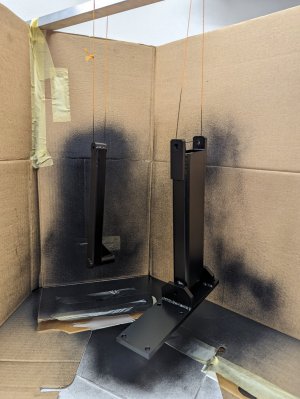
Time for a some paint.
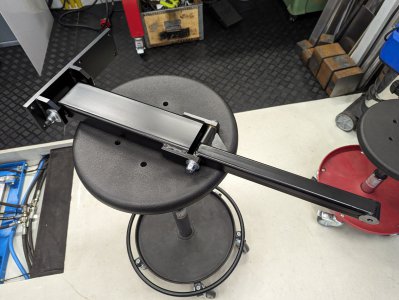
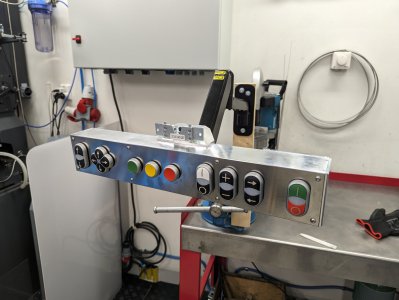
In order to be sure the arm was correctly leveled I attached the control panel before mounting the arm to the wall. That way I could set the spirit level on top of the control panel.
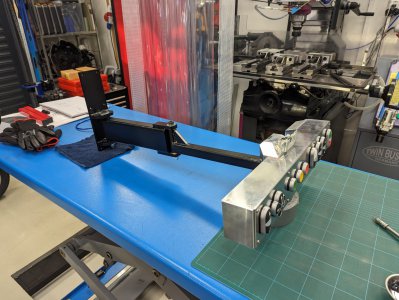
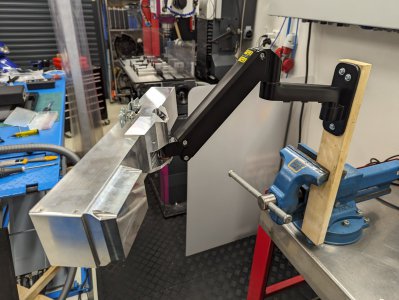
The arm attached to the wall next to the cabinet.
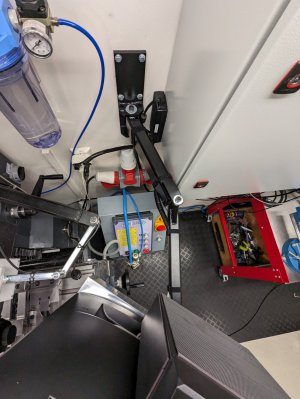
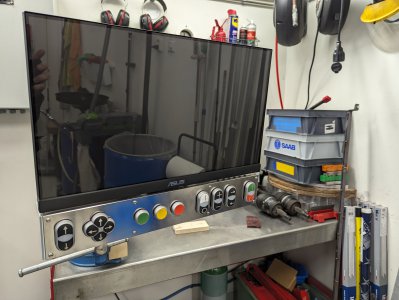
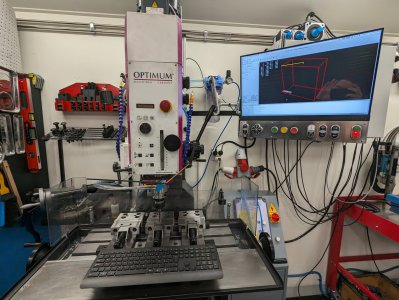
This is how it looks all assembled with the screen attached.
I ended up with a small unplanned side project after I was done with the control panel. The fancy adjustable gas spring equipped monitor mount I had purchased proved to be way to flimsy...

It would hold the weight just fine but if I pressed a button on the control panel the whole thing would flex and shake for a long time afterwards.
So I realized I needed something more heavy duty but I was unable to find anything more sturdy readily available so I decided to build one myself.
Went to the local metal supplier and picked up some rectangular and square tubing with thick walls along with some solid round bars of 30mm and 25mm diameter.

Everything temporarily laid out before machining.


Everything machined ready for welding along with some brass washers that I managed to pick up at Bauhaus of all places.

Things tend to move about during welding so I welded the arms first before doing the final machining and drilling the holes for the hinges in order to make sure everything was straight and aligned.


To prevent warping of the base plate during welding I made this little jig, but I'm not sure if it helped much at all because the plate became slightly warped anyway...

First test assembly of the finished parts.

Time for a some paint.


In order to be sure the arm was correctly leveled I attached the control panel before mounting the arm to the wall. That way I could set the spirit level on top of the control panel.

The arm attached to the wall next to the cabinet.

This is how it looks all assembled with the screen attached.

As a part of the CNC conversion I'm planing to install at centra lubrication system. This is something I've been planing for some time and last summer I ordered one of these "Lincoln" oil/grease distributor blocks from Aliexpress.
I ordered a 10-port block and but got a 12-port block for some reason. It was very poorly packaged which is why some of the outputs are a bit crooked.
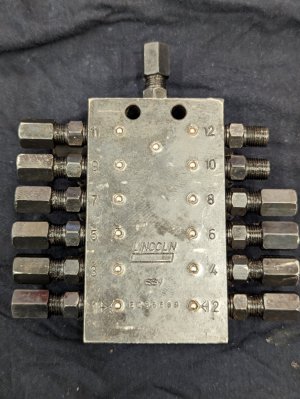
I ordered the 6 mm version thinking it would come with M6 threads but it actually came with press fittings containing small one time use ferrules. So in order to be able to use the block with the nice stainless quick connects fittings I had purchased some adapters needed to be made.
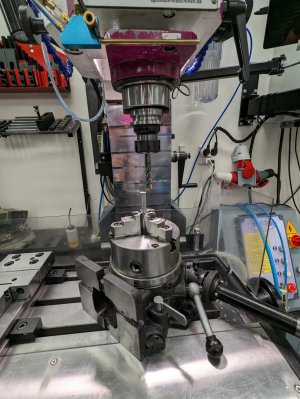
Started with just a rough adapter for the feed connection so that I could test if the mechanics inside the distributor actually worked.
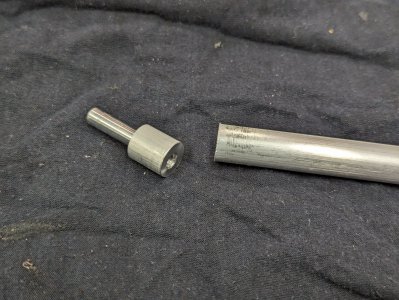
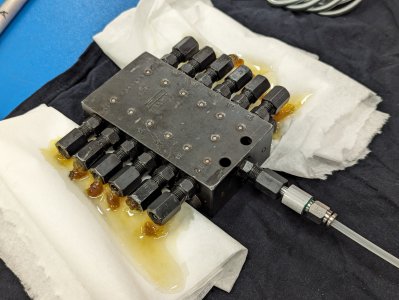
The distributor worked fine but I had to fix the check valve in one of the outputs where spring wasn't properly installed. Also it was full och grease which took a while to flush out.
I then realized my mistake of making the first adapter so rough, the ferrules inside the connections are one time use so I couldn't remove the adapter without ruining the ferrule so it has to stay put.
Cranked out 12 more adapters for the outputs but this time with a little more precision.
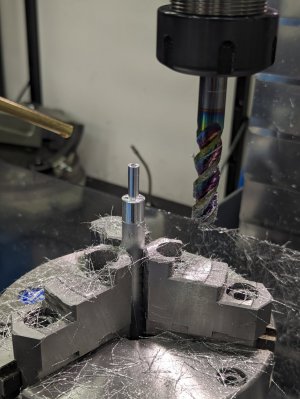
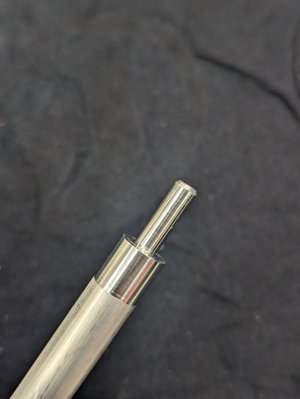
Here is the final results with the quick release fittings installed in the adapters.
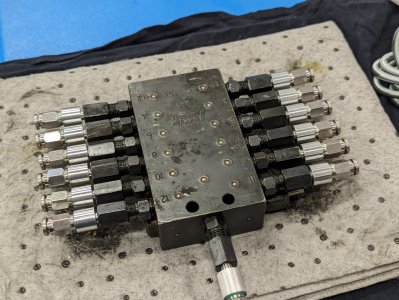
This block will go on the back of the machine with 4 connections to each axis for lubrication of ways, gibs etc.
I ordered a 10-port block and but got a 12-port block for some reason. It was very poorly packaged which is why some of the outputs are a bit crooked.

I ordered the 6 mm version thinking it would come with M6 threads but it actually came with press fittings containing small one time use ferrules. So in order to be able to use the block with the nice stainless quick connects fittings I had purchased some adapters needed to be made.
Started with just a rough adapter for the feed connection so that I could test if the mechanics inside the distributor actually worked.


The distributor worked fine but I had to fix the check valve in one of the outputs where spring wasn't properly installed. Also it was full och grease which took a while to flush out.
I then realized my mistake of making the first adapter so rough, the ferrules inside the connections are one time use so I couldn't remove the adapter without ruining the ferrule so it has to stay put.
Cranked out 12 more adapters for the outputs but this time with a little more precision.


Here is the final results with the quick release fittings installed in the adapters.

This block will go on the back of the machine with 4 connections to each axis for lubrication of ways, gibs etc.
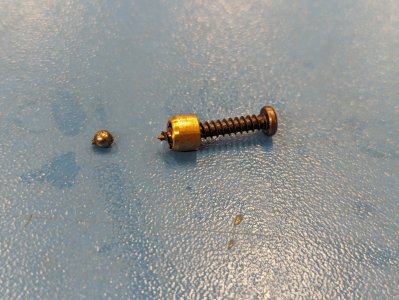
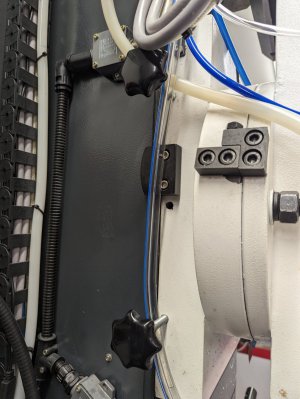
I kept working on the central lubrication today. Despite the size of this mill it only came with a measly 4 ball oilers.
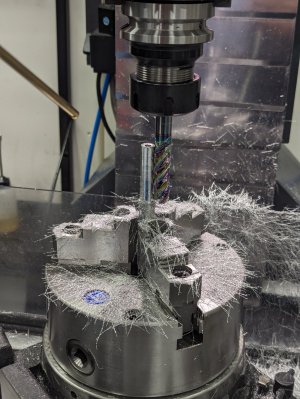
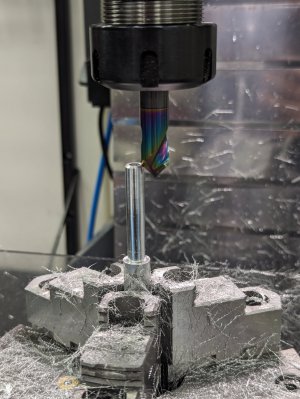
I plan to add 8 more oiling points but first I needed to make adapters to replace the stock ball oilers with push-in fittings.
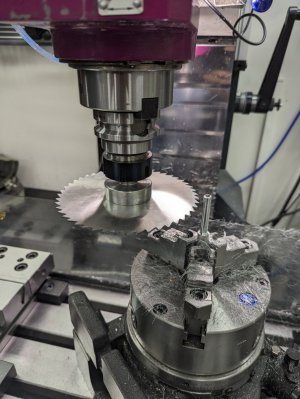
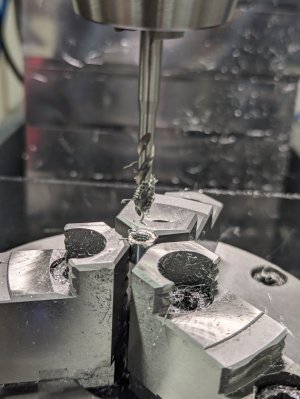

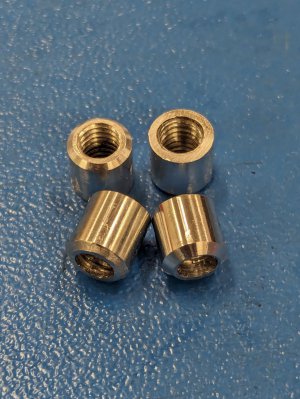
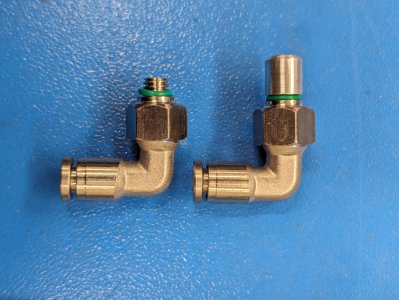
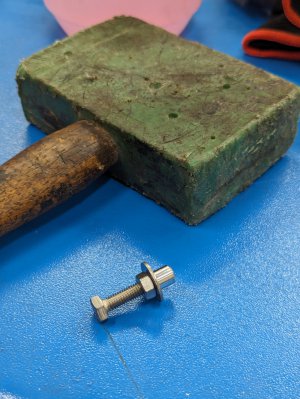
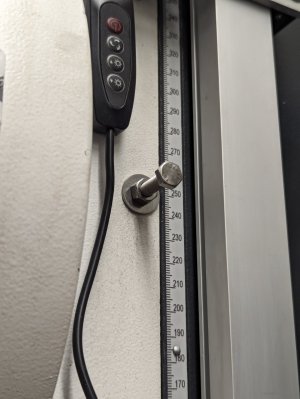
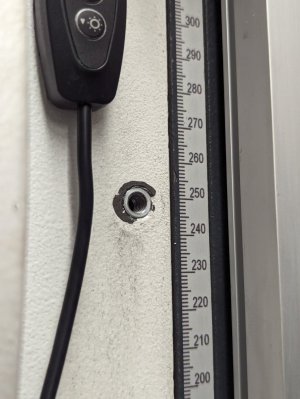
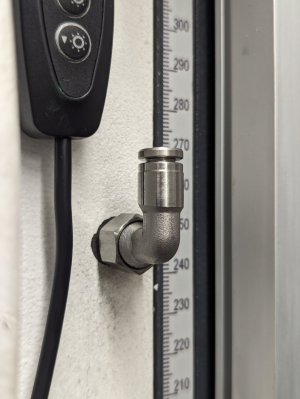
That was really fiddly, but I'm glad that's it's done so that I can move on with the CNC conversion.
I plan to add 8 more oiling points but first I needed to make adapters to replace the stock ball oilers with push-in fittings.


That was really fiddly, but I'm glad that's it's done so that I can move on with the CNC conversion.
Since my last update I've been busy with the mechanical aspects of the CNC conversion.
Making precise holes in the belt pulleys using the rotary table was pretty time consuming, especially the smaller steel pulleys. I got them done in the end with the smallest possible clearance I could make that would allow the pulleys to be installed without having to use a press. Having a lathe would have made this process much quicker and simpler.
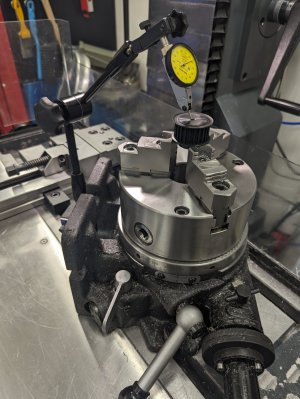
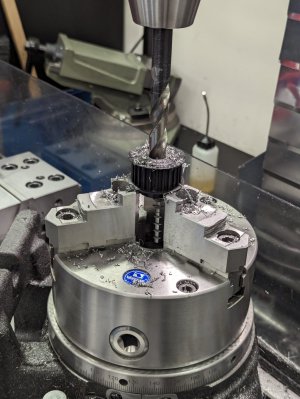
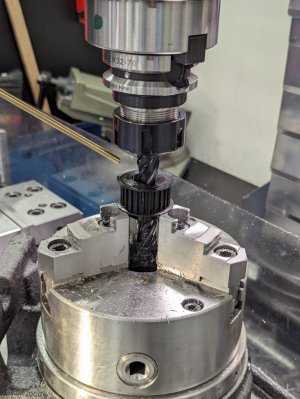
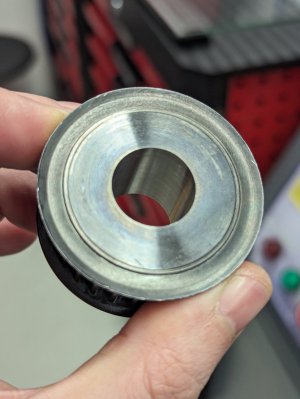
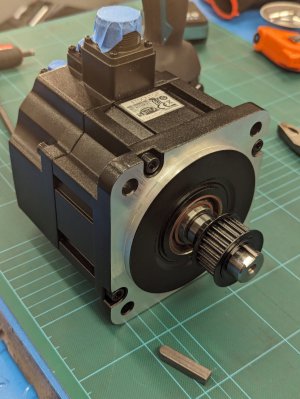
When I was done with the holes in the pulleys I realized that I had to do the internal key way slots too which I hadn't thought much about. The tooling to make precise key way slots is quite expensive especially considering how seldom they will be used.
Luckily a friend of mine was able to make the key way slots for me using an EDM machine which gave a very precise result.
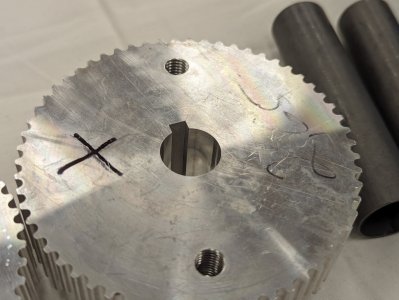
Making precise holes in the belt pulleys using the rotary table was pretty time consuming, especially the smaller steel pulleys. I got them done in the end with the smallest possible clearance I could make that would allow the pulleys to be installed without having to use a press. Having a lathe would have made this process much quicker and simpler.


When I was done with the holes in the pulleys I realized that I had to do the internal key way slots too which I hadn't thought much about. The tooling to make precise key way slots is quite expensive especially considering how seldom they will be used.
Luckily a friend of mine was able to make the key way slots for me using an EDM machine which gave a very precise result.

Next up I tackled the mount for the nut on ball screw on the X-axle. This ball screw is quite long so I knew this had to be very precise.
In order to verify that I had the measurements right in my drawings I printed the drawings and cut out a few of the holes so that I could test fit them on the machine.
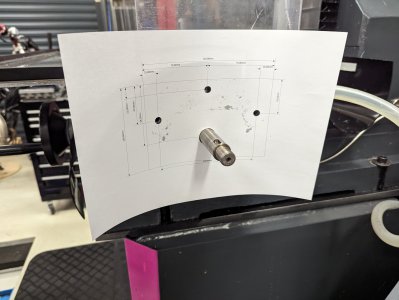
These first drawings where made using Visio but half way through I realized that these parts needed proper 3D models.
So I sat down and spent an afternoon getting the hang of FreeCAD which was surprisingly easy to get started with for this type of smaller parts thanks to all the very informative tutorial on YouTube. The MangoJelly Solutions YouTube channel really deserves to be mentioned here as those tutorial are top notch!
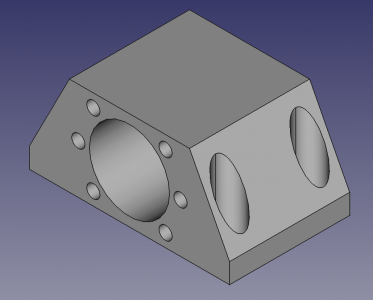
The piece of stock I had ordered for the mount was quite large so it took a while to remove material before I got down to final size.
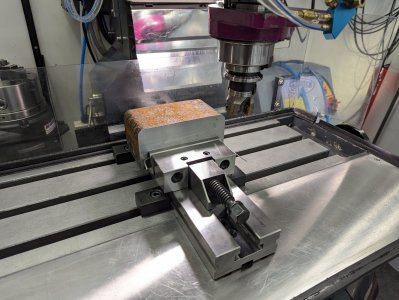
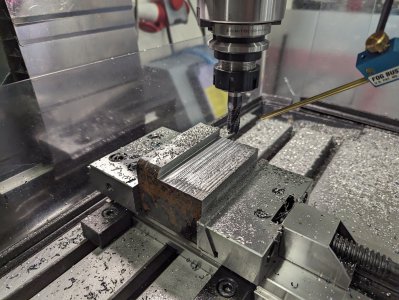
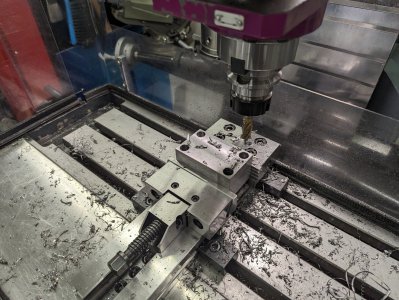
Once down to final size I needed to do a very precise 40mm wide and 60mm deep hole through the center.
Plan A was to use a rather crappy Chinese boring head.
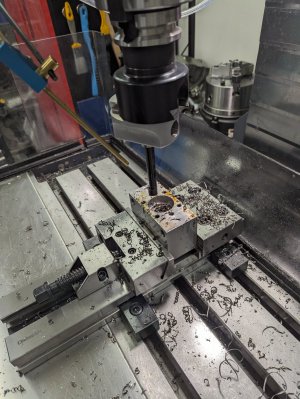
However the tooling that came with the boring head proved to be very dull and fragile so I went on to plan B, the rotary table.
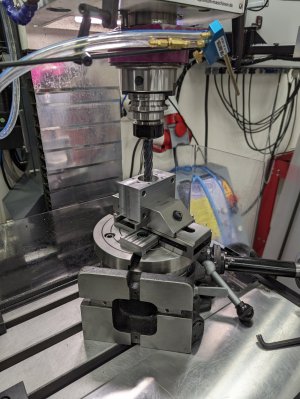
However no I came across another problem, mill deflection. The long 16mm Sandvik end mill deflected to much (given the 60mm depth of cut) which made the hole slightly conical.
So on to plan C using a friends lathe with a 4-jaw chuck mounted in a 3-jaw chuck, unorthodox but it worked
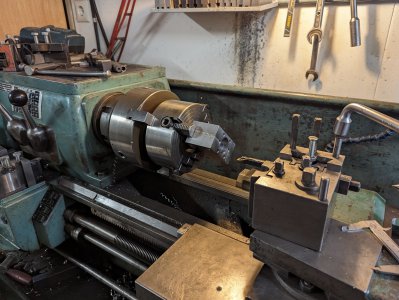
With that done I could do the final operations.
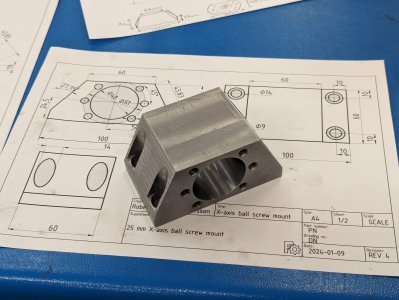
The top of the saddle on the machine was actually machined to a pretty good tolerance. I removed the paint from the surface and stoned it very lightly.
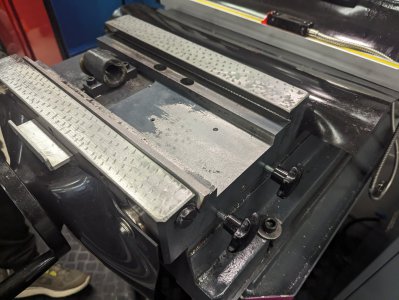
I made the mount about 0,15mm narrower than then gap in the saddle and it gave a very tight fitment but still allows for some adjustment.
Here it is with the ball mounted for a first alignment.
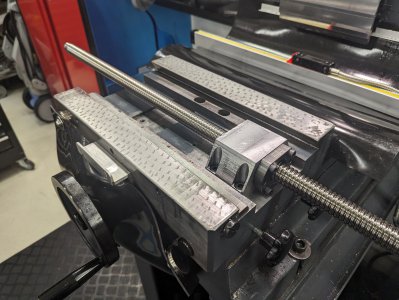
With the ball screw mounted and aligned I could take the measurements required to finalize the design of the mounts for the bearing blocks and the ends of the table.
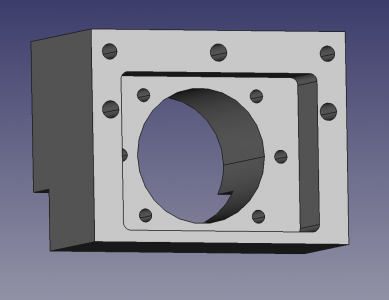
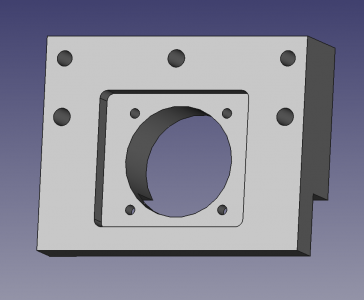
Next up is to print paper templates for these models and verify that the measurements and design is correct before I start milling them.
In order to verify that I had the measurements right in my drawings I printed the drawings and cut out a few of the holes so that I could test fit them on the machine.

These first drawings where made using Visio but half way through I realized that these parts needed proper 3D models.
So I sat down and spent an afternoon getting the hang of FreeCAD which was surprisingly easy to get started with for this type of smaller parts thanks to all the very informative tutorial on YouTube. The MangoJelly Solutions YouTube channel really deserves to be mentioned here as those tutorial are top notch!

The piece of stock I had ordered for the mount was quite large so it took a while to remove material before I got down to final size.


Once down to final size I needed to do a very precise 40mm wide and 60mm deep hole through the center.
Plan A was to use a rather crappy Chinese boring head.

However the tooling that came with the boring head proved to be very dull and fragile so I went on to plan B, the rotary table.

However no I came across another problem, mill deflection. The long 16mm Sandvik end mill deflected to much (given the 60mm depth of cut) which made the hole slightly conical.
So on to plan C using a friends lathe with a 4-jaw chuck mounted in a 3-jaw chuck, unorthodox but it worked

With that done I could do the final operations.

The top of the saddle on the machine was actually machined to a pretty good tolerance. I removed the paint from the surface and stoned it very lightly.

I made the mount about 0,15mm narrower than then gap in the saddle and it gave a very tight fitment but still allows for some adjustment.
Here it is with the ball mounted for a first alignment.

With the ball screw mounted and aligned I could take the measurements required to finalize the design of the mounts for the bearing blocks and the ends of the table.


Next up is to print paper templates for these models and verify that the measurements and design is correct before I start milling them.


