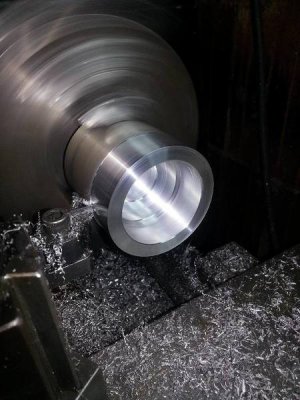
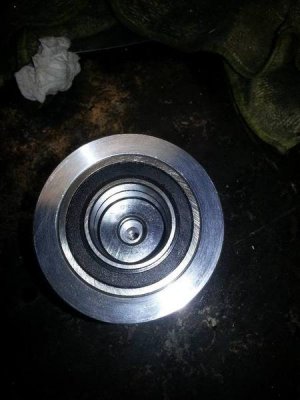
Shop made Rotary broach holder and broaches.

xalky

Registered
Registered
Joined
Jun 17, 2012
Messages
2,220
This is the thread starter for a Rotary Broach holder. For those of you that don't know what a Rotary Broach is, here's a video showing the capabiliies of a Rotary broach: [video=youtube;BuT6mrAMOxE]https://www.youtube.com/watch?v=BuT6mrAMOxE&feature=c4-overview-vl&list=PLC06981055019FA8B[/video]

There are quite a few home shop made rotary broaches out there on the net. I will be building mine loosely based on all of them and to my own liking. :whistle: I will be making , what I Believe to be, some improvements on some of the designs. It will take .500 diameter shank broaches, store bought or shop made. It will have a 3/4" straight shank so that I can mount it on my tailstock drill chuck or be able to use it in a Bridgeport R8 3/4" collet.

Here's a picture of the bearings That I just got in the mail today for it. From right to left. 2- 1 1/4" ID Sealed Ball bearings, 1/2" ID thrust bearing, 5/16" ID sealed roller bearing.
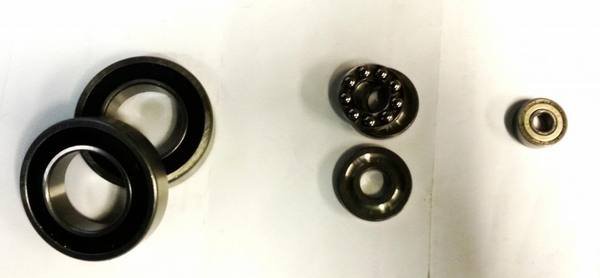
3192f0d1-1786-4d21-8b54-7b11544fc518_zps34b0fbed.jpg

I already had the 5/16" ID bearing left over from another project.

That's all I got for now...Stay tuned
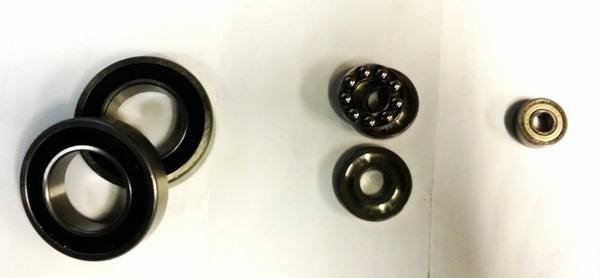
3192f0d1-1786-4d21-8b54-7b11544fc518_zps34b0fbed.jpg
 
What shape are you going to be broaching?

Interesting video.
 
Probably internal hex for now. Once the Broach holder is made just about any shape is possible. Making the external broaches is probably beyond the capability of a home shop, but they can be purchased. That's the reason why I'm going to be making it to be able to accept the commercially available broaches.

Marcel
 
Will you be using a MT arbor to us it in a tailstock or set it up for use in a mill? I am thinking that I want one for my lathe. I was going to do it with a MT3. Tim
 
It's gonna be 3/4" straight shank so that I can use it in my big drill chuck in the tailstock. I thought about making interchangeable shanks, but decided against it for simplicity sake. I'll be able to use the 3/4" shank on both the mill and the lathe. If it doesn't work out in the lathe I'll just make a whole back plate assembly with the mt3 shank. The Back plate and shaft is pretty quick to make.
 
I won't be making plans for this, because a lot depends on what bearings you decide to use. I just picked some bearings based on the size of the broach diameter and worked backwards for there. I wanted to have enough meat left on the collar for the set screw to tighten to the 1/2" broach shaft. Which was my reasoning for using an 1.250" ID roller bearing. Here's a couple more videos showing how it's made. The key to this is getting that 1* offset at the back end and making it adjustable at the tail end so that the broach can always land on center of the hole regardless of the length of the broach (within reason).

[video=youtube;wpx76-_lPkM]https://www.youtube.com/watch?v=wpx76-_lPkM[/video]

[video=youtube;sso8Jpf4s30]https://www.youtube.com/watch?v=sso8Jpf4s30[/video]

In the last video there's actually a link to one persons build.

Marcel
 
I have 2 of the Slater rotary broaches (Internal&external) with matching metric hex broaches plus a couple blanks for making custom broaches. Never used it. But I have it.
 
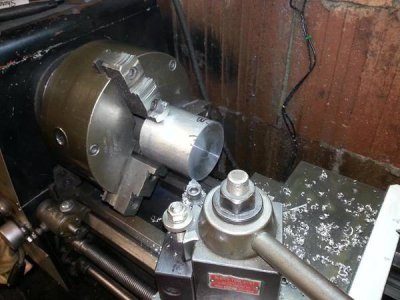
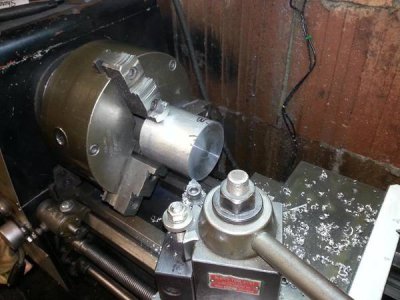
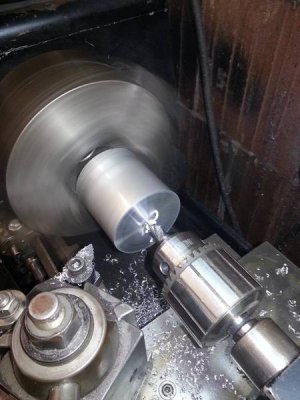
I chose aluminum for the main body because it's lightweight and easy to work. It started as a 3" rd aluminum bar.

20140104_210446_zps8pt5wuqu.jpg

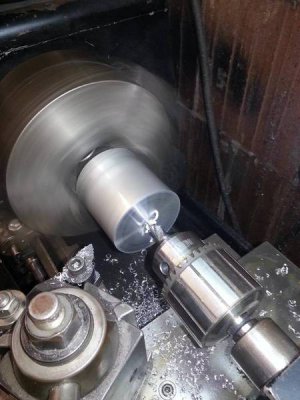
Center drilled.
20140104_210658_zps4rhhatrw.jpg

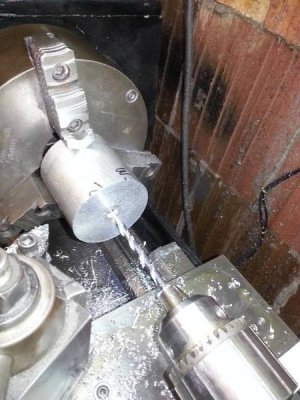
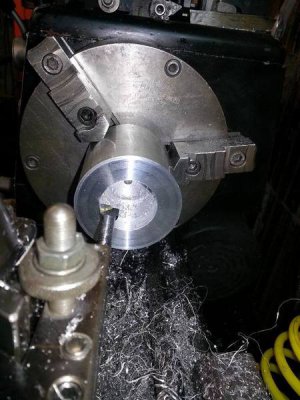
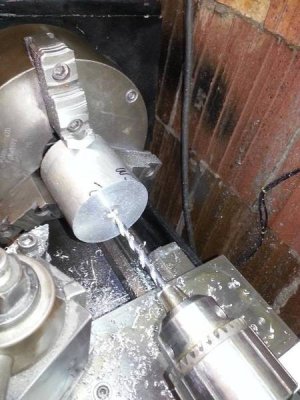
Drilled it all the way thru with a 9/32 drill. This hole serves as the pilot and also it will see a 1/4" bolt through the back side at assembly time.
20140104_211713_zpsw8rqmr0s.jpg

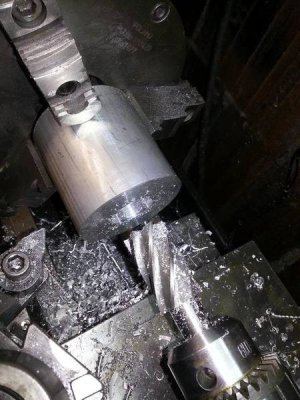
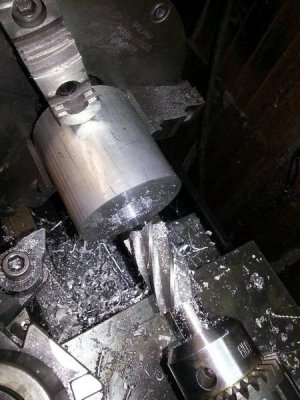
I drilled a series of larger and larger drill holes, bing careful not to be too deep with the point of the drill. I then flattened out the back of the hole at close to the right depth for the bottom of the thrust bearing. This will make it easier for me to clean up the back of the hole with a boring bar.
20140104_215058_zpscursgdoi.jpg

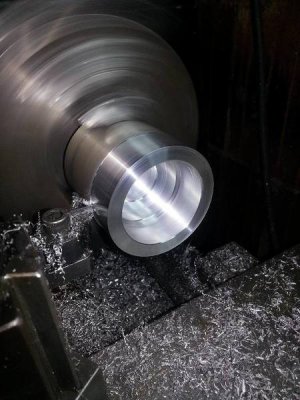
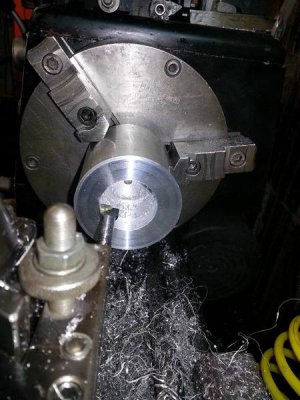
Boring in progress.
20140105_005807_zpscottfuie.jpg

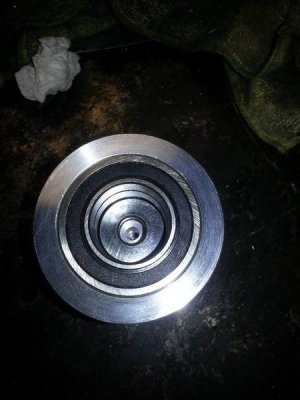
The Bore is complete with all steps and bores to the correct size and distance to each other. Chamfered all the edges. A quick sanding to open up the bore about .0005 to allow the bearings to slide in just nice. Trying the bearings periodically until it's perfect. A clean up pass on the outside for a nice finish.
20140105_144325_zps4owj9dk0.jpg

Here's a picture of the bearing body with all the bearings fitted inside.
20140105_145912_zpsqcewwaml.jpg

That's it for now.

I have some more lathe work to do on the back side to fit the little bearing which retains the shaft with the 1/4" bolt. I did this first part on the 3 jaw, never unchucking it. Now that I have to flip it around, I'll do it in the 4-jaw and indicate it true for the back side work.

Marcel

20140104_210446_zps8pt5wuqu.jpg

20140104_210658_zps4rhhatrw.jpg

20140104_211713_zpsw8rqmr0s.jpg

20140104_215058_zpscursgdoi.jpg

20140105_005807_zpscottfuie.jpg

20140105_144325_zps4owj9dk0.jpg

20140105_145912_zpsqcewwaml.jpg
 
I did see that one. If I had a floating tool holder I would have made it that way. :))
 
Back
Top