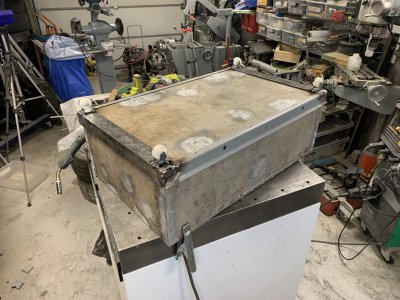
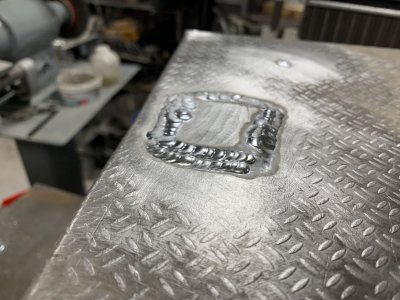
Temporarily back on this project.
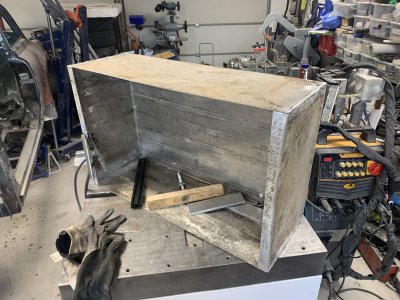
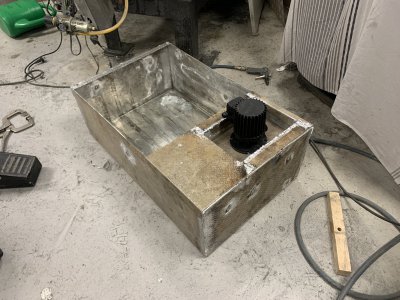
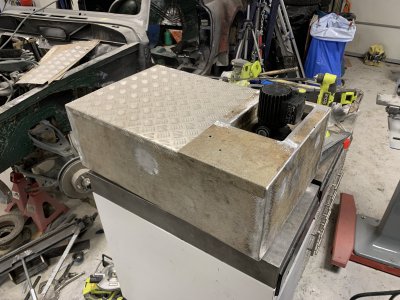
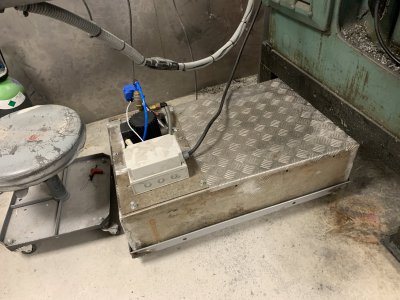
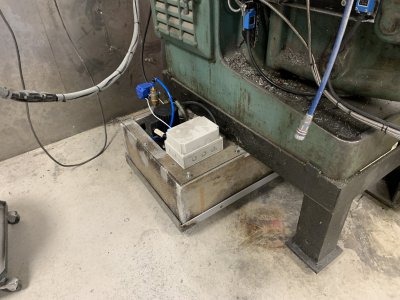
Chopped the tank up and re-bent all the edges, now fits somewhat neatly under the mill.
Tried annealing it this time by marking the aluminium with permanent marker pens before heating until it disappears, worked quite well!
To control this I have a 24V contactor for on/off of the pump which then goes to two valves.
Valve1 is electrically controlled so I can adjust the flow with a switch on the control panel.
Valve2 is a "regular" valve that recirculates back into the tank.
Not only does this make sure to mix the coolant but also makes sure I always have flow going by the pump, even when valve1 is throttled way down.
Since this mill has been quite low on the priority list there's been a lot of "emergency solutions" the last years.
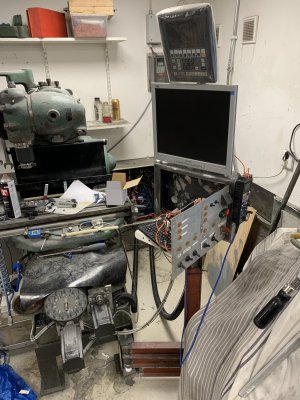
Like when the Z-belt broke last time and I changed the gearing, which makes the control panel not fit anymore. and hence has been hanging on the side for a long time...
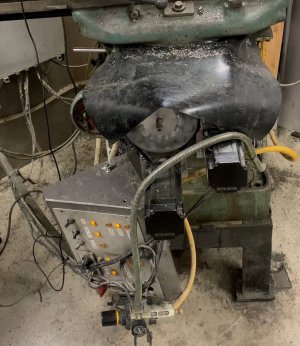
I got a bit inspired from seeing how some MAHO machines have their control panel and started replicating it.
I think this will be superior compared to the original setup for several reasons:
1. Monitor and DRO will not be affected as much by the machines vibrations and coolant spatter(monitor is already damaged from it)
2. I can move things around wether I want to work from the front or the side
3. When not in use everything can be moved out of the way.
4. Standing in front of the panel should keep you well protected from flying chips etc.
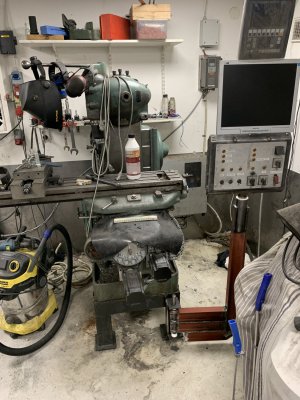
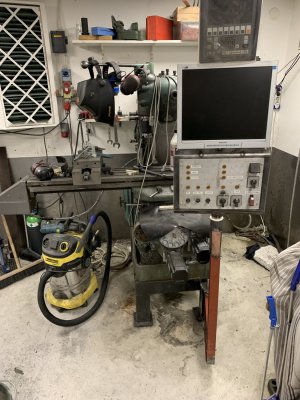
Since this lead to a full re-wiring I decided to overhaul everything whilst I was at it.
Changed out the old plastic hoses to these rubberized ones, way more flexible, spacious and looks neater.
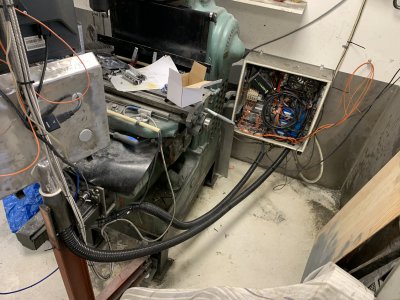
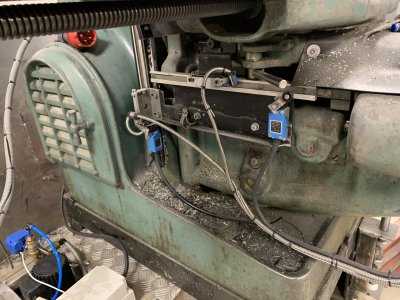
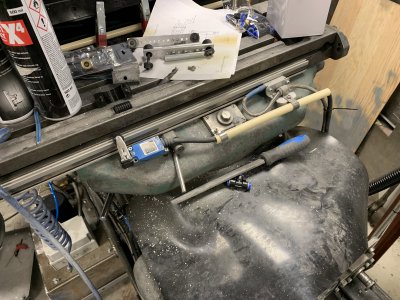
All home-switches have been replaced with proper sealed ones, and adjusted so I can get maximum travel, this nets me another 2" of travel in X and 1" in Y in combination with having moved the magnetic scale to the front as well.
Control panel is still a work in progress but now incorporates switches for:
Main breaker(turns everything off in emergency)
PC on/off
CNC PSU's on/off
VFD on/off
Lights on/off
Coolant on/off/auto(controlled from mach3)
Stop and start for Mach3 programs
on/off/on switch for adjusting amount of coolant fluid
on/off/on switch for adjusting air regulator pressure
Also finally added a "proper" pendant but haven't configured it yet.
Once I can confirm that all functions work properly I will clean up the wiring mess and close this up.

