Adjustment/tramming of the gearhead after tilting for milling operation (or procedure for oil change as described in owners manual) is less than desirable IMHO.</SPAN>
I would like to share my modification with all other owners of PM932 and other mills of similar design. Please note that this undertaking may void your warranty so I would like to caution anyone to proceed at their own risk.</SPAN>
Pictures in my other post will show you where you are drilling to.</SPAN>
http://www.hobby-machinist.com/showthread.php?t=22275</SPAN>
Tilting the head is seldom used in my world, as when milling a small part I use tilting table. When faced with larger part tilting the gearhead is desirable.</SPAN>
When returning gearhead back and/or tramming the head before that critical job I found the task of this precise adjustment frustrating.</SPAN>
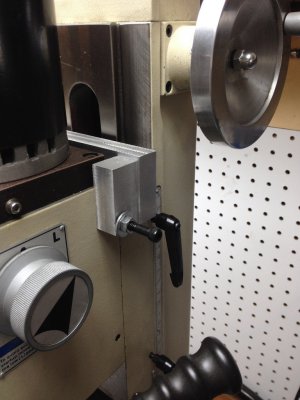
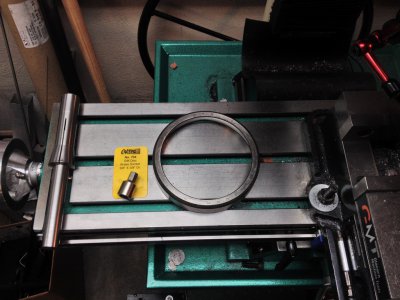
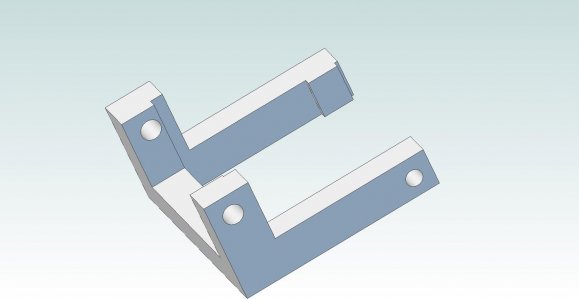
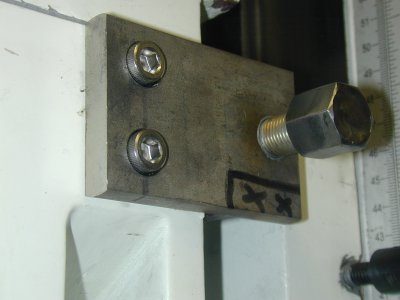
Pictures will explain this simple device in greater detail.</SPAN>
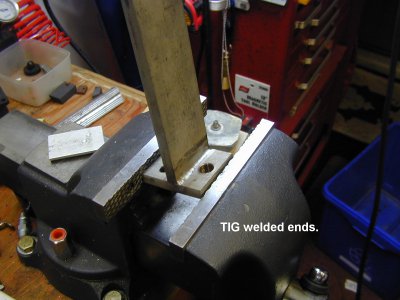
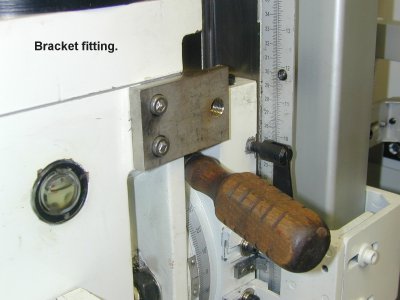
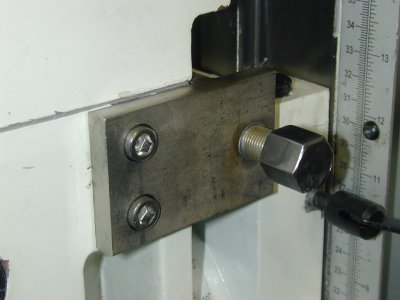
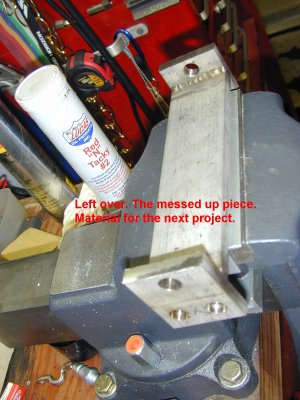
I fabricated an “H” bracket from 2” x 3/8” 316 stainless bar (not from choice but found some lying around the shop). Picture of one bracket is for reference/concept as I managed to screw up the fist one. I made the ends too short and bolts lined up with bolts holding down gearhead cover.</SPAN>
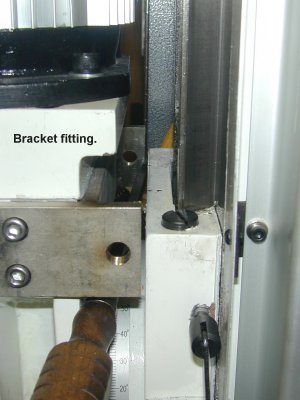
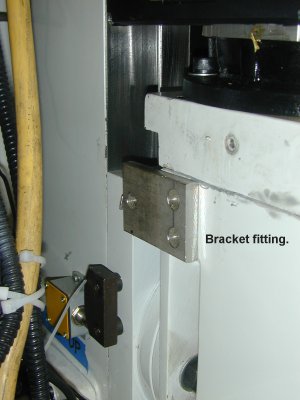
New and usable bracket was snug and pushed against the gear head. Bolts holding the bracket to gearhead are 5/16” NC and are tapped right through the casting. Since I had the cover off I was not too concerned drilling into something crucial. I used grease first on 1/8” drill and then on 9/32” drill bit to make the filings stick to the drill bit. I used grease on the tap for the same reason. I found being about in the middle of the recess for the adjusting nut is about right location.</SPAN>
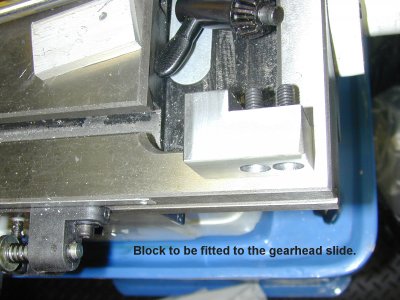
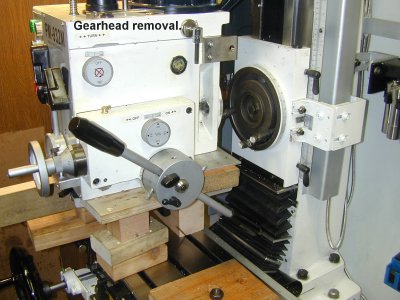
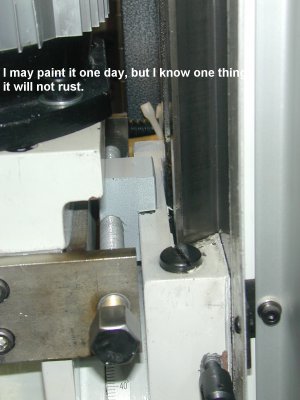
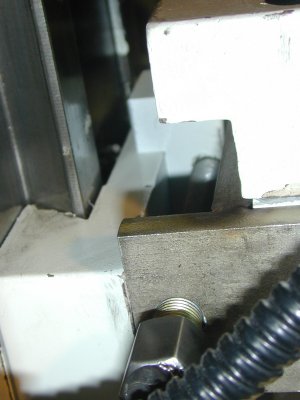
I then supported the whole gearhead on blocks and moved it out of the way with help of the table. Once I gained access to the slide, I installed the metal block to take the force of 1/2” NF threaded rod.</SPAN>
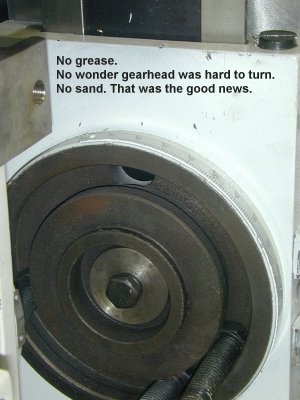
While doing this I discovered that there was no grease whatsoever on the swivel and bolts. I ran a thread chaser on the bolts and liberally applied Red N Tacky #2 grease. Moved the gearhead back into position and finger tightened the nuts. Gearhead turned relatively easy with help of grease application. I made the metal block on the slide too high and therefore at this time I am unable to turn the head 90 degrees so I will have to cut it down.</SPAN>
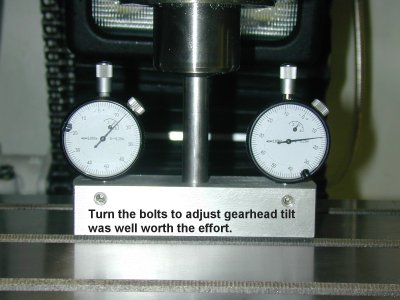
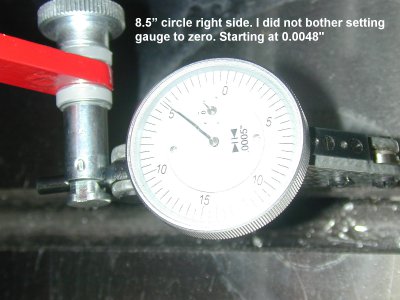
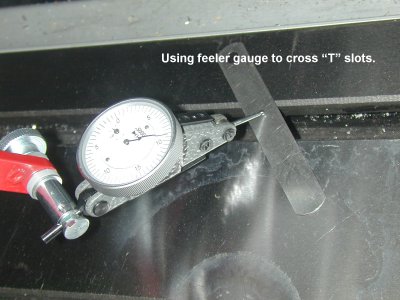
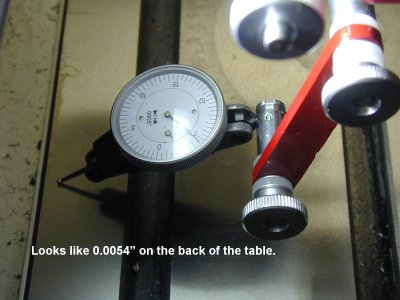
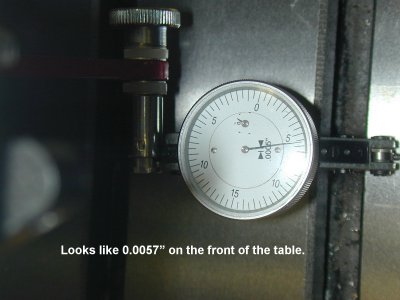
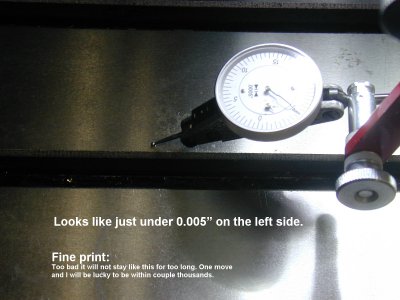
I cut the 1/2” threaded rod to length and welded nuts on the end. I used the home made “T” bar with two gauges for rough setup and then used finer gauge on a spindle bracket with 8.5” sweep for fine adjustment.
For anyone interested. To adjust the nod of the gearhead, I had some plastic shims from Little Machine Shop. I used 0.006” shim under the two front bolt of the dove tail column. This was done couple of month ago. I have since purchased brass shims from Enco, but never changed the plastic ones. They appear to be standing up to the task quite well.
</SPAN>


