Lo-Fi's Quorn tool and cutter grinder build (pic heavy)

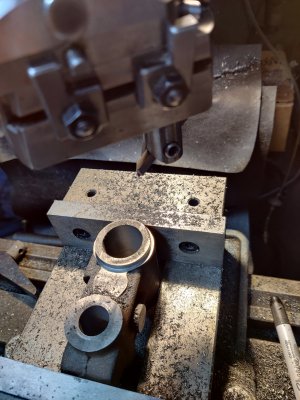
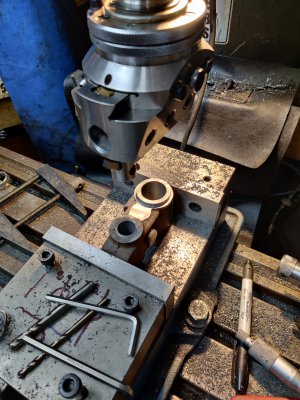
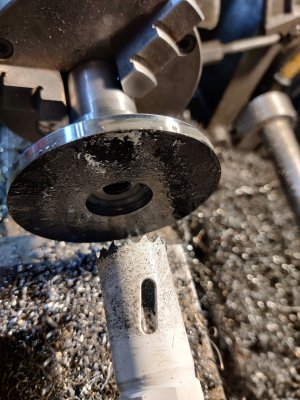
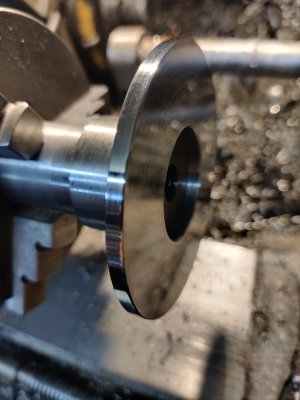
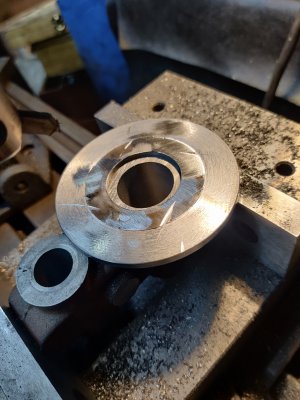
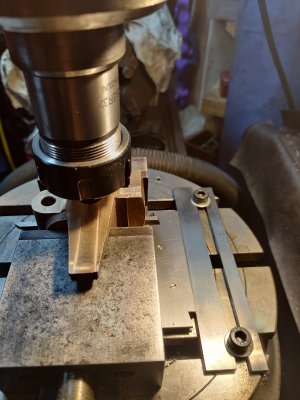
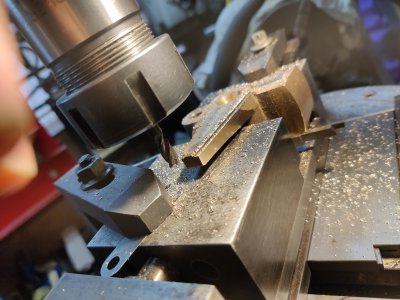
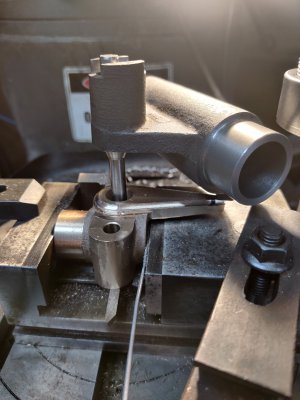
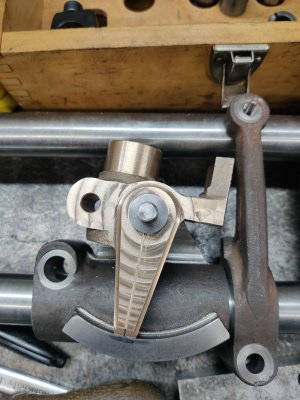
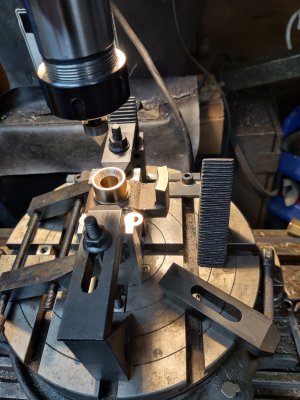
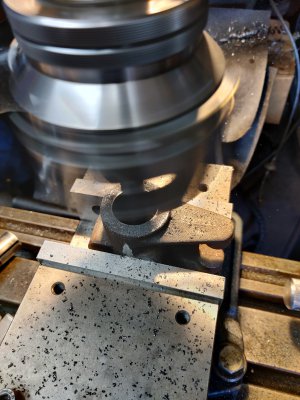
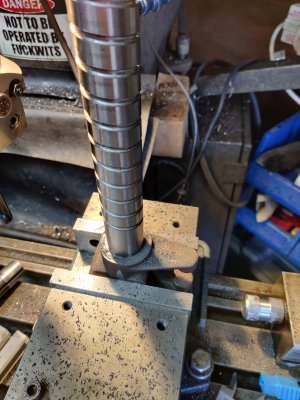
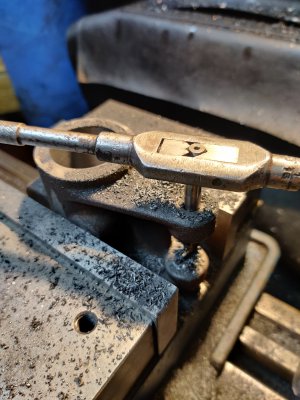
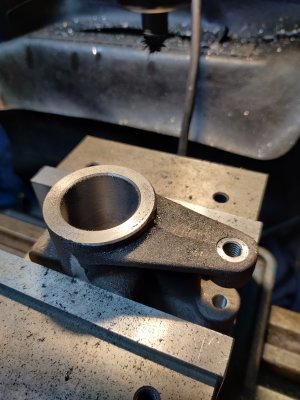
Now for some fun rotary table work with the tilting bracket. I wanted to finish the dial hand nicely and put a radius on it to make it look nice:

2021-08-30 11.41.12.jpg2021-08-30 11.50.39.jpg2021-08-30 13.59.36.jpg2021-08-30 14.38.05.jpg

I don't think it came out badly!

2021-08-30 17.29.04.jpg


I'l grab some better pics next time I'm in the shop. Next op is to machine the side of the upright, so another setup on the RT usign the blocks I used in the lathe:

2021-08-30 17.48.29.jpg
 
Very nice! I gave the Quorn a good hard consideration before buying my Checkel. The quorn is the more versatile tool without doubt. Thanks for posting!
 
RIght, where did I get to?

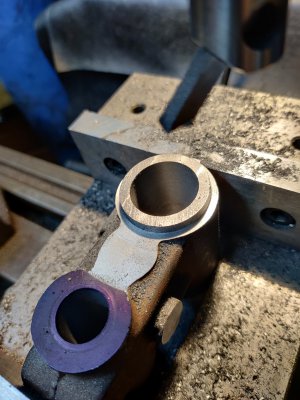
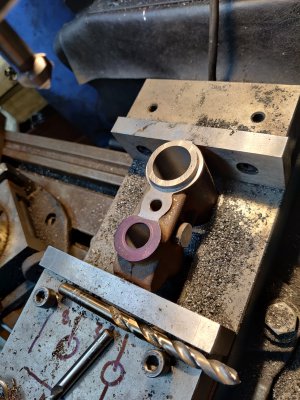
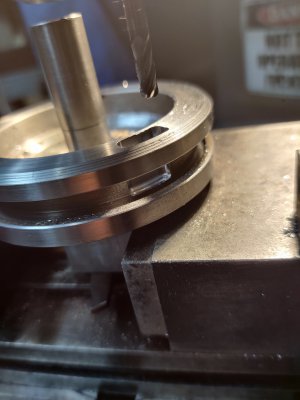
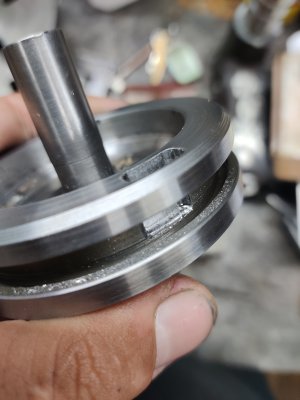
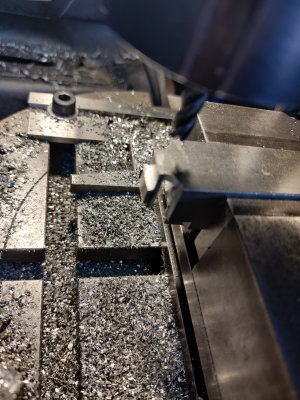
More roating base work milling a pocket for the shaped plates that run inside the annular T slot:

2021-09-01 22.55.01.jpg 2021-09-01 23.01.35.jpg

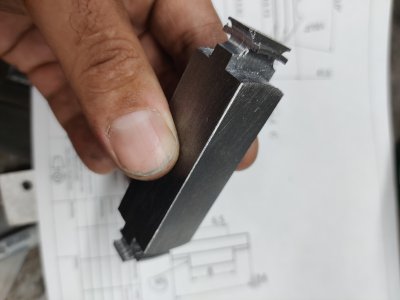
And making the plates:

2021-09-04 14.39.42.jpg2021-09-26 19.16.25.jpg

I didn't take many pics as it was a fussy, arduous job!

Next up, I decided I needed a break from the rotary table, so went to some of the castings for the wheelhead:

2021-10-06 11.47.11.jpg2021-10-06 12.05.00.jpg2021-10-06 12.14.09.jpg2021-10-06 12.30.26.jpg2021-10-06 13.38.21.jpg2021-10-06 15.49.14.jpg
 
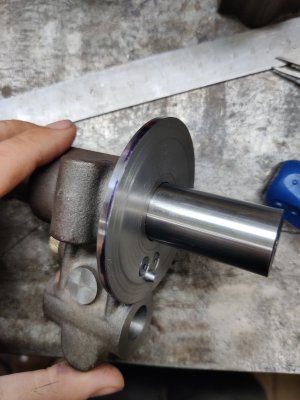
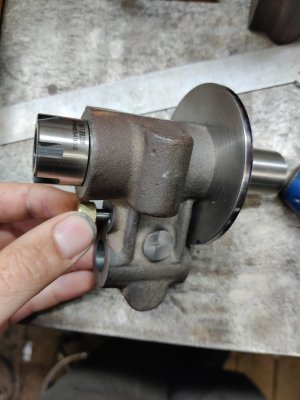
Standard stuff here, nothing fancy. That leaves a single casting to be tackled: the workhead. The one with the dividing wheel! After far too much ummmmm and arrrr, I decided on using an ER20 straight shank collet fixture. I can, of course,still machine my own fixtures if needed, but that'll probably do for most stuff I want. I'm not sure ER series collets were even invented back when prof Chaddock was designing this thing!

Anyway, having ascertained that straight shank collet holders with a 25mm shank are readily available, I got to work:


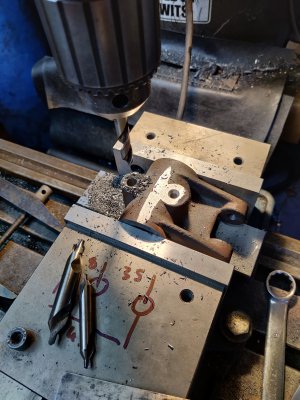
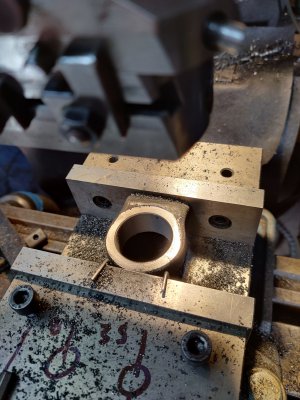
It's a fussy little thing, this. As usual, the book assumes you only have a mini lathe and comes up with the usual bat**** crazy setups appropriate for models engineers of the era. I took the Joe Pie teachings to heart and dusted a few surfaces true on the top and bottom to give me solid registration. With this, order of ops is absolutely key! I wanted to do all the critical ops in a single setup, so setting it in the vice with the back facing up is the only way to go, allowing access to all three bores, relief, registration of for the backing plate and screws:
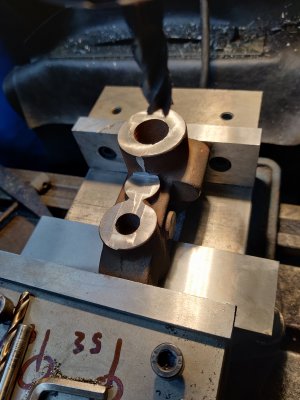
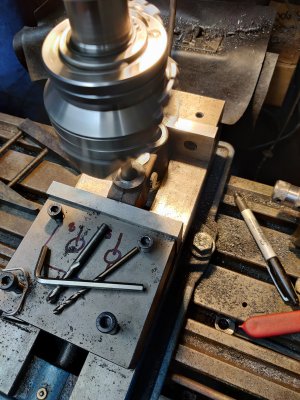
2021-10-06 20.49.41.jpg2021-10-07 22.09.18.jpg2021-10-07 22.47.25.jpg2021-10-07 22.53.11.jpg

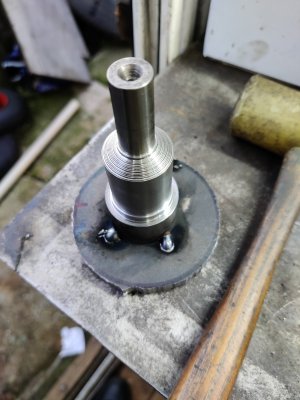
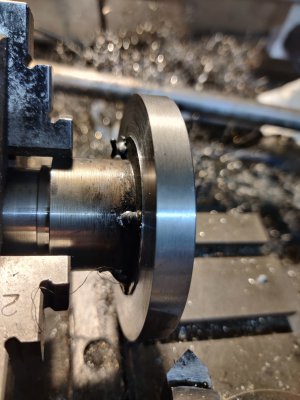
At this stage, it seemed prudent to machine tha backing plate itself. Holding thin plates is a pain, so I've taken to using Clickspring's "superglue arbor", except I weld the work to the arbor (awaiting welds):
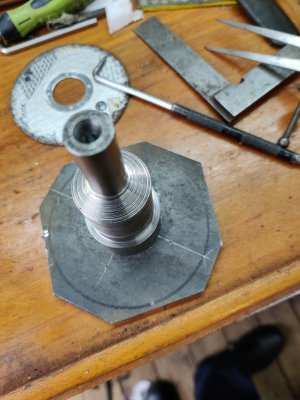
2021-10-08 14.22.20.jpg

The arbor allows machining of the bore, face and half the reverse face:
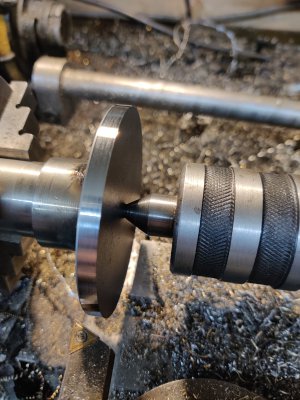
2021-10-08 15.39.52.jpg2021-10-08 15.44.55.jpg2021-10-08 16.41.48.jpg

And on it goes:

2021-10-08 16.48.43.jpg

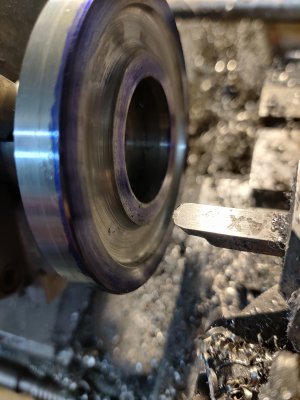
Blue up the casting to finish the relief:
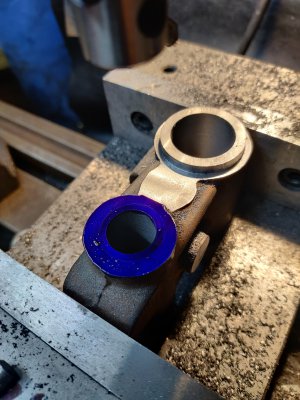
2021-10-08 16.49.38.jpg2021-10-08 17.33.53.jpg

Bore the hole for the index pin:

2021-10-08 18.15.44.jpg

I was having so much fun at this point that I forgot to take any photos.... They'll come later! Suffice to say, it's now assembled. I LOVE my Wohlhaupter boring head. I've made the pin out of some tool steel, which again I forgot to snap, but did for some reason take a pic of making the brass nobbly bit:
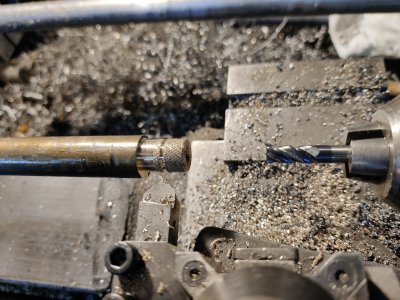
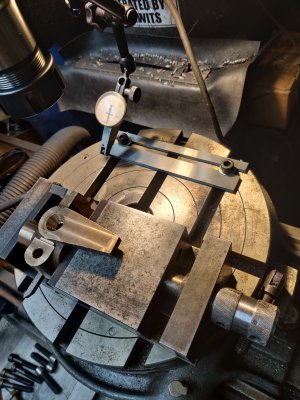
2021-10-10 16.04.12.jpg
 
Last edited:
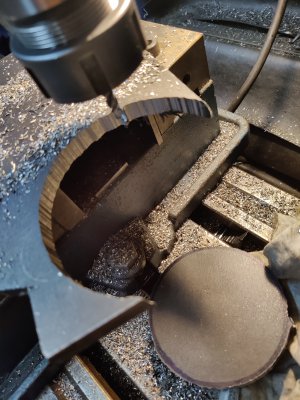
I now needed a larger piece of plate for the indexing wheel. 10mm plate with the grinder is not my idea of fun and frankly, neither is chain drilling. I couldn't be bothered to set up the rotary table again, so chose too freehand "chain mill" the blank:

2021-10-10 17.59.12.jpg

Zero stress and a decent result onto the same "hot metal glue gun" arbor:

2021-10-10 18.16.11.jpg

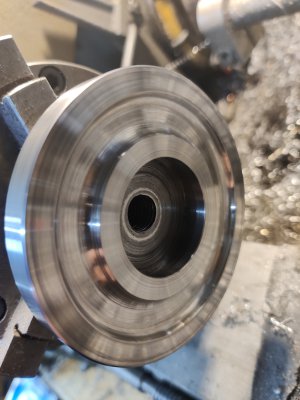
Balanced cuts giving quite a passable finish on this gummy soft steel:

2021-10-10 18.31.02.jpg 2021-10-10 19.04.20.jpg 2021-10-10 21.57.11.jpg

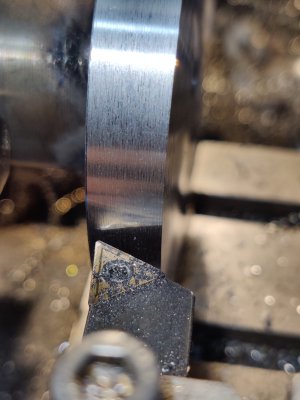
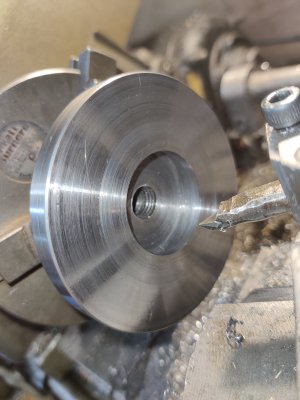
I ground up a radius tool for the cosmetic relief at the back of the wheel:

2021-10-10 22.32.39.jpg2021-10-10 22.39.43.jpg

Got some half decent results with it too. A little more polishing and I'll pop it off the arbor to finish the other side. It'll be relieved as it sits against the backplate, and you can't really see from the photo that I've cut the taper already, the the remaining ops are not critical to get dead nuts on concentric or true. That's a job for anther day now, along with the split collet though :)
 
As promised:

2021-10-13 13.58.33.jpg2021-10-13 13.58.44.jpg

The pin is silver steel machined with a step. There's a spring which bears against that and a step on the inside the housing. The end has a 10 deg taper.

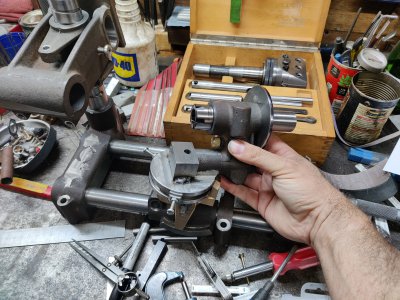
The great machine as it stands now:

2021-10-13 14.00.36.jpg

The old workbench is getting messy. Must do something about that... So far I'm super pleased with how it's going.
 
Lo-Fi, you are a brave and talented soul.

Rex, have you seen this?
 
Lo-Fi, you are a brave and talented soul.

Rex, have you seen this?
Thanks! Either that or I'm an idiot who's binged too much all the machinist content on YouTube. The end result or lack of may tell!
 
Back
Top