2014 POTD Thread Archive

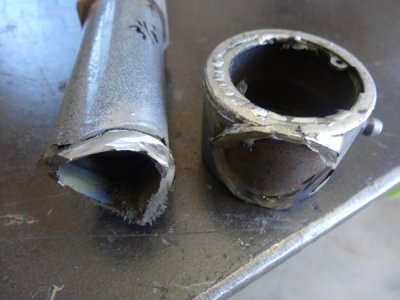
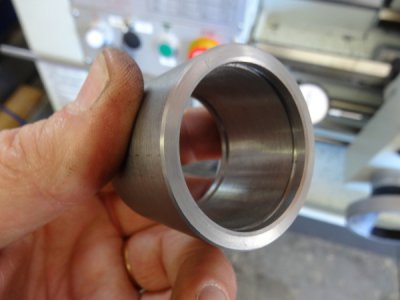
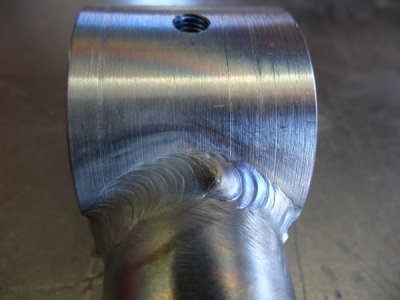
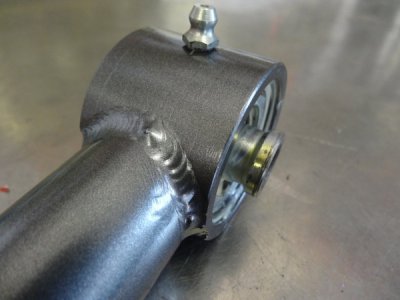
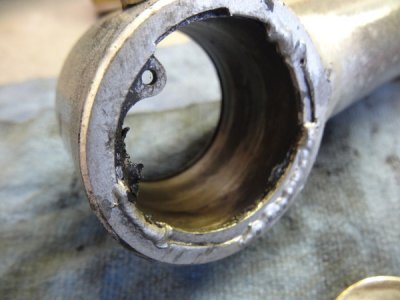
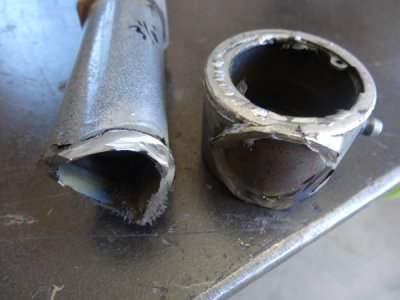
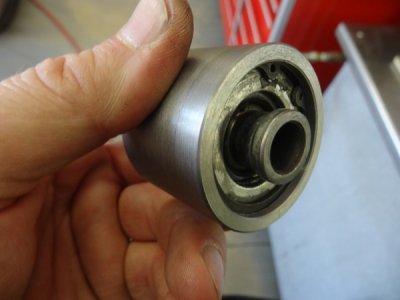
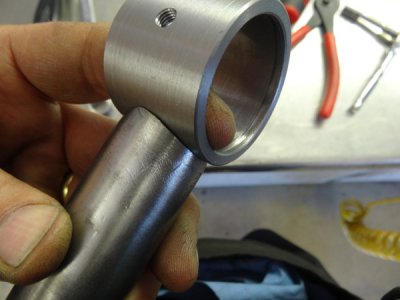
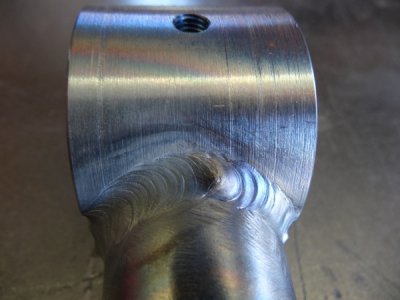
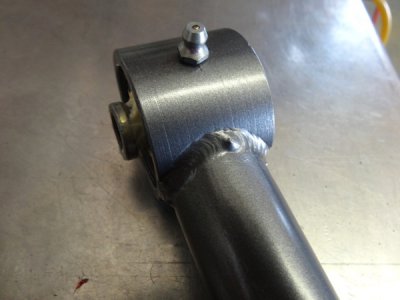
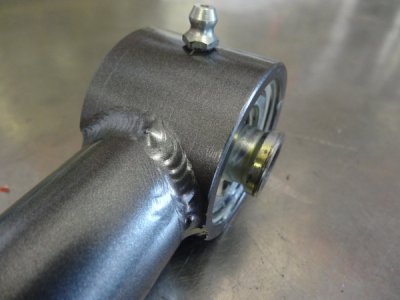
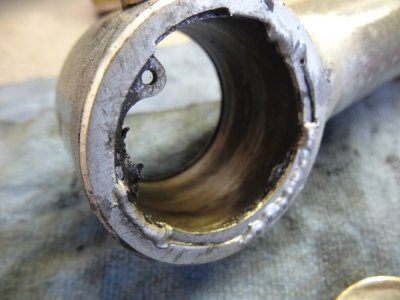
Repaired a Jeep suspension link over the weekend. The snap-ring had popped out and damaged the groove so I machined a new one and then cut the damaged one off the link and welded the newly machined one on. I then beadblasted and painted it as close as I could come with some paint I had on the shelf.

Here is the one with the damaged end link. I quickly welded the snap ring in place a few weeks ago until I could find time to build a replacement end link.
15y94sw.jpg

Old one cut off.
4tu2hd.jpg

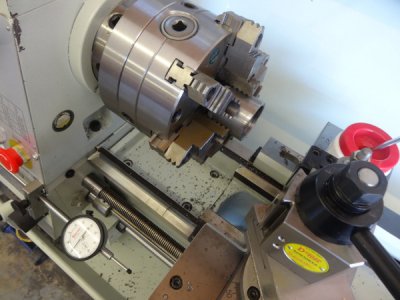
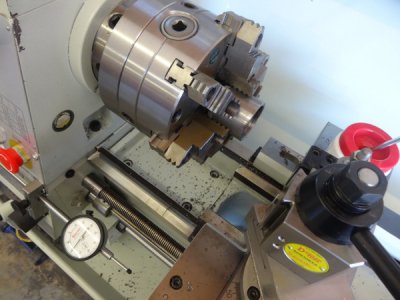
Machining a new end link. Had to use my custom made snap-ring grooving tool that I just ground from HSS.
rwqx3r.jpg

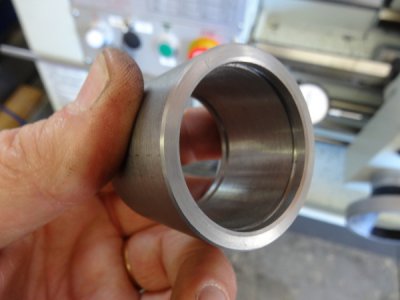
Machining complete.
9jn620.jpg

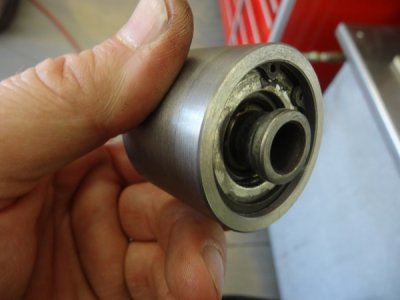
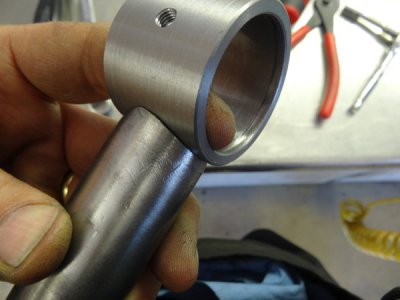
Test fit of the bushings and sphrerical ball prior to welding.
2ibfcih.jpg

Proper fit-up is crucial to a strong weld and overall strength of the part. Especially being a suspension component.
v8d6xu.jpg

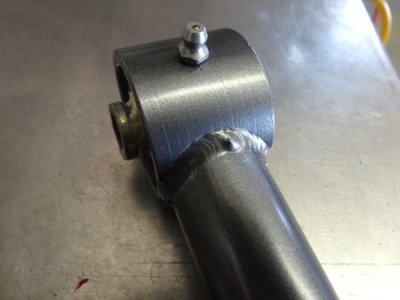
Weld completed.
2vmypl1.jpg

After bead blasting, priming and painting.
977ipe.jpg

zxmj2v.jpg

15y94sw.jpg

4tu2hd.jpg

rwqx3r.jpg

9jn620.jpg

2ibfcih.jpg

v8d6xu.jpg

2vmypl1.jpg

977ipe.jpg

zxmj2v.jpg
 
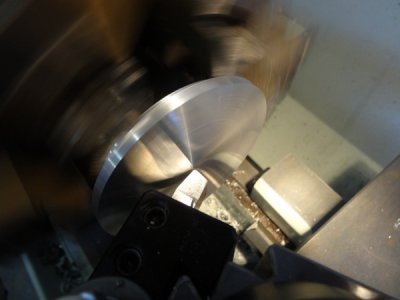
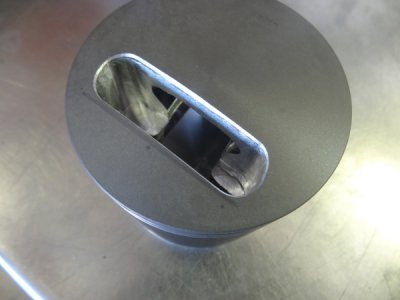
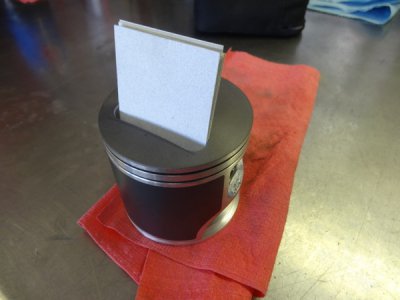
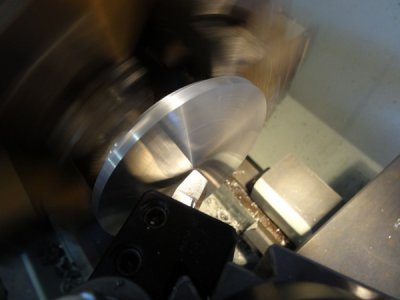
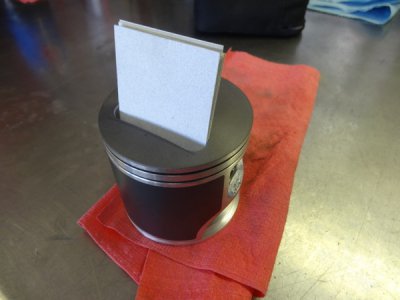
Also had a spare piston kicking around the shop that I no longer had a need for so I decided to machine a base for it and mill a pocket in it for a business card holder to put on my desk at work.
11keb8n.jpg

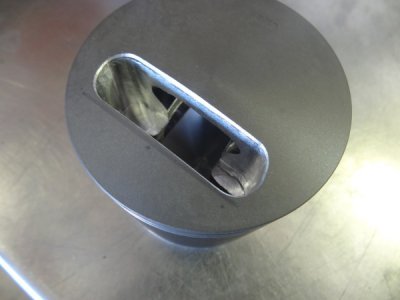
Pocket milled.
fxdxmq.jpg

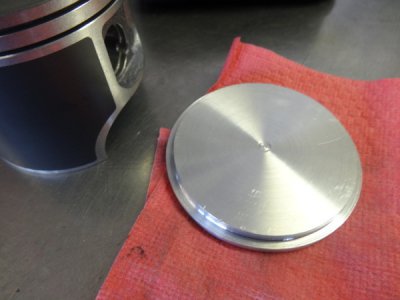
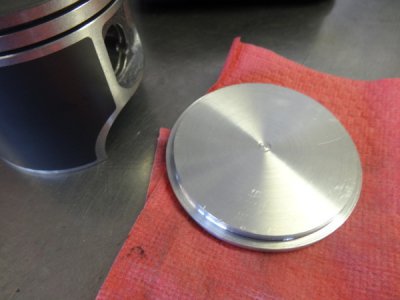
I machined the base .001" smaller for a pressed fit to the bottom of the piston skirt.
fdbo08.jpg

Completed.
10mqyd3.jpg

11keb8n.jpg

fxdxmq.jpg

fdbo08.jpg

10mqyd3.jpg
 
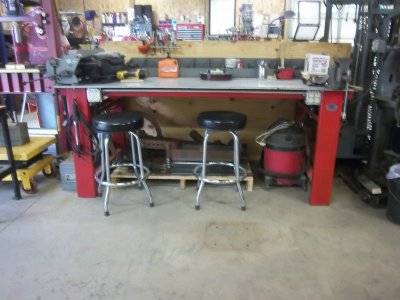
Rearranged the shop a little. Moved my main workbench and press to the middle of the shop and ran power to the bench so I don't have to drag an extension cord out all the time.

100_8718.JPG
 
Also had a spare piston kicking around the shop that I no longer had a need for so I decided to machine a base for it and mill a pocket in it for a business card holder to put on my desk at work.

You can bet your bippy that's gonna be copied! I'm gonna "Monkey see - Monkey" do that! Neato, Keeno.
 
Decided as I have had the lathe for almost a year now was time to do the freshman project and build a simple model steam engine.

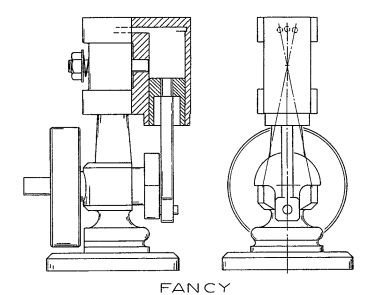
Looked over various plans and decided to build something based on a Elmer's "Fancy" (vertical single cylinder wobbler), but more the size of the horizontal "Fancy II".

Fancy.jpg

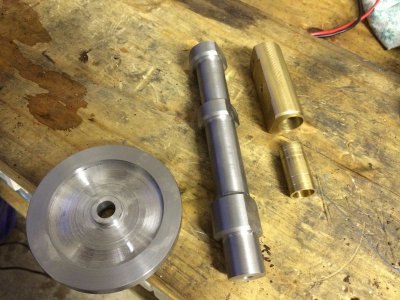
Have got the cylinder, piston, column and flywheel done so far.

Fancy01.jpg

Fancy.jpg Fancy01.jpg
 
I been working on an indexer, since I have needed one at least three times in the last 3 months, it is time to build one. these pictures are of the progress so far. it will be done soon. I could have bought one for a few hundred dollars, but this one has cost nothing but my time.
Mark, would you care to post this up in members projects or something with a build log and more details?
It sure looks great

Cheers Phil
 
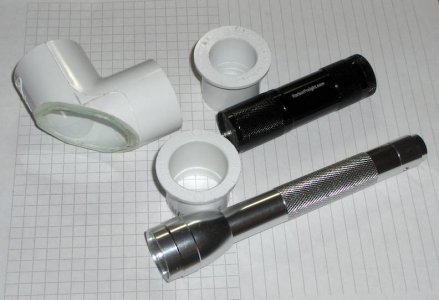
I made myself a kinda borescope - meant for illuminating and looking into deep holes. It's pretty simple, and very inexpensive. Just a 1" white PVC ell, a small chunk of window glass, a cheap flashlight, and a PVC reducing bushing bored out to fit the flashlight.

The first photo shows the parts. The PVC ell is milled at a 45 degree angle, going through the point of intersection of the centerlines of the two legs. The glass is crudely hacked out (didn't have a glass cutter on hand) and glued to the 45 degree face with Loctite "GO2 Glue." I used a 1" x 1/2" reducing bushing for the [FREE] black Harbor Freight LED flashlight. I also made an adapter for another, brighter flashlight out of a 1" x 3/4" reducing bushing.
kHPIM3269.jpg

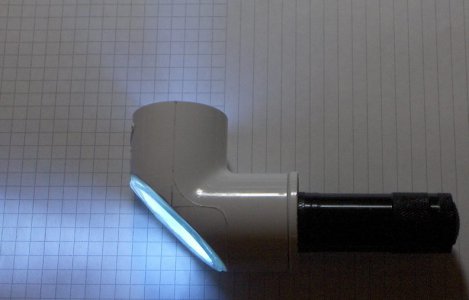
The second photo shows the relative amount of light that reflects "downhole" off the inside face of the glass vs what is lost out the side. True, most of the light is lost, but the reflected light is still strong enough to give good illumination downhole. I suppose I could have found a real-live 50% beam splitter, but that would have taken real money!
kHPIM3267.jpg

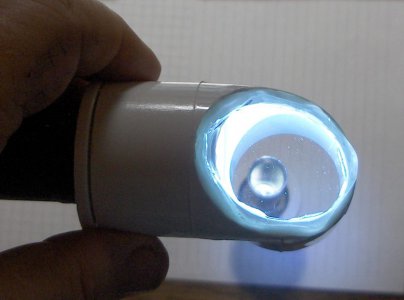
The third photo shows how well the device illuminates the inside of the other flashlight's barrel. It's about 4 1/2" deep.
kHPIM3270.jpg

kHPIM3269.jpg kHPIM3267.jpg kHPIM3270.jpg
 
Very slick. I'll certainly be making one of those in the near future as it would come in very handy on a regular basis.

Thanks much,

-Ron
 
Very cool. I'll be making one of those. I could have used that tonight while working on a project.
 
Last edited:
Back
Top