- Joined
- Nov 5, 2016
- Messages
- 1,419
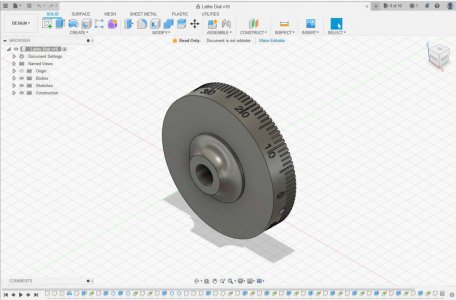
This is actually a sub-project of my current project of making a swiveling base for my new to me Harig grind all. I've been wanting to try making a graduated dial or collar and this was my first chance since I got my printer.
I had the swivel base piece all set and lined up on my rotary table and started to grind the tool for cutting the lines when I remembered I wanted to try this, and I'm glad I did because it turned out very well. It took a few test prints, at a cost of $0.17 ea LOL but I got the tight fit I wanted and nice, crisp lines and numbers.
I love Fusion 360 and haven't found the limitations of the free version to be a big deal. Minor inconvenience, but nothing you can't easily work around.
I've always had decent luck cutting the lines in on my mill, but the numbers were hand stamped and even with making a jig for stamping they always go on crooked and/or uneven.
So now I've got another way of doing it which looks much better and is just as accurate. The ring/collar can either be pressed on or glued. In some applications you might want to make a metal ring for the collar to go around for hard clamping in the center or maybe a high infill will be sufficient. Lots of variations based on design requirements.
So, you guys with 3D printers, here's something else for you to play with !
Ted