- Joined
- Feb 2, 2014
- Messages
- 1,069
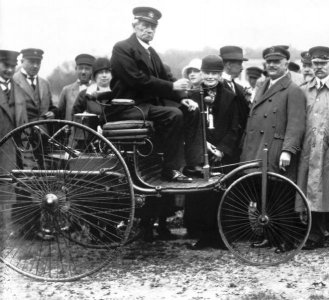
After some prodding and pushing I have decided to try to make the Motorwagon for my Benz engine. It won't be a replica but of my own design and keeping as much as possible to the original. There have been several examples of this carriage made over the years including a run of 75 that Mercedes Benz built for the anniversary. They all are just a little bit different so in order to use the most authentic version I found this photo on line. That is Mr Benz himself and the motorwagon as he built it.
For me the wheels look to be the most foreboding part of the build so I will start there.
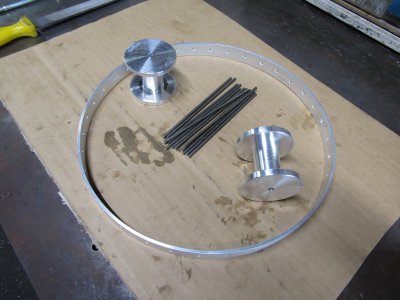
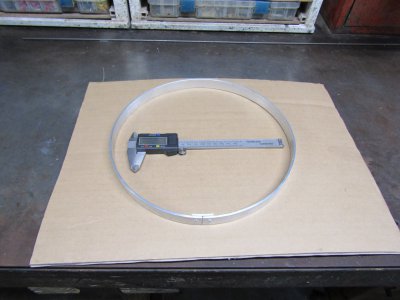
This is one of the rear wheel rims that measures about 10 3/4" in diameter.
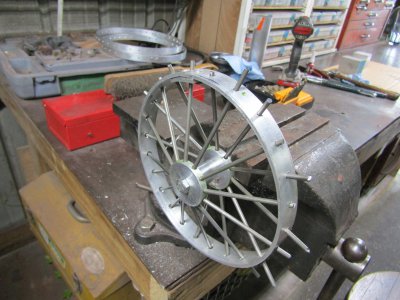
The rear wheels will have 36 spokes each and the front wheel will have 24. I know the original had over twice that number of spokes but any more is way above my pay rate.
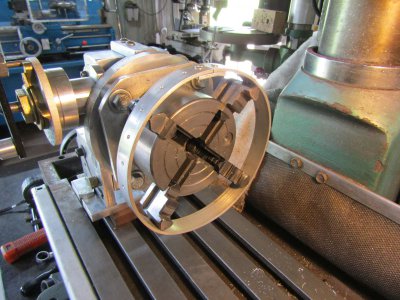
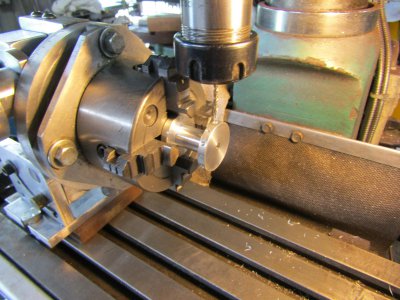
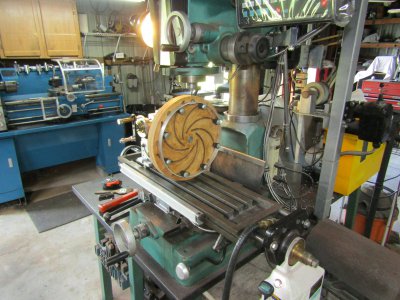
This is how I equally spaced the spoke holes for the rear wheels.
I used a desk top Harbor Freight 3 in 1 sheer, brake, roller, machine to make the rims so I am at a disadvantage all ready. They are not exactly round but I hope the spokes will push things into place when the wheel is assembled. The rims are made from 1/8" thick by 3/4" wide aluminum strips.
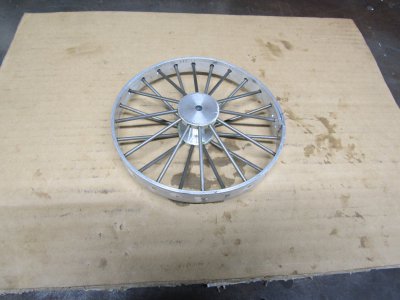
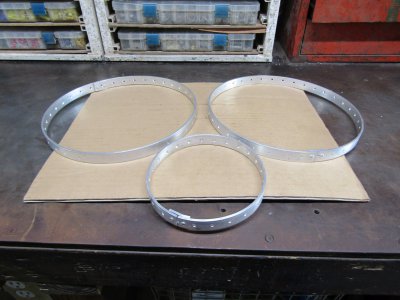
Here are the three rims with the spoke holes.
This is going to be a big model.
Thanks for looking
Ray
Here is the link to the engine build.

 www.hobby-machinist.com

For me the wheels look to be the most foreboding part of the build so I will start there.
This is one of the rear wheel rims that measures about 10 3/4" in diameter.

The rear wheels will have 36 spokes each and the front wheel will have 24. I know the original had over twice that number of spokes but any more is way above my pay rate.
This is how I equally spaced the spoke holes for the rear wheels.

I used a desk top Harbor Freight 3 in 1 sheer, brake, roller, machine to make the rims so I am at a disadvantage all ready. They are not exactly round but I hope the spokes will push things into place when the wheel is assembled. The rims are made from 1/8" thick by 3/4" wide aluminum strips.
Here are the three rims with the spoke holes.

This is going to be a big model.
Thanks for looking
Ray
Here is the link to the engine build.

Inspired Build of the Karl Benz 1886 Engine
This is a photo that I found online showing a model engine. The motor wagon engine has a horizontal flywheel mounted in the rear of the three wheeled auto. It was believed to be the first practical automobile in the world. There are many sites on line showing the engine and explaining some of...
 www.hobby-machinist.com


