A Simple QCTP

owl

Registered
Registered
Joined
Mar 15, 2012
Messages
99
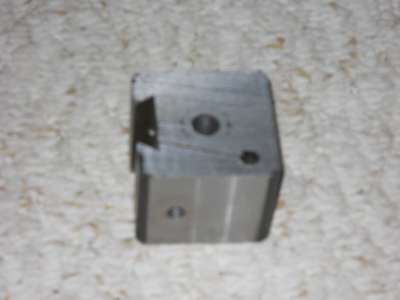
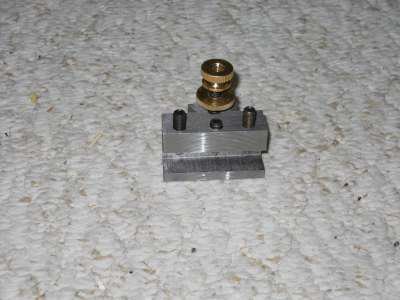
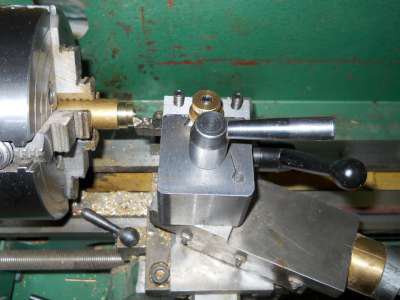
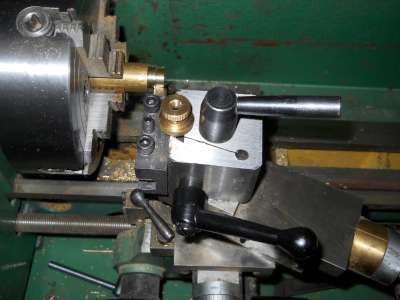
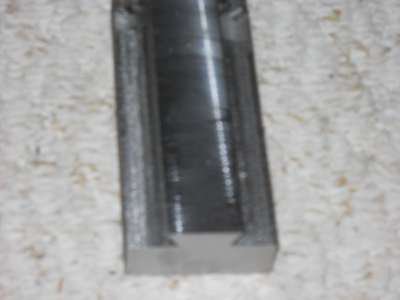
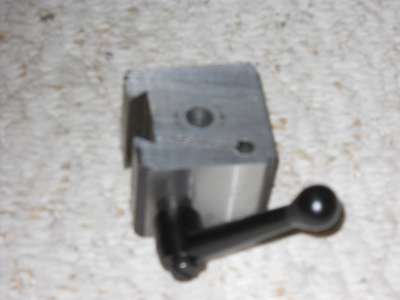
Since I got my 7x12 lathe, I had been using 2"x2" chunks of steel with a center hole, a milled cut on the side and some capscrews to lock in a tool. These had the virtue of being simple, but lacked any adjustment except by shimming. So, I finally decided to build a simple QCTP. I started with a chunk of 2"x2" hot rolled steel and drilled a hole in the center to fit the stud on the lathe. I then cut a female dovetail in the side, first with an endmill, then with a 1" dovetail cutter. Most of the tool holders that I have seen use a male dovetail, but I thought that this would make clamping the tool holders simpler. I then took a 1' length of 1 1/2"x2" hot rolled and milled a male dovetail the full length, sneaking up on the final dimension so that the previously made female dovetail would just slide down the length of it. This was to be used for the tool holders. Having fit this, I prepared the 2"x2" piece to clamp the dovetails by first drilling a #7 hole perpendicular to, and behind the dovetail deep enough to thread behind the dovetail cut, then drilled a vertical hole toward the back of the piece, and sawed a slot from the inside of the dovetail back to this hole. I then clearance drilled the #7 hole down to the saw cut and threaded beyond that 1/4"-20 and fitted an adjustable handle to clamp the dovetail slot smaller. Hopefully the pictures will make that clear.
DSCN0153-400.jpg DSCN0152-400.jpg DSCN0151-400.jpg
 
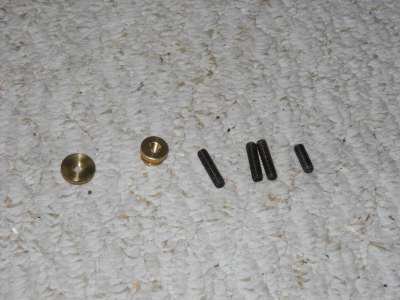
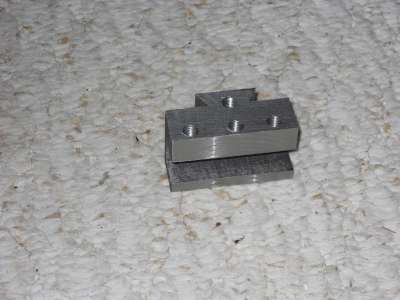
That left the toolholders to make. I took the 1' length of 2"x1 1/2" that I had cut the male dovetail on and cut off six 1 1/8" pieces for toolholders. this left about 5" for future specialty holders. Each of the pieces got a 1/2" x1/2" slot milled for the tool and 3 1/4"-20 tapped holes for setscrews. Each also got a 1/4"-20 hole at the dovetail for the height adjusting screw. the two outboard setscrew holes and the adjusting hole got 1" studs, and the center setscrew hole got a 3/4" stud. That left the adjusting nuts. I took a piece of 1" round brass and put it in the lathe, first knurling about 2 1/2", then center drilling and tapping 1/4-20. I then parted off 6 pieces about 1/4" each, chamfering the edges with a file to break the edges before parting was complete. These were the adjusting nuts. To lock these, I used brass electrical terminal nuts that I got cheaply on ebay. Again, I hope that the pictures make this clear.

- - - Updated - - -

To use, I just clamp the 2"x2" piece to the original toolholder post, and then adjust the height with the thumb bolt and lock it with the terminal screw, and tighten the dovetail with the handle. To use it for facing, I just flip over the 2"x2" assembly and rotate it. Since the height doesn't change, any previously adjusted toolholders are still right. This avoids any complication that a second dovetail would involve. So far the thing has worked very well.

DSCN0156-400.jpg DSCN0155-400.jpg DSCN0154-400.jpg DSCN0158-400.jpg DSCN0157-400.jpg
 
Hey, great project Owl! I think I would have a hard time sawing the slot from inside the dovetail to the back hole?
Thanks for sharing.
 
Back
Top