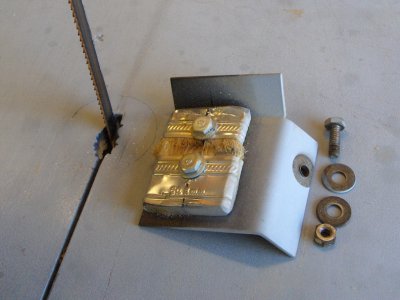
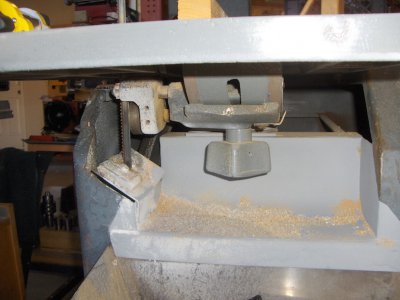
This was my father in law's wood saw. The motor was bad and I replaced it with a new one at 1750 rpm, and then adjusted the size of the two pulleys in order to slow it down. It still ran too fast. Also, the pot metal blade guides both broke when they were tightened. The first pictures below show the top of the saw now. I took the table to the mill and drilled and tapped so I could put in an aluminum block that was the same height as the table vise on the saw. I also sawed off one side of the vise in order to get in closer to the blade, and then drilled and tapped for an aluminum guide on the bottom of the vise to fit in the table groove.
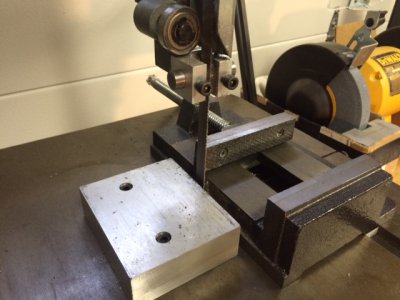
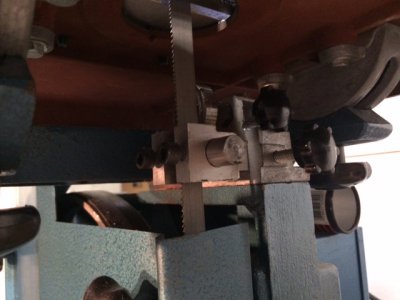
The picture above also shows the new blade guide that I made from 7075 aluminum, with 1/2 inch drill rod for the adjustable contact points. The picture next to it shows the bottom guide that I also made/replaced.
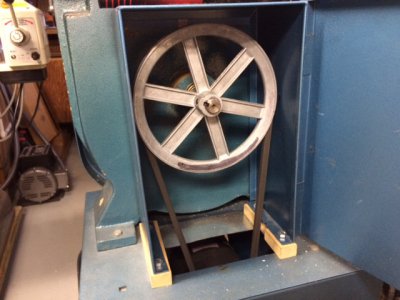
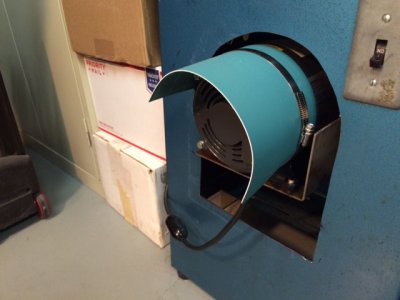
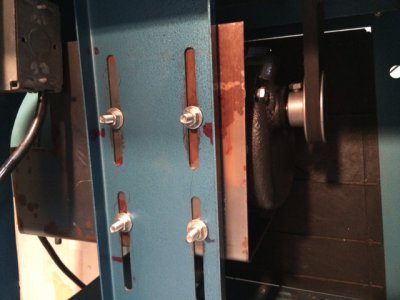
The pictures below show the pulleys that I replaced, with maximum large and small sizes. Also the new motor installation. I eventually removed the replacement motor and then found a gear head reduction motor on ebay that appeared to be unused when I received it. Normally, the motor base mounts to the side with the original saw configuration. The gear head motor I bought does not use the 45 degree gear arrangement, but simply extends on the end and has a parallel shaft that comes out directly above where the motor shaft would normally exit. This gear head gives a 20 to one reduction in speed. Because mounting this motor normally would cause the shaft to be offset to the side, I had a piece of steel cut and bent and attached it to the normal mounting plate, with allowed me to mount the motor with the reduced speed shaft directly above where a central shaft would otherwise exit, so the drive pulley would be directly below the larger pulley. Hopefully the pictures are clearer than this explanation. I get about 105 sfm with the saw now, which is fine for aluminum which is what I usually cut, and a bit fast but still satisfactory for the occasional steel. With the gearhead extension on the motor I had to cut out the front of the saw base, and since I get some swarf in that area I made a shield to keep swarf from being sucked into the motor. Pictures below.


