Another Hendey Refurbish

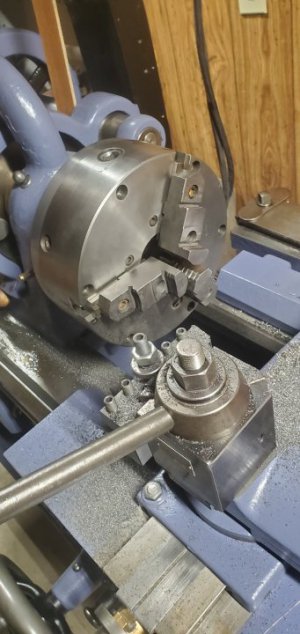
The quill screw on this lathe was too short to eject the tools... so I decided today to fix that issue... I drilled and reamed the end of the screw and pressed a ¼" dowel pin into it...
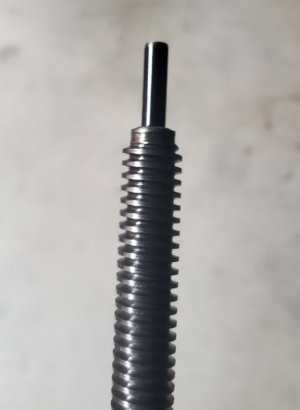
20220107_152244.jpg

It ejects fine now...

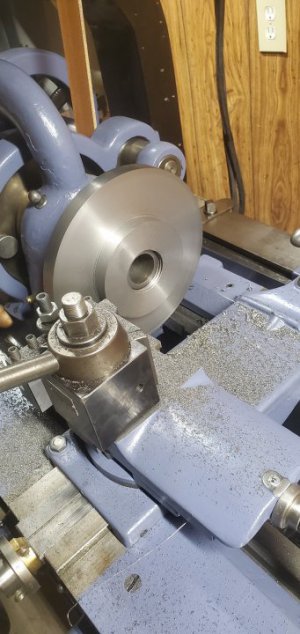
I also had the dog drive plate soaking in evaporust, so I rinsed it off and dried it, then used a stone to smooth any dings and burrs...
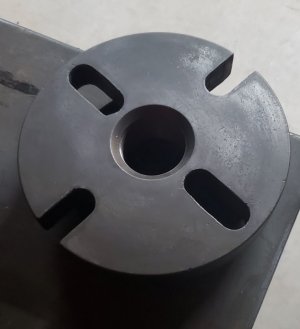
20220107_155202.jpg

I bought a 9 inch Buck Set-Tru chuck for it... it was pretty rusty... I took it out of the Evaporust this morning and finished cleaning and assembling it...
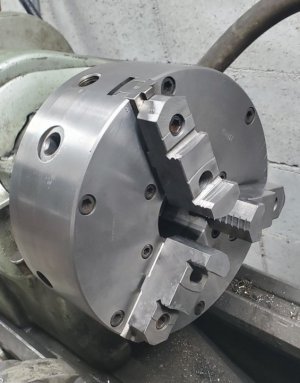
20220107_124943.jpg

I have a piece of cast iron ordered, it should be here Monday, to make a backplate to fit the Buck to the Hendey.

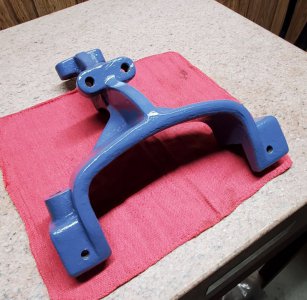
I have the follow rest for the lathe soaking in the degreasing tank... I'm hoping for some warmer weather so I can slop some paint on it next week.

-Bear
 
I finished painting the follow rest this week...

20220115_130839.jpg

Now I need to get all of the hardware reinstalled...

I don't know if I will ever use this, but if I need it, I'll have it...

-Bear
 
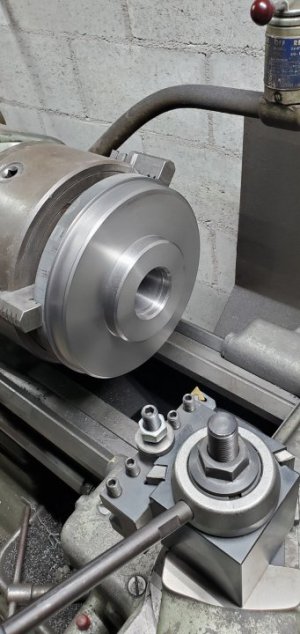
I finally found the time to start machining a backplate to adapt the Buck chuck to the Hendey. I had ordered a piece of cast iron, 9"x 2-½" from McMaster... it's been sitting under my workbench waiting.

20220126_172826.jpg

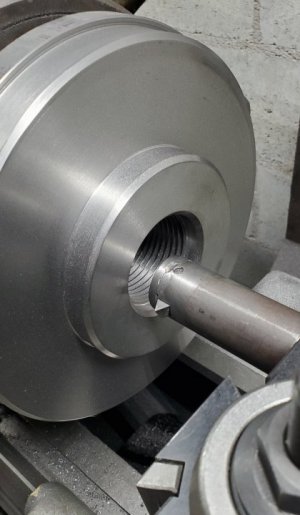
I'm working on the back... the side that faces the headstock. I faced it, turned the OD, then machined the step down to the smaller diameter. I then bored it to the minor diameter of the threads and machined the register diameter and chamfered all edges. It is ready to cut the 2-¼" x 6 tpi threads. All of this had to be done with one setup to keep all the surfaces square and concentric with the threads.

After cutting the threads, I will flip it around and rough the register diameter for the chuck. It will be finished on the Hendey, so the chuck locating faces and register are square and concentric with the spindle.

-Bear
 
Bravo! I was holding my breath for you as you cut those threads into a part you already had so much time into.
 
Bravo! I was holding my breath for you as you cut those threads into a part you already had so much time into.

Me too...

And, of course, the blank was $110 also... I really didn't want to screw it up...

-Bear
 
I haven't taken the time to work on any projects in the last few days... I'm working 70 hour weeks, and when I do find time to spend in the shop, I'm too tired to be interested in doing anything...

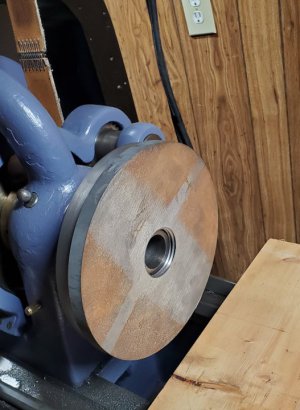
This morning, I came home and decided I was going to take the time to work on the backplate... I set it up on the South Bend and roughed out the chuck side of the plate, then threaded it on the spindle on the Hendey and finished turning the faces and diameters...

20220204_120122.jpg

Finishing it while installed on the spindle ensures that everything will run true to the spindle.

I machined the register to give 0.020" adjustment on the Set-Tru chuck.

20220204_115908.jpg

In the picture, the chuck is being held on with the adjustment screws... I still need to drill and tap the six mounting holes.

I'm glad I'm done turning cast iron for a while...

-Bear
 
That looks soooo good. Color looks great!

Congratulations on finishing the backplate... machining cast iron is such a messy job...
 
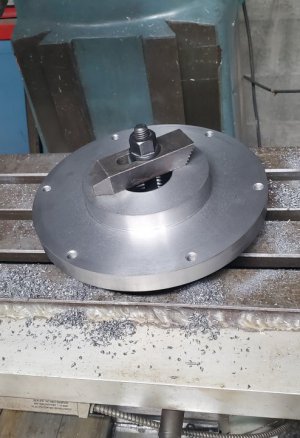
This morning I set the backplate up on the mill and drilled and tapped the mount holes...

20220205_100938.jpg

...then bolted the chuck to it and installed it on the Hendey...

20220205_103232.jpg

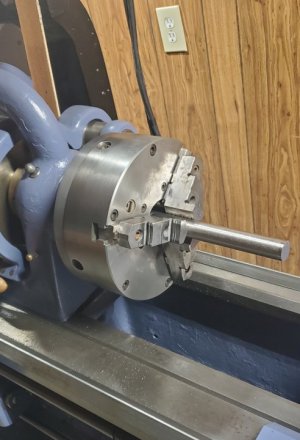
It adjusts easily... I centered a piece of stainless rod to within 0.0005" in just a couple of minutes. I'm happy with it.

An interesting note... I didn't weigh the cast iron blank before machining it, but the shipping receipt said the shipping weight was 60 pounds... after machining the backplate, it weighed in at 15 pounds!

I didn't realize that I removed that much material... but the pile of chips on the South Bend looks like enough to fill a 5 gallon bucket...

-Bear
 
Since I've finished the 3 jaw chuck for this lathe, I decided to finish mounting the 4 jaw chuck that I had previously machined a backplate for... (see post #118)...

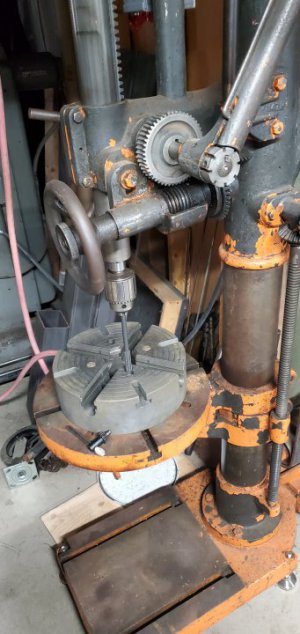
I carefully measured across two of the holes in the chuck to get the bolt circle diameter, then set the backplate on the mill and drilled and tapped the 4 mount holes (I did this a couple of weeks ago). I bought four 1/2-13 x 3.5 inch bolts yesterday, and began assembling it this morning... and discovered that the bolt holes in the chuck weren't drilled square at the factory...!!!? Two opposing holes are farther apart than the two opposing holes... by just enough to keep the bolts from threading in smoothly.

In my stash of reamers, I found a 17/32" reamer, so I set the chuck up on my camelback DP and reamed the two offending holes...

20220308_082549.jpg

That removed just enough material to get all 4 bolts installed.

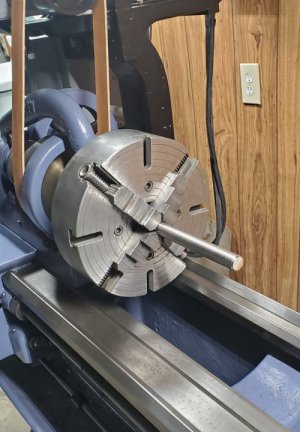
I threaded the chuck onto the lathe spindle without the jaws and wormscrews installed and stoned the chuck face... it has a lot of dents and dings in it... this chuck has led a hard life.

After I finished stoning it, I took it back apart and installed the worms and jaws...

20220308_091231.jpg

It still looks a little rough, but works fine.

I don't really want to have to swap this chuck too many times... it is just about too heavy for me to manhandle. I'm eventually going to come up with some way to lift these chucks to install them.

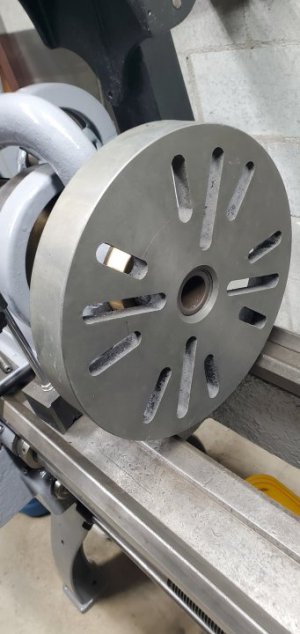
Also in the last couple of weeks, I have cleaned up the faceplate... here it is installed on Hendey #1...

20220308_093634.jpg

-Bear
 
Back
Top