Hey All,
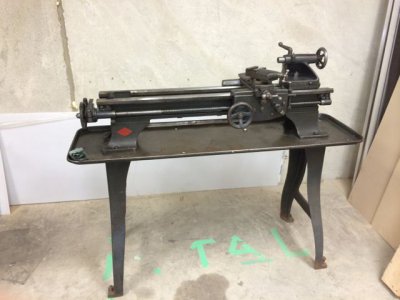
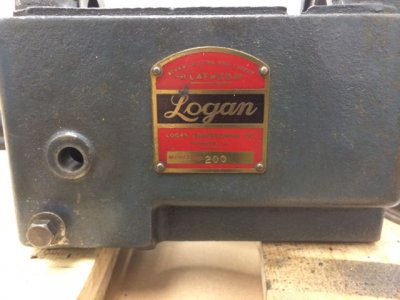
Shout out to Redlineman and TomKro who have been an inspiration to me. I am restoring a recently acquired Logan model 200 to working order. I have run into a few snags and I am looking for advice. I would also like to be up front in saying that I am new to both machining and forums, so please be gentle.
The story so far:
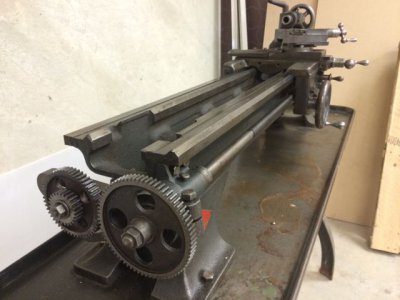
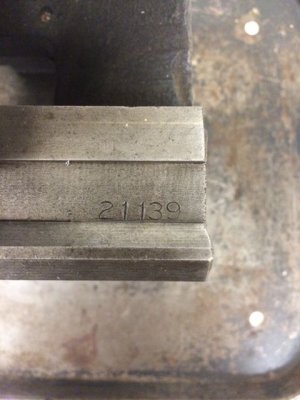
Logan Actuator site says that my 21139 serial number is a 1943 vintage. The previous owner was deceased and the man who sold it to me knew nothing of the machine's history. It appeared to be in good shape but in desperate need of cleaning and lubrication. From what I have read it may be rare, however, I was fortunate to find that all the gears and racks on the machine were intact with no missing teeth (including a full set of change gears).
Tasks that have been accomplished:
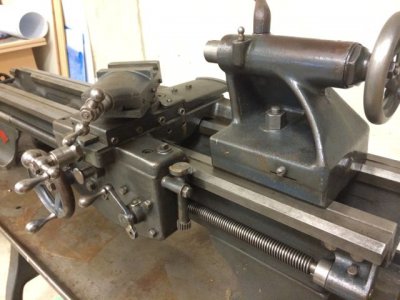
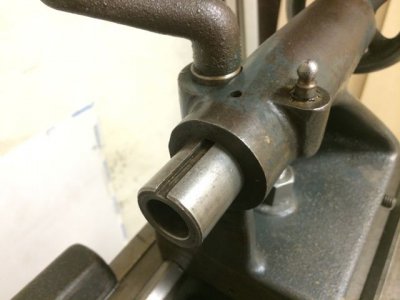
-Tailstock teardown and clean - 2 issues here, I may have lost a shim washer that has introduced some play (perhaps called backlash?) into the TS. Also, I think that my quill is mounted upside down. This is, oddly enough, the same issue that tubalcain had with his logan. Perhaps this was a popular mod for this lathe. Fortunately tubalcain has a well documented fix for this on his youtube channel. The reason I want to fix this is because I cant see the measurements on the quill at the moment. Another thought may be to mount a DRO to the quill and not bother with flipping it around.
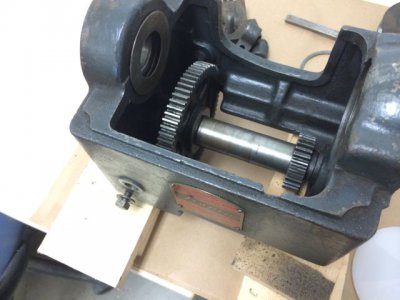
-Carriage/apron/saddle teardown and clean - Only issue is that one of the gears on the power cross feed mechanism will cause problems if it's bolt is tightened all the way, I am assuming I just need to shim this properly.
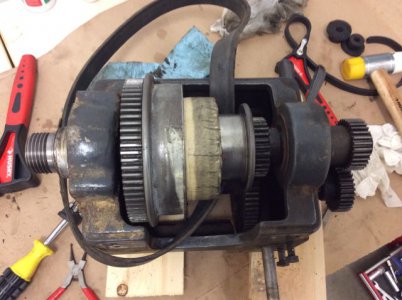
-Motor teardown and clean - Motor was full of junk and there was some rust on the magnets. I used compressed air and emery cloth to clean this up and it runs a lot smoother than when I first got it. It was having trouble starting and now seems fine.
Ongoing/future tasks:
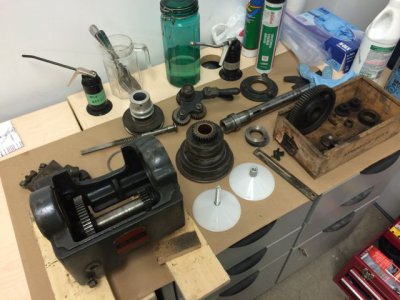
-Headstock teardown and nose bearing clean - A few issues here.
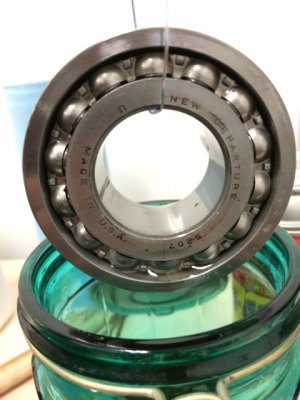
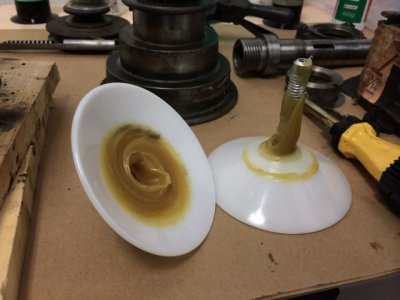
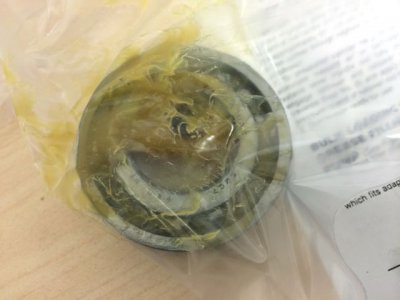
1) The spindle barely moved when I first got the machine. I was worried that the main bearing may be shot, but I took the chance and said my prayers. After fighting a few days with the nut on the spindle shaft next to the bearing, I was able to get the bearing out to clean and inspect. Loctite sells a product that freezes parts in order to loosen them if they are stuck. This product seemed to help get the nut off. The process also involved something I am not proud of using two pipe wrenches. I cleaned the bearing out with varsol, soapy water, and compressed air. I am worried that I may have overfilled the bearing with grease, I used a bearing packer tool that I bought from the local auto parts store (see photo). I would appreciate advice on the dangers of overfilling the bearing. Is it just going to shoot grease out and be fine?
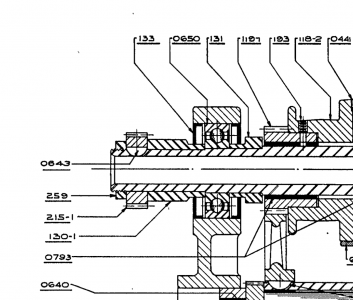
2) There was a gasket that was in between the bearing cover and the main headstock casting that crumbled as I opened the cover. A look at the manual would suggest that this is not original, however, I am not really sure if I am reading the manual correctly or even if I can trust what I am seeing. For all I know, I may have bought the wrong logan 200 manual. I have included a screen capture from the manual. If I tighten the bearing cover with no gasket it prevents the spindle from turning, so I would assume that I am going to need to put something there for clearance.
3) After cleaning and re-packing the main bearing I am attempting to put the spindle back into the headstock and I am having trouble getting the spacers on the shaft (part 131 and 130-1 see screen capture from manual) to fit correctly in relation to the tail bearing. I would appreciate any advice on this.
-Replace old worn belt - I am planning to replace with an automotive serpentine belt. I would appreciate if anyone has advice or a link to a good tutorial on this.
-Back gear timing - I pulled out the lever for the back gear eccentric shaft without realizing that I should have marked it for reference. Now I am trying to find some resources to figure out how to time this correctly.
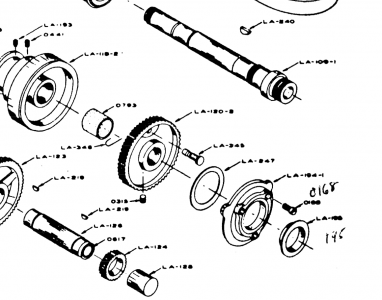
Thanks for the read. Photos attached.


