- Joined
- May 5, 2013
- Messages
- 310
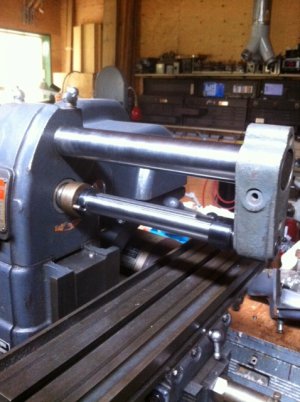
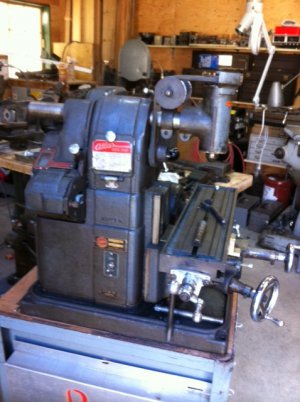
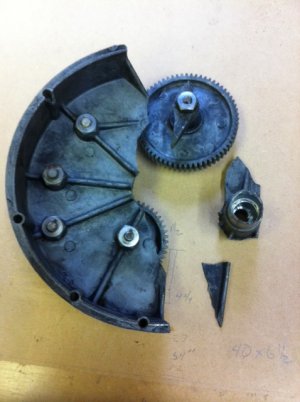
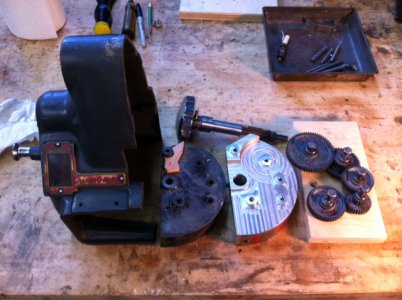
I picked up this Atlas Mill with a vertical head about a month ago. It was in a basement with junk just thrown in everywhere. (Craiglist find, but I was there for a grinder.) When I got it home, I discovered the change gear bracket MF-30 was broken. The knob MF-38 had been been hit by something and was bent over, I put it on the BP and drilled it out.
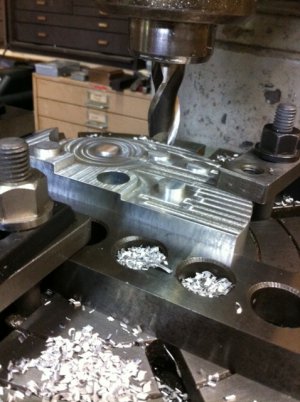
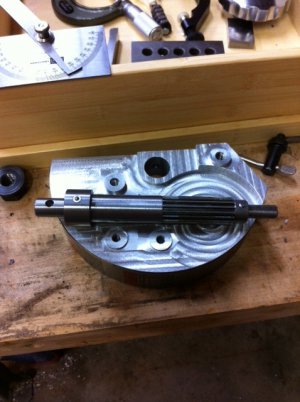
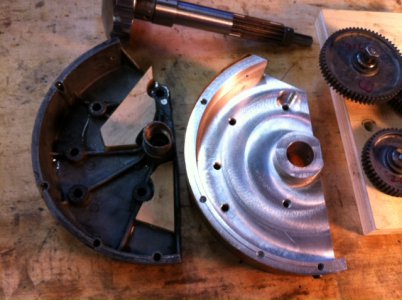
I found a replacement part on Ebay for $250, but I decided to spend 5 times that amount in time and make it myself out of 6061 aluminum. The old casting was very brittle.
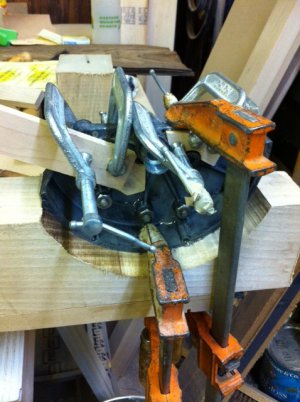
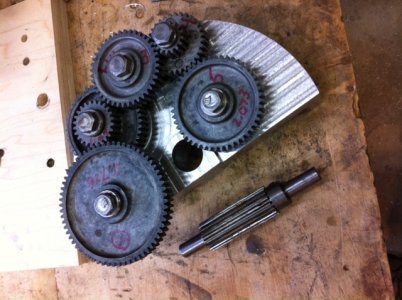
First I cleaned all the parts of the pot metal casting and glued them back together with Devcon 5 minute epoxy. This allowed me to get good dimensions off the old piece that are critical for the gear train to work correctly. I did a detailed drawing of the part and did a dry run in plywood to make sure the gears were spaced properly. These gears provide 4 different speeds for the table feed, called the Atlas Change-O-Matic. The speeds are controlled by turning the large knob and engaging a spring loaded pin that registers on the back side of the bracket. This is by far the most complicated bit of machining I have done, with a lot of rotary table work on the Bridgeport mill.
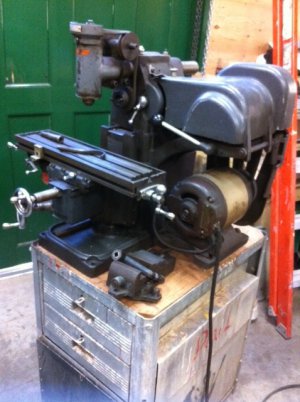
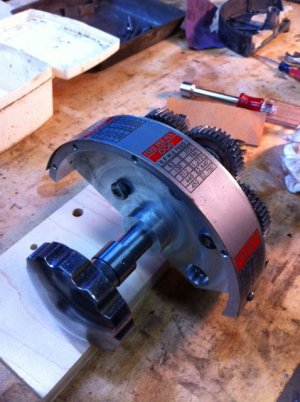
I changed Atlas's design a bit, in that I made a separate shaft to mount the knob. This shaft has an oiler that fills a small reservoir with oil in the center and feeds down a v-groove in the original MF 32 Stud, that carries the MF33A Drive Gear (shown mounted on the shaft in the last picture). This drive gear meshes with MF58X which is the Reverse Gear Tumbler Assembly, and provides the power for left and right hand feed of the table.
All my careful measurement paid off and everything fit as it should, first time through, very pleased!


