Beefing up my 9x20

chuckorlando

Registered
Registered
Joined
Nov 24, 2013
Messages
1,791
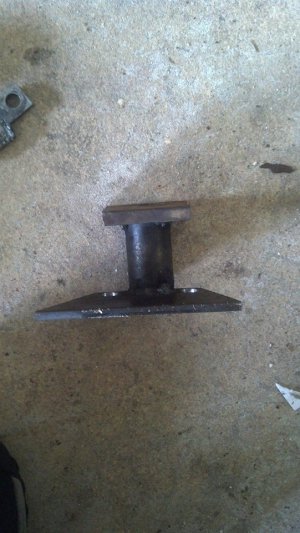
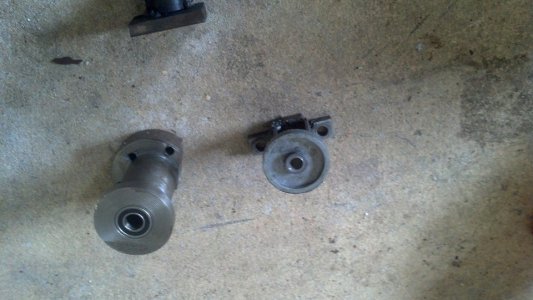
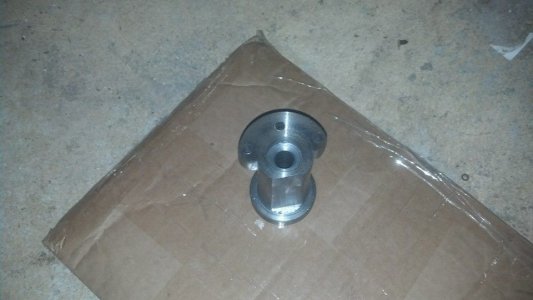
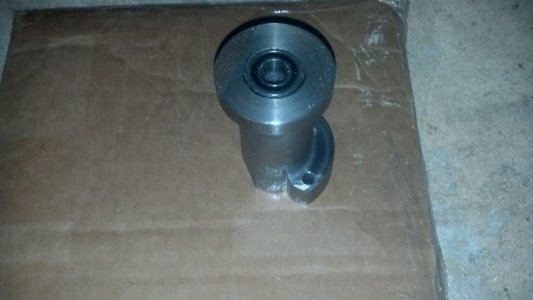
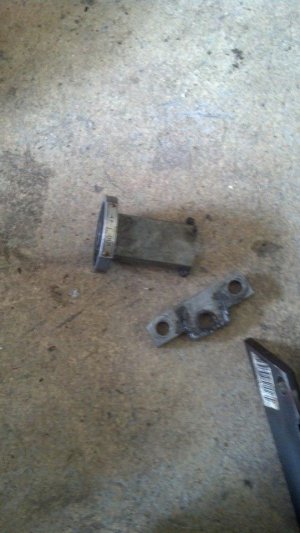
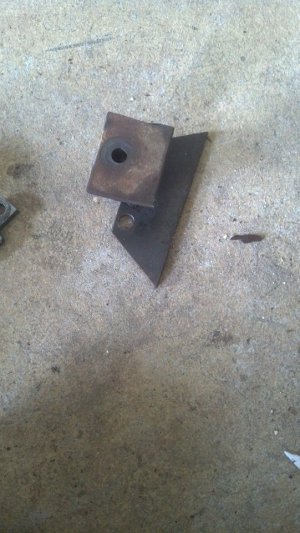
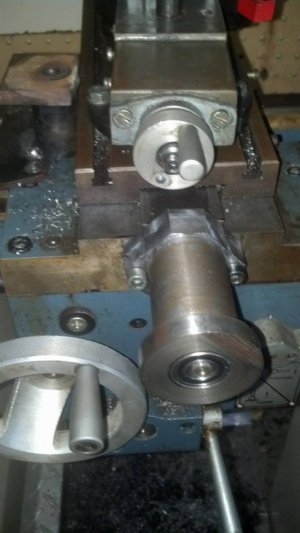
Well it has begun. When I first got my 9x I tore it down to clean it. Once apart I found the handle for the cross slide was broke in half. So I went to the junk pile, then the bandsaw, then the welder. This move was just to get by. I refuse to buy a new part to build a part to replace the part I bought:nuts:
10253904_824605720887722_8171629274962948362_n.jpg10273966_824605647554396_5570761526155844939_n.jpg10300903_824605614221066_5895569221268094755_n.jpg

- - - Updated - - -

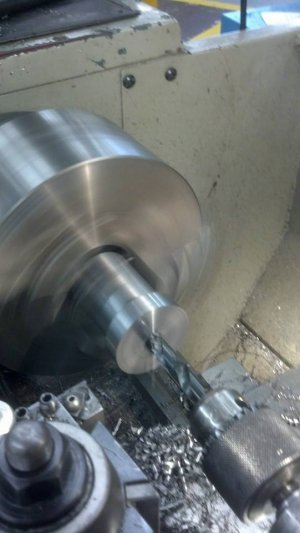
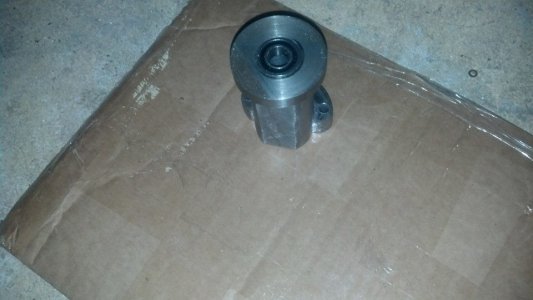
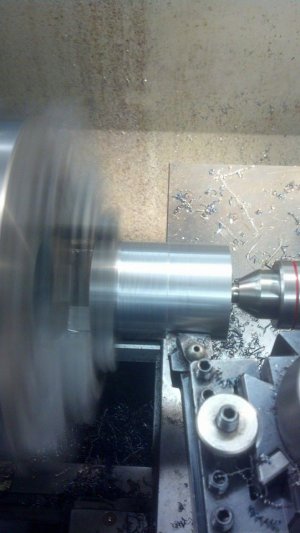
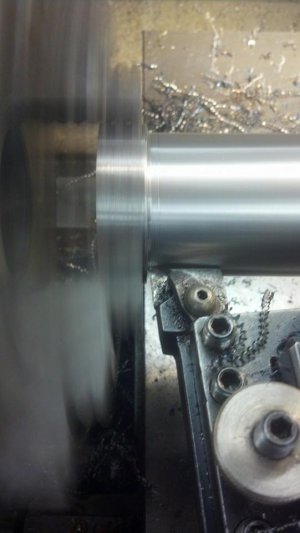
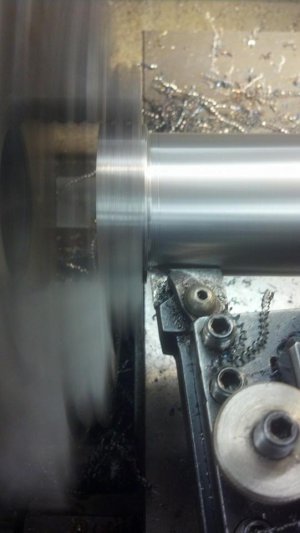
So then I got a chunk of steel. I first chucked it up close and turned the whole thing to the largest dia I wanted. Thats the area that mounts to the crossslide.

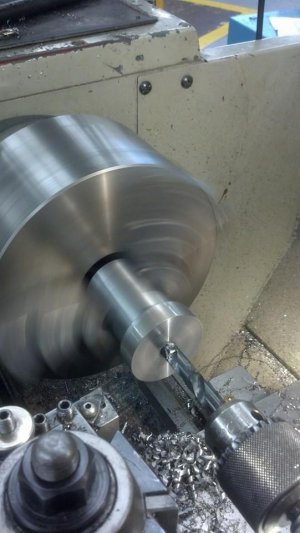
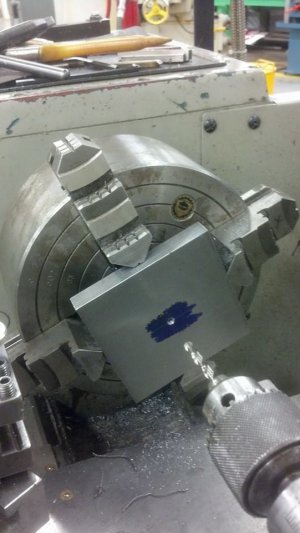
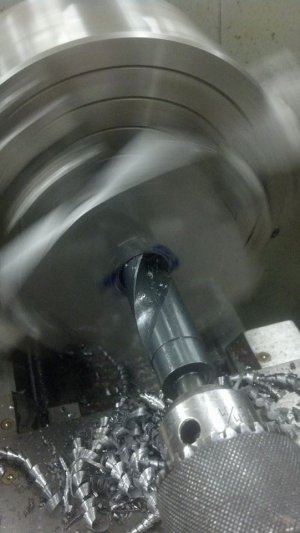
I then center drilled it. Then pulled it out just past the thickness of the mounting area. Now threw in a live center and turned all but the mounting surface to the next largest dia. Thats where the handle goes.

I then flipped it around and drilled my threw hole. I flipped it so it had more surface in the jaw. I should have done this when I turned the first dia.
1506970_824602334221394_1766904848115516686_n.jpg1981836_824602007554760_306859057924804791_n.jpg10155267_824602307554730_8432660708463147296_n.jpg10171019_824602274221400_5645155985680983702_n.jpg

- - - Updated - - -

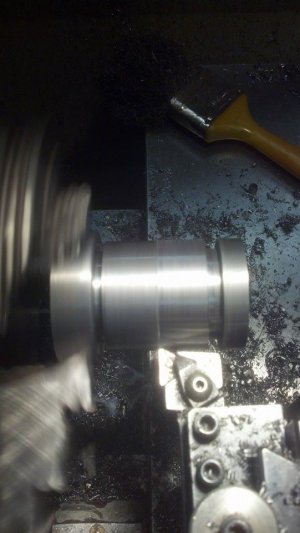
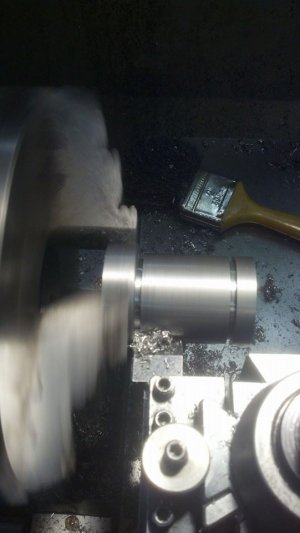
I put it back between centers and used a parting tool to cut out clearance for my rh turning tool.

Then I turned the smallest dia. Thats between the other two out side dia.

Then I got the boring bar to bore the two bearing seats. I should have also done this while I had a good chunk to go in the chuck. It worked so lesson learned the easy way for now.....

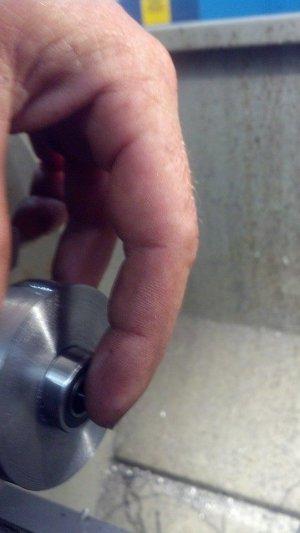
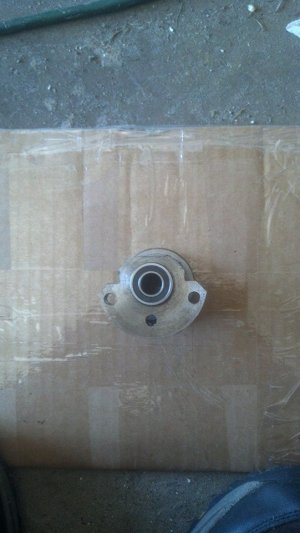
I done as Bill G suggested in another thread for the bearing. I got close then set the bottom of the bearing in and rolled the top in. Kept removing a little at a time and check each time untill I snuck up on a tight fitting bearing x2.
1621910_824602147554746_7138152943533332527_n.jpg1981836_824602007554760_306859057924804791_n.jpg10250208_824602070888087_8371530886002020881_n.jpg10299086_824602234221404_582258536005244174_n.jpg

- - - Updated - - -

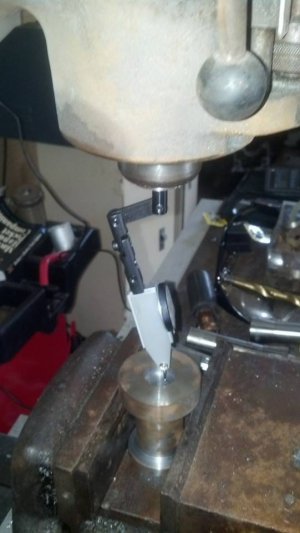
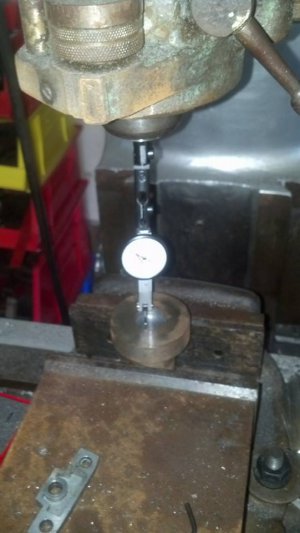
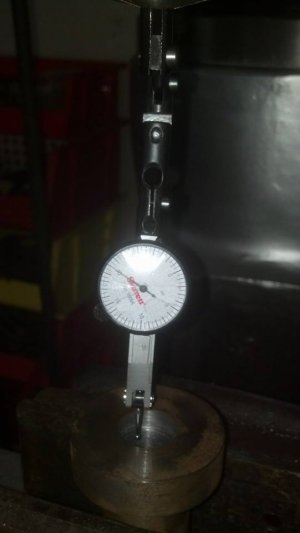
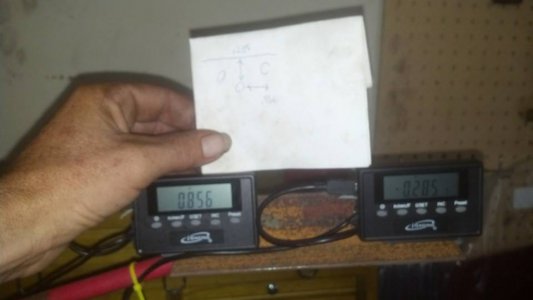
I then chucked it in the mill and used my test indicator to locate center of the hole. And what I thought was good measurements to locate my holes.
10246722_824598504221777_6187468970444077509_n.jpg10258752_824598457555115_8660259521770829244_n.jpg10277437_824598397555121_5109141900361518747_n.jpg10151179_824598130888481_7795657004542039557_n.jpg10177467_824598050888489_5278558809685416982_n.jpg

- - - Updated - - -

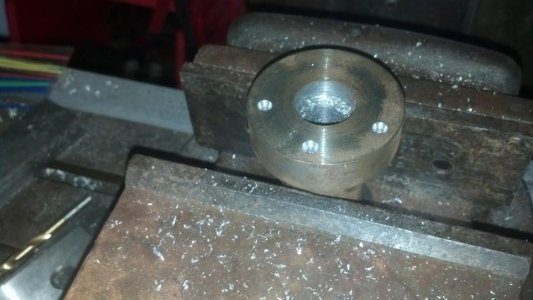
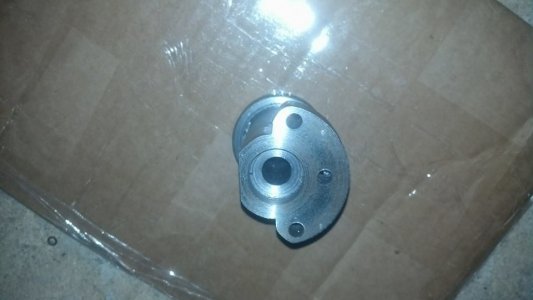
Then I test fit and it was not right. I was off just a tick. Lucky the holes are not on center so I had a chance to flip it over and re try. This time I got it right.

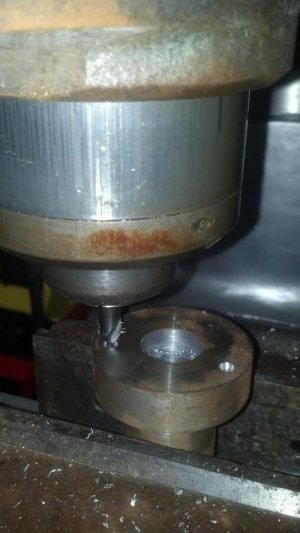
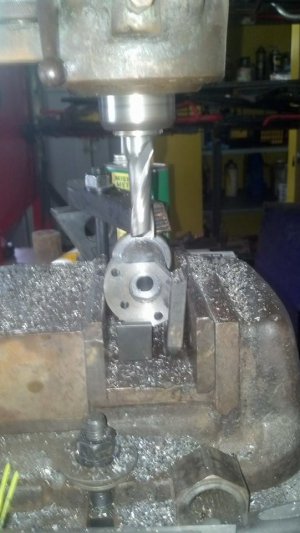
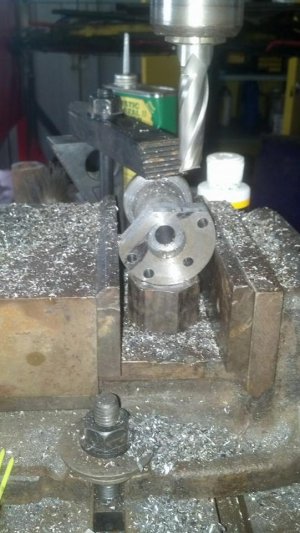
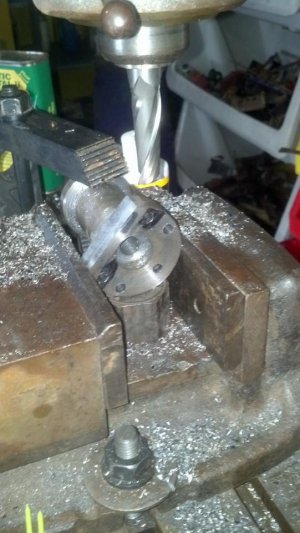
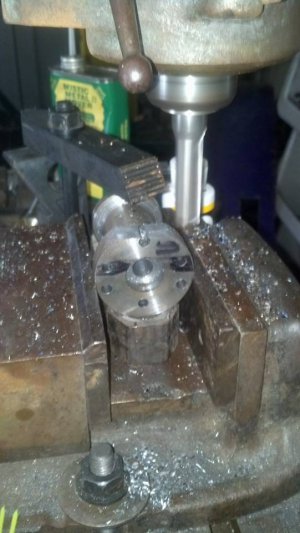
Then back into the mill to shave the top down a bit. Then mill an angle into the sides and try to remove the bad holes.
1549416_824598204221807_4463040666240133831_n.jpg10246254_824597980888496_1425559485064866412_n.jpg10150799_824597714221856_89096681453257726_n.jpg10150562_824597830888511_2350074136028753400_n.jpg1524565_824597904221837_547897225779390510_n.jpg

- - - Updated - - -

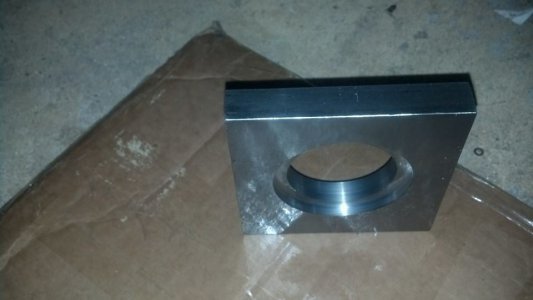
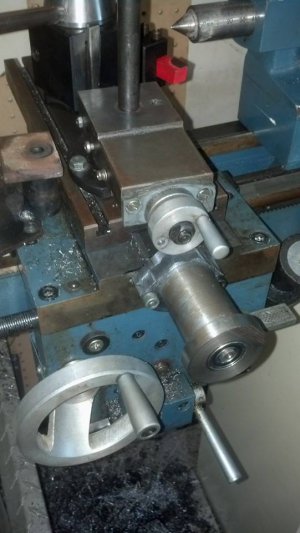
And here is where we are at for today. I hope to get my 4 bolt compound clamp done at school in a bit. I have to make the 7/16 cross slide nut and turn down the end for the handle as well. You can also see the bolstar axa tool post bolt installed. Just a drill and tap job so nothing really to show there.
1536473_824597200888574_2148339173704733284_n.jpg10252134_824597177555243_7906851002564135788_n.jpg10175983_824605537554407_6925730475427921930_n.jpg10259884_824605580887736_2560157159522461330_n.jpg

10253904_824605720887722_8171629274962948362_n.jpg 10273966_824605647554396_5570761526155844939_n.jpg 10300903_824605614221066_5895569221268094755_n.jpg 1506970_824602334221394_1766904848115516686_n.jpg 1981836_824602007554760_306859057924804791_n.jpg 10155267_824602307554730_8432660708463147296_n.jpg 10171019_824602274221400_5645155985680983702_n.jpg 1621910_824602147554746_7138152943533332527_n.jpg 1981836_824602007554760_306859057924804791_n.jpg 10250208_824602070888087_8371530886002020881_n.jpg 10299086_824602234221404_582258536005244174_n.jpg 10246722_824598504221777_6187468970444077509_n.jpg 10258752_824598457555115_8660259521770829244_n.jpg 10277437_824598397555121_5109141900361518747_n.jpg 10151179_824598130888481_7795657004542039557_n.jpg 10177467_824598050888489_5278558809685416982_n.jpg 1549416_824598204221807_4463040666240133831_n.jpg 10246254_824597980888496_1425559485064866412_n.jpg 10150799_824597714221856_89096681453257726_n.jpg 10150562_824597830888511_2350074136028753400_n.jpg 1524565_824597904221837_547897225779390510_n.jpg 1536473_824597200888574_2148339173704733284_n.jpg 10252134_824597177555243_7906851002564135788_n.jpg 10175983_824605537554407_6925730475427921930_n.jpg 10259884_824605580887736_2560157159522461330_n.jpg
 
Great job Chuck, well done! Looks better than the original, probably works better too. Thank you for the post.
 
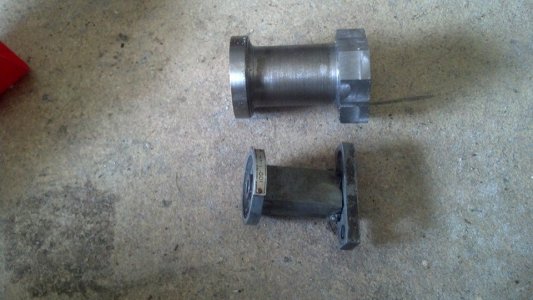
Thanks Randy. I hope it works better. It adds 2 bearings where the orig was just sloppy hole. It adds 1 mounting hole over the orig 2. It adds about 1.5in in length which will allow me to do something like this to the compound. It bout doubles the size of the screw the cross slide travels on.

I only got about 1hr at school on my lathe so the 4 bolt mod will be finished on Wed. I'll post pics and disc once it's done.

The best part of school was the teacher responce when I told him I ordered two 5/8 plates so I have 2 chances. He told me just take the material I need from the class. No need to buy it. Thats pretty sweet if you ask me.
 
While you were doing the cross slide did you think to extend the travel? Mine has 1 inch more than stock. You have a ways to go but good so far. I have made 44 upgrades to mine to date.

"Billy G"
 
Last edited by a moderator:
That was certainly an idea. I never could find any plans for this so I just kinda done it. All I have is what you told me Bill or what I read on the net. I just made it as big as I had the steel to do so. I'll make it travel as far as I can squeeze out of her.

Bill is this just a matter of a longer screw?

I think I want to do a reverse tumbler as well. And a radius turner.
 
Chuck,
Modifying the HF and 9X lathes is a true addiction, and I have one of each so I have plenty to do into the future too.. There are sooo many upgrades available from gear train, to tool post, to 4 bolt top slide and a ton more. All you have to do is start at the most important one for each project and by the time you run out of projects the lathe will be fully and completely modified to your exact liking and specifications. I know I need to do the 4 bolt top slide upgrade on mine to get the best out of the QCTP that is already installed.
Bob
 
Ah yea Bill I made my mount about 1.5in longer. I went through Steves site for ideas as well as many others. I just never seen prints or plans. I made mine longer so I could make the compound longer and handle larger. I'm not sure where I seen the 3rd hole but it seemed like a good idea so I used it.

Bob I agree. My mount was broke so I had no choice but to fix that. I cant see buying another as cheap as the oem. The 4 bolt is more important truth be told as my thrown together scrap deal is doing the job. But I got the steel for the handle before the steel for the 4 bolt. 4 bolt will be dont tomorrow.
- - - Updated - - -

Would alum work for the cross feed nut or would I need to order some brass or such?
 
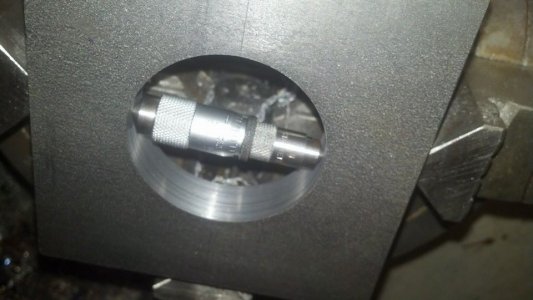
Well I did not get the 4 bolt done. But I got it squared and both bores done. The plans called for 2.01 and I hit 2.012 best me or the teacher could mic.

I also did not like how square my cross slide handle mount was. So I milled the top down to meet the slide. Then side milled above the holes till I reached the smallest dia. Being I have no roto or even a ball nose, I had to break out the mill file and sand paper.

10258435_826052617409699_2177667106935221008_n.jpg1465109_826052577409703_7029029498874832285_n.jpg1888598_826052514076376_2000049947767699934_n.jpg1549250_826052654076362_2953978480424426602_n.jpg10171104_826052484076379_8225604848552134720_n.jpg

10258435_826052617409699_2177667106935221008_n.jpg 1465109_826052577409703_7029029498874832285_n.jpg 1888598_826052514076376_2000049947767699934_n.jpg 1549250_826052654076362_2953978480424426602_n.jpg 10171104_826052484076379_8225604848552134720_n.jpg
 
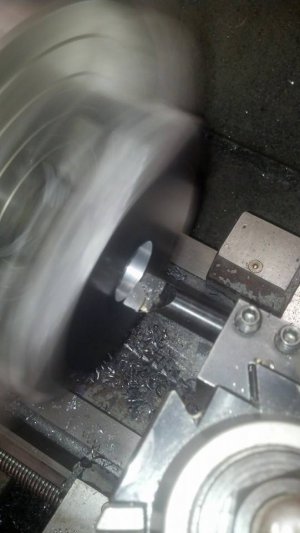
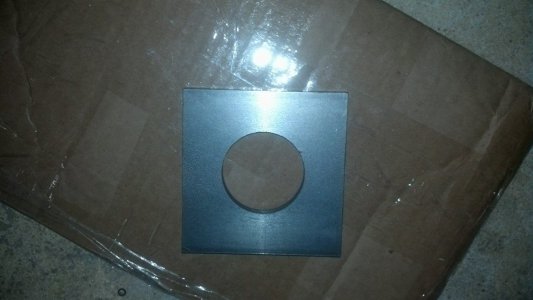
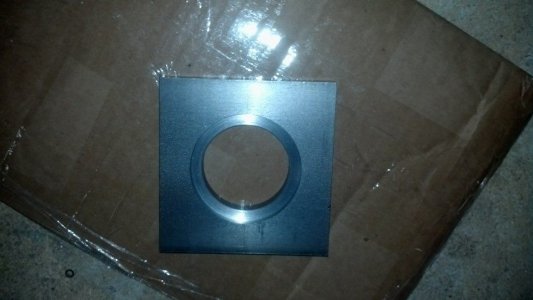
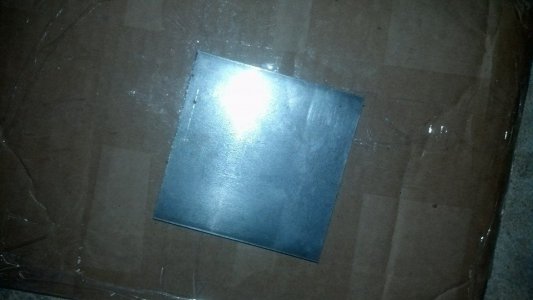
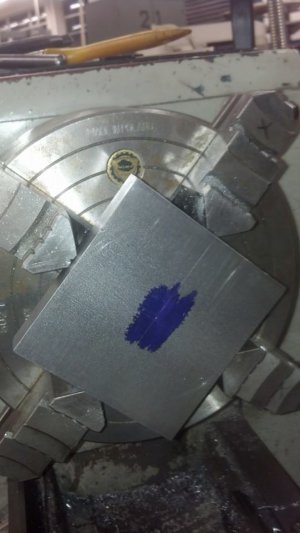
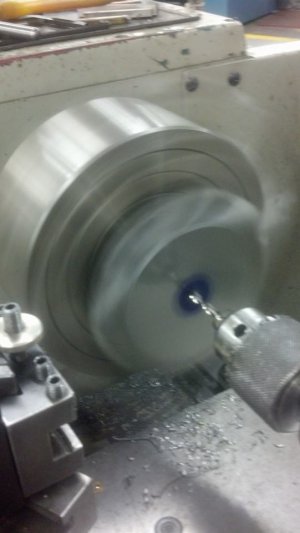
For the 4 post I started with a 5/8 chunk a little over 4in square. Milled it to size. Scribed a cross on it to find a rough center. Dialed in the 4 jaw. Center drilled it. Through drilled it. Then used a 15/16. Then bored it hog style to about 1.5 and started checking it often with calipers. Once I got down to 1.85 I started micing it. Once the through bore was done I touched off the inside to zero and touched off the face for zero. I dont recall the depth or dia off hand but we dont the same thing. Once close we switch to a mic.

1509666_826052437409717_8673656364695061934_n.jpg10312610_826053150742979_7614523138570634892_n.jpg1422501_826053027409658_1999050517288042968_n.jpg10172743_826053064076321_1929712812239682467_n.jpg10298866_826052884076339_6005096014694991574_n.jpg

- - - Updated - - -

few more10259945_826052734076354_876710785625811520_n.jpg11915_826052710743023_6095004854204174643_n.jpg1978857_826052307409730_6972713320484388022_n.jpg10167951_826052210743073_7614937154076807220_n.jpg10152039_826052184076409_3412525957410749705_n.jpg

1509666_826052437409717_8673656364695061934_n.jpg 10312610_826053150742979_7614523138570634892_n.jpg 1422501_826053027409658_1999050517288042968_n.jpg 10172743_826053064076321_1929712812239682467_n.jpg 10298866_826052884076339_6005096014694991574_n.jpg 10259945_826052734076354_876710785625811520_n.jpg 11915_826052710743023_6095004854204174643_n.jpg 1978857_826052307409730_6972713320484388022_n.jpg 10167951_826052210743073_7614937154076807220_n.jpg 10152039_826052184076409_3412525957410749705_n.jpg
 
Back
Top