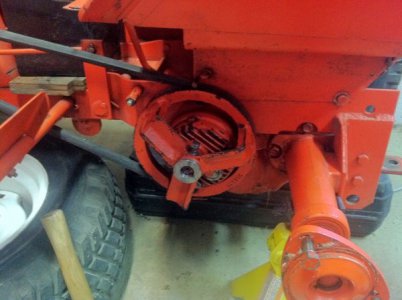
Silver-
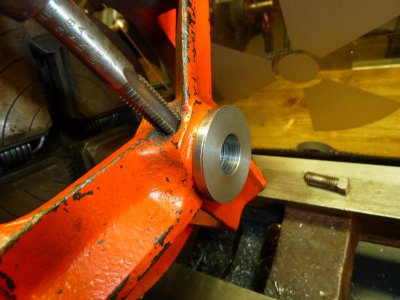
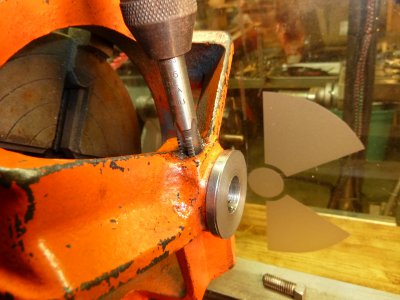
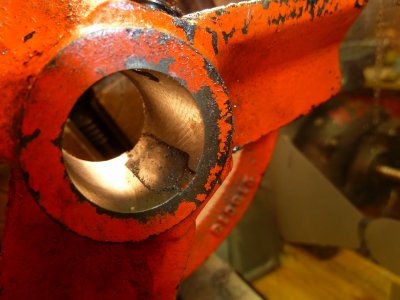
Thanks for your suggestion. My only hesitation with the heating/cooling method is I don't want to get the bore hogged way out, and then use a tight squeeze on the bushing, because I'm afraid of cracking the cast iron- it would be pretty thin by the time I get .125" past the old keyway. I'm just about to the bottom of the keyway now(photo), and that bore is .890". I think I will be 1.0" when I get to the bottom of the keyway, and I'm thinking that's all I want to go. You can see in the photo that the woodruff key chewed out a pretty big section beyond the original keyway - it must have been loose for a long time. I think I'll put the new keyway in a different place.
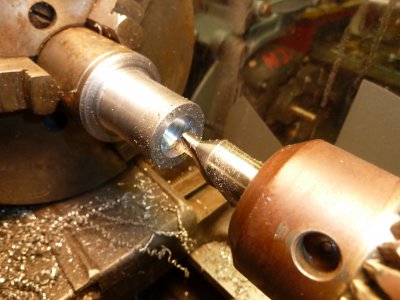
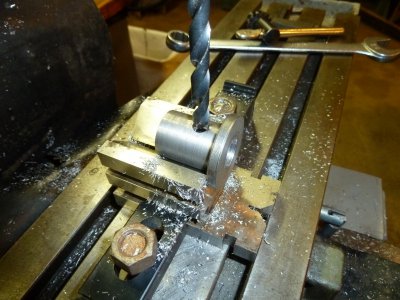
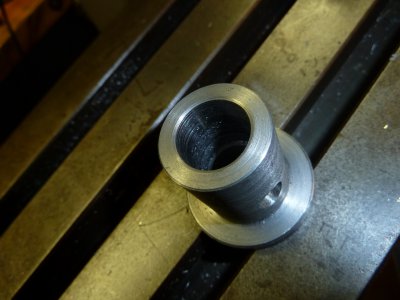
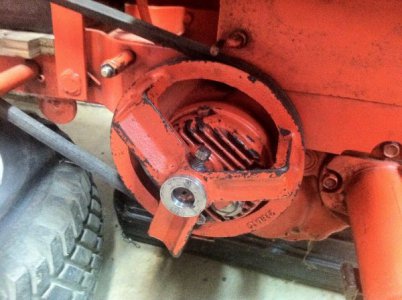
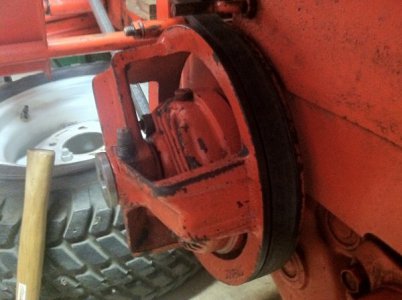
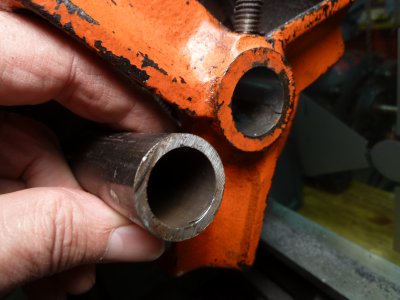
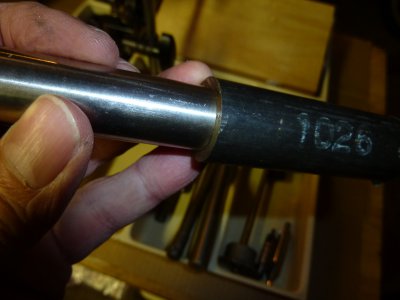
The piece of tubing in photos 681 & 682 is already .750" bore, and 1" OD, although I'm sure I have other stuff on the bone pile to make a new one of different size.
The overall diameter of the boss that the bore is located in is 1.890", if I remember correctly. So subtract the 1.000" and divide by two, and I only have about 1/4" per side until I'm into the spoke area. I'm not sure how strong Cast iron is, but someone mentioned about it being weak in tension, as when being shrink-fit around a bushing. I like shrink-fit, and I like brazing , and I like the pegging of the bushing in with set screws too - one of those three.
Banjo5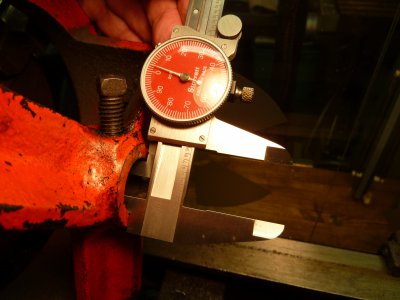


