This is not a new tool, but rather the resurrection of an old one.
I have a Taig bench top milling machine and have been wanting a boring head for a while. It’s a small machine with an ER16 collet spindle, so a 3/8” straight shank is as large as I can go with my tooling.
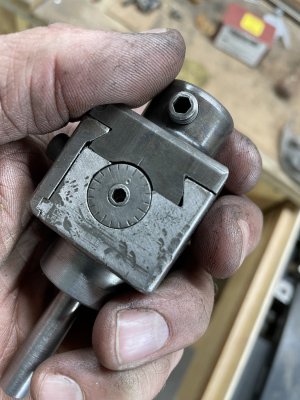
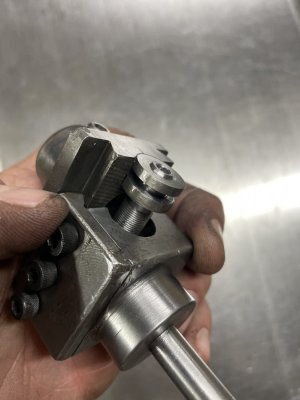
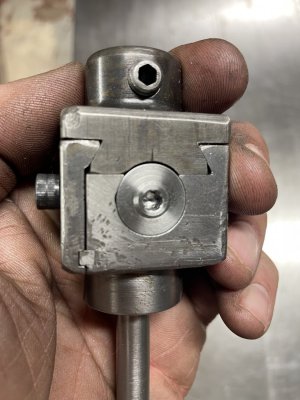
I happened upon an old, beat Criterion 1-1/2” boring head. It had clearly been crashed, and the mounting shank was in rough shape.
Further inspection revealed that one of the three screws that locks the dovetail was stripped and that the graduated dial was incorrect (it’s a 40 tpi adjustment screw, and the dial only had 20 graduations - it should have 25 to measure off .001” at a time).
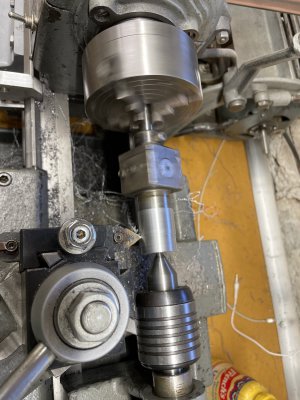
After drilling out all three lock screws and tapping for the next size up cap screws, I made up a new mount. I cut and threaded the new mount, then attached it to the boring head. I mounted a 1/2” dia ground and hardened shaft in the business end of the boring head, then mounted that in my lathe chuck to ensure that I’d turn the mounting shank centered and aligned with the boring head cutter. That all worked out quite well. To get a hex socket centered on the dial, I drilled, tapped, and sank a socket head cap screw into the dial with a drop or two of retaining compound, then touched it up on the lathe.
as found:
turning the new mount:
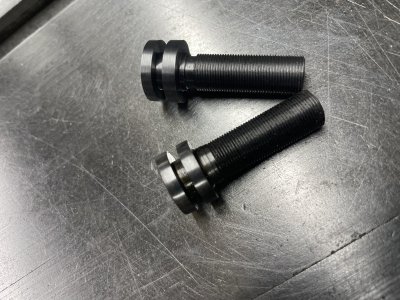
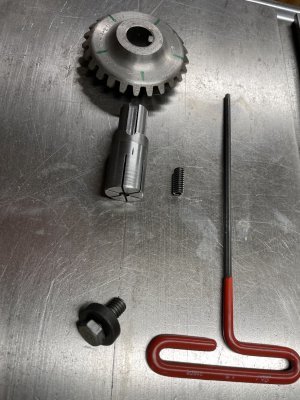
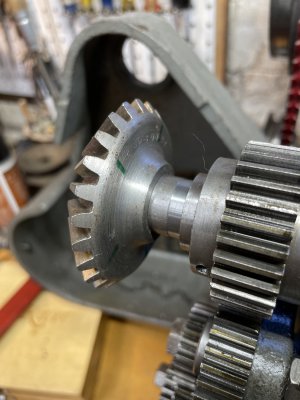
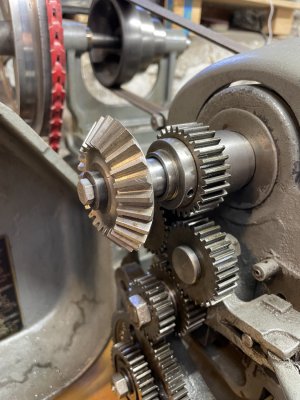
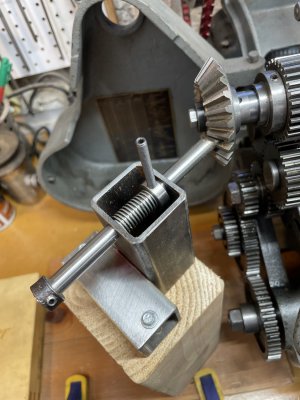
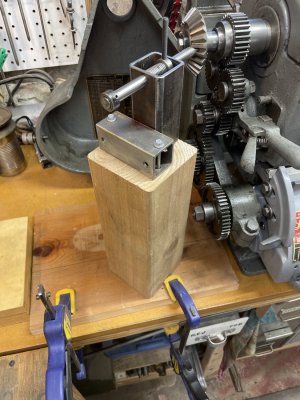
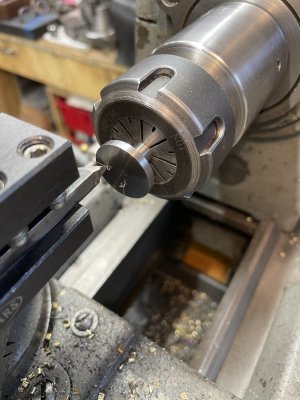
Then on to the new graduated adjusting screw/dial. I snuck up on the final cut of the threads and shoulders to ensure a good fit. To use my lathe to index for the 25 graduation marks I had to get creative. Luckily, I had a 25 tooth gear in the stash. I worked up an expanding plug to mount it to the outboard end of my spindle, and rigged up a spring loaded pin to lock into the gear teeth. Then, it was just a matter of mounting a pointed cutter in my tool post and using the carriage cross feed to scribe the graduations on the dial.
new (bottom) and old (top):
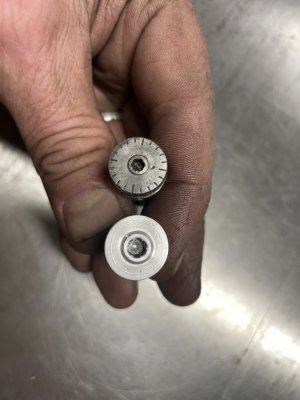
The expanding plug and setup:
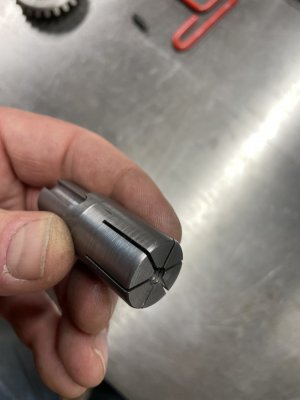
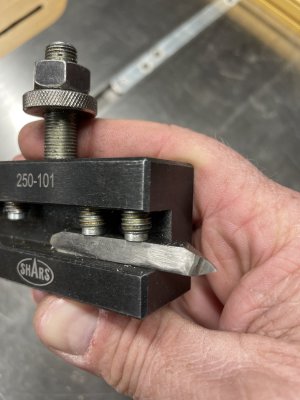
the cutter:
this was scribing a different dial, but was essentially the same set up:
the finished product:
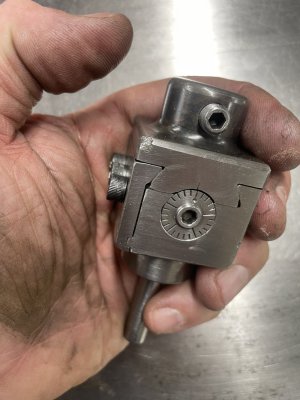
It‘s no beauty queen, but works just fine now. The adjustment screw has three thousandths of back lash, which I’m happy with. And as an added bonus, every screw on it now uses the same wrench. When I started it required three different sizes.
I have a Taig bench top milling machine and have been wanting a boring head for a while. It’s a small machine with an ER16 collet spindle, so a 3/8” straight shank is as large as I can go with my tooling.
I happened upon an old, beat Criterion 1-1/2” boring head. It had clearly been crashed, and the mounting shank was in rough shape.
Further inspection revealed that one of the three screws that locks the dovetail was stripped and that the graduated dial was incorrect (it’s a 40 tpi adjustment screw, and the dial only had 20 graduations - it should have 25 to measure off .001” at a time).
After drilling out all three lock screws and tapping for the next size up cap screws, I made up a new mount. I cut and threaded the new mount, then attached it to the boring head. I mounted a 1/2” dia ground and hardened shaft in the business end of the boring head, then mounted that in my lathe chuck to ensure that I’d turn the mounting shank centered and aligned with the boring head cutter. That all worked out quite well. To get a hex socket centered on the dial, I drilled, tapped, and sank a socket head cap screw into the dial with a drop or two of retaining compound, then touched it up on the lathe.
as found:

turning the new mount:

Then on to the new graduated adjusting screw/dial. I snuck up on the final cut of the threads and shoulders to ensure a good fit. To use my lathe to index for the 25 graduation marks I had to get creative. Luckily, I had a 25 tooth gear in the stash. I worked up an expanding plug to mount it to the outboard end of my spindle, and rigged up a spring loaded pin to lock into the gear teeth. Then, it was just a matter of mounting a pointed cutter in my tool post and using the carriage cross feed to scribe the graduations on the dial.
new (bottom) and old (top):


The expanding plug and setup:


the cutter:

this was scribing a different dial, but was essentially the same set up:

the finished product:

It‘s no beauty queen, but works just fine now. The adjustment screw has three thousandths of back lash, which I’m happy with. And as an added bonus, every screw on it now uses the same wrench. When I started it required three different sizes.
Last edited:

