- Joined
- Sep 5, 2013
- Messages
- 3,207
So I've got this sheet metal brake -- a 36" Chicago box and pan -- that I've had for years. Got it in pieces from a buddy, cleaned it all up and put it back together, built a stand for it and there it has sat. Reason: no fingers.
D&K doesn't make them anymore for this machine, and used ones are pretty hard to come by. And, truth be told, I really haven't needed the darn thing that much anyway. Then a few months ago a little favour came up where the brake would come in handy. I cobbled a temporary finger together just to do the one-off, but then I got to thinking I might make another stab at getting this thing up and functioning. So, how to make the fingers with my less than comprehensive equipment inventory.
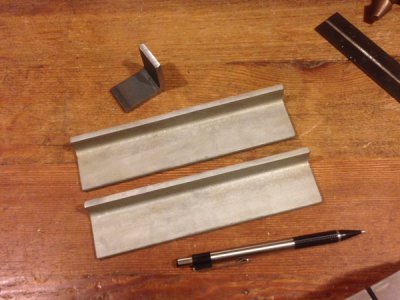
In order to get the basic cross section with minimal stock removal (no milling machine), I opted to make a sandwich of two pieces of cold rolled 1018. Ultimately there will be 17 fingers in all with widths ranging from 3" to 3/4", but I figured that it would be easiest and most reliable to keep things square and aligned if I built the fingers in longer lengths. So I made two sticks, each about 18" long, and put three cap screws in each to keep them together.
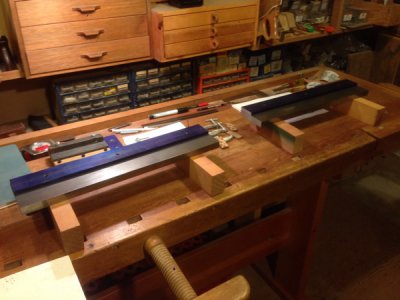
With each stick firmly sandwiched, I did my lay out for all the finger widths and hole positions. Depending on the finger width, there would be either one or two 5/16 cap screws to drill and hand tap.
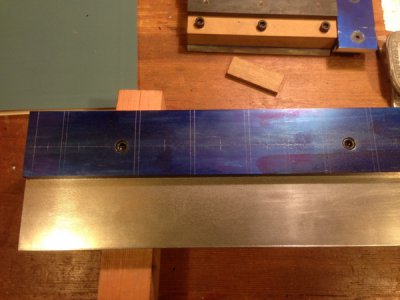
After a bunch of back and forth between the bench, drill press, and tapping rig they're all screwed together nice and solid. For the narrower fingers that would only have room for one cap screw I drilled and drove in two roll pins (split pins) to keep the sandwich halves from rotating. At least that's my theory.
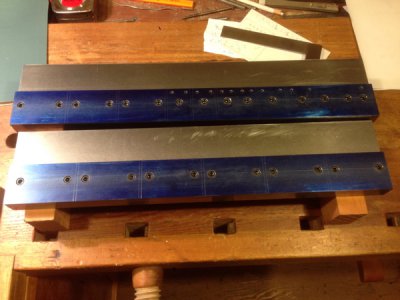
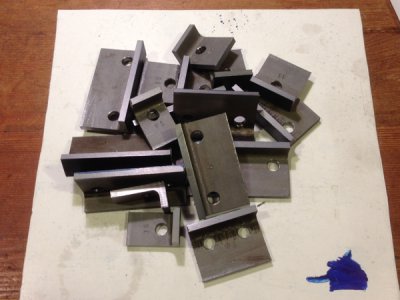
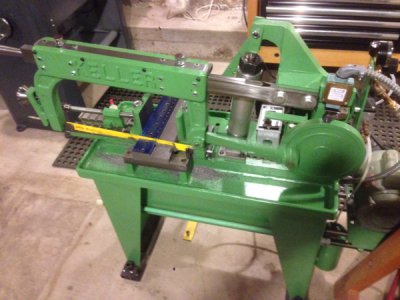
Over to the Keller now to lop the sticks into the finger widths. This Keller was in sorry shape and headed for the dumpster when I snagged it. Works nice now, at least for the limited demands I place on it.
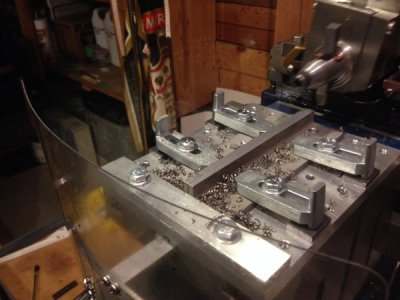
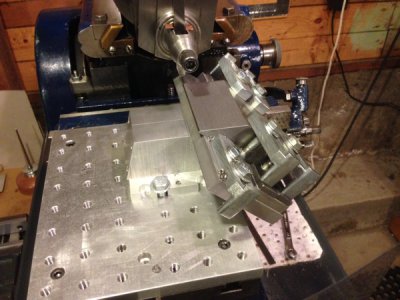
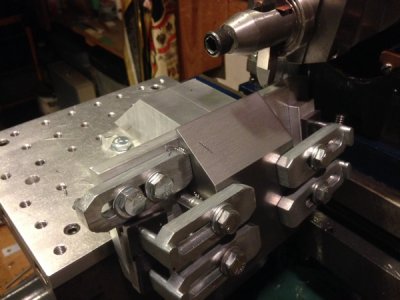
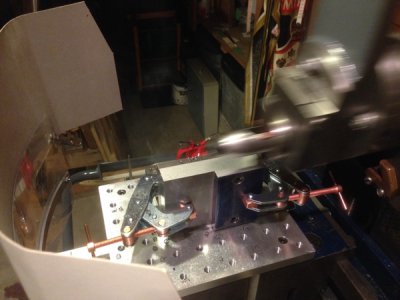
The Keller makes a nice cut, but I wanted the fingers all squared and parallel, so I trimmed up the edges on my little shaper. The mini-pallet fixture plate is nice for repetitive clamping and unclamping.
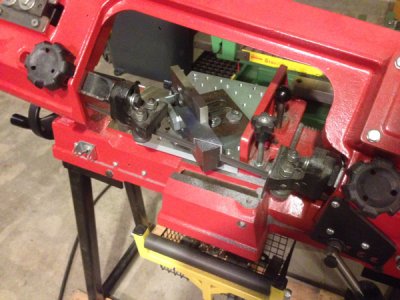
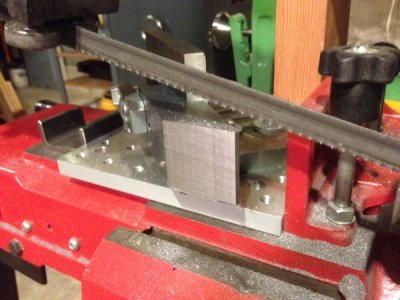
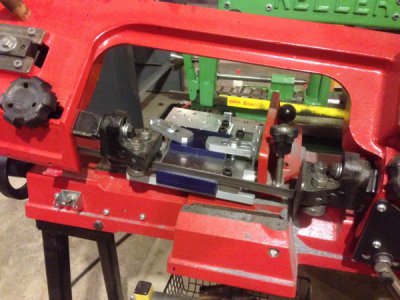
The underside of the top leaf on the brake has a groove that the fingers kind of hook in to, so the back edge has to be fitted accordingly. Rather than do the whole thing on the shaper (slow) I used the bandsaw to rough out the shape. In woodwork this would be called a rebate. I used the mini-pallet again and set it at a bit of an angle to match the blade descent to cut the first leg on the rebate. The second cut in from the end I just did with a hacksaw.
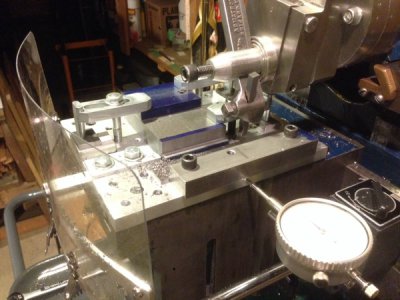
Back to the shaper to clean up the rebates. I managed to get them all pretty consistent, so I was pleased about that.
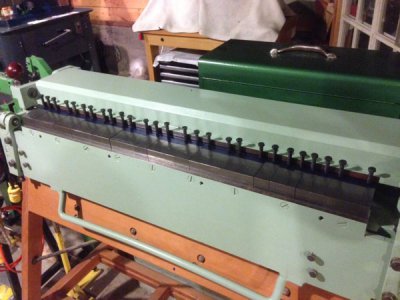
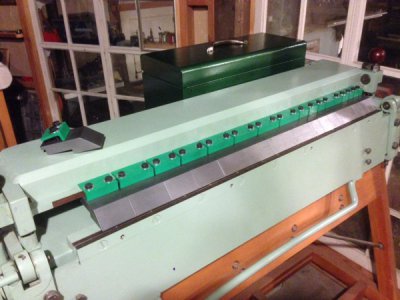
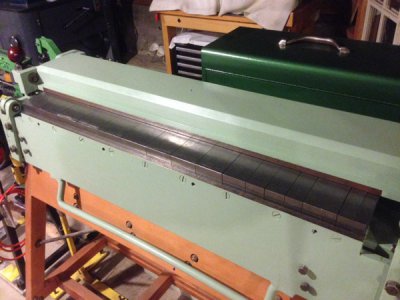
And here they are on the machine for the first time. I still need to make the clamps to hold the fingers in position, and of course do the final shaping on the noses. That will need a bit more set-up and jigging, so this seemed an appropriate juncture to take a breather. I'll follow up when I finish them off (if they work!)
Thanks for looking!
-frank
D&K doesn't make them anymore for this machine, and used ones are pretty hard to come by. And, truth be told, I really haven't needed the darn thing that much anyway. Then a few months ago a little favour came up where the brake would come in handy. I cobbled a temporary finger together just to do the one-off, but then I got to thinking I might make another stab at getting this thing up and functioning. So, how to make the fingers with my less than comprehensive equipment inventory.
In order to get the basic cross section with minimal stock removal (no milling machine), I opted to make a sandwich of two pieces of cold rolled 1018. Ultimately there will be 17 fingers in all with widths ranging from 3" to 3/4", but I figured that it would be easiest and most reliable to keep things square and aligned if I built the fingers in longer lengths. So I made two sticks, each about 18" long, and put three cap screws in each to keep them together.

With each stick firmly sandwiched, I did my lay out for all the finger widths and hole positions. Depending on the finger width, there would be either one or two 5/16 cap screws to drill and hand tap.

After a bunch of back and forth between the bench, drill press, and tapping rig they're all screwed together nice and solid. For the narrower fingers that would only have room for one cap screw I drilled and drove in two roll pins (split pins) to keep the sandwich halves from rotating. At least that's my theory.

Over to the Keller now to lop the sticks into the finger widths. This Keller was in sorry shape and headed for the dumpster when I snagged it. Works nice now, at least for the limited demands I place on it.

The Keller makes a nice cut, but I wanted the fingers all squared and parallel, so I trimmed up the edges on my little shaper. The mini-pallet fixture plate is nice for repetitive clamping and unclamping.

The underside of the top leaf on the brake has a groove that the fingers kind of hook in to, so the back edge has to be fitted accordingly. Rather than do the whole thing on the shaper (slow) I used the bandsaw to rough out the shape. In woodwork this would be called a rebate. I used the mini-pallet again and set it at a bit of an angle to match the blade descent to cut the first leg on the rebate. The second cut in from the end I just did with a hacksaw.

Back to the shaper to clean up the rebates. I managed to get them all pretty consistent, so I was pleased about that.

And here they are on the machine for the first time. I still need to make the clamps to hold the fingers in position, and of course do the final shaping on the noses. That will need a bit more set-up and jigging, so this seemed an appropriate juncture to take a breather. I'll follow up when I finish them off (if they work!)

Thanks for looking!
-frank


