- Joined
- May 31, 2020
- Messages
- 5
Hello everyone,
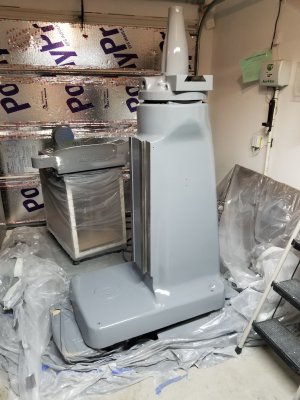
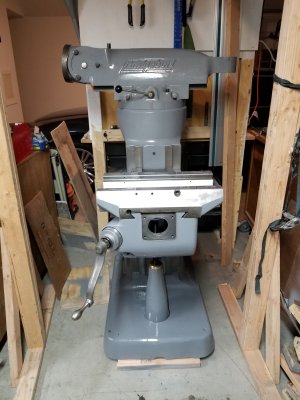
Fairly new to the forum. So I thought I would post a project that I have been working on. I won't call it a restoration but rather a refresh on a 1981 Bridgeport mill.
The History is simple Last July I found a Bridgeport that I thought had some potential at a auction online and I got it for a very good price. The mill looked pretty sad and was pretty dirty. It came with a Lyman Mk 4 power feed on X axis. (non working). when it arrived the handle was broke off the left side which is where the power feed was mounted. It turns out that the handle broke where it attached to the leadscrew. Fortunately the lead screw was not damaged and just removed the power feed since it already had several components missing. Wired it up and tested the actual Machine functions. I started cleaning as first order of business. The head was really quite and I checked the runout on the spindle and it was way better then I thought it would be. It only has a couple tenth's at most for runout. So before making any real chips I decided to tear the machine apart and clean everything to prevent anymore damage too the machine. I also decided that the head was not in any need of tearing it apart at this time just needed some cleaning.
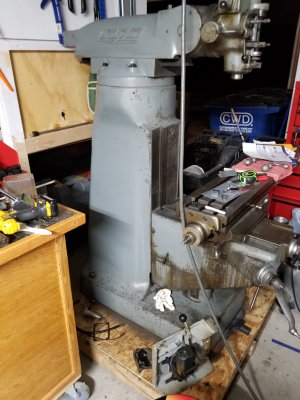
The first Picture is the mill as I received it.
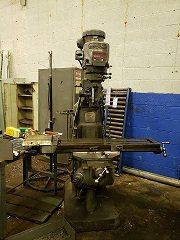
Actually this is before it shipped to me but it didn't get any better in transit.
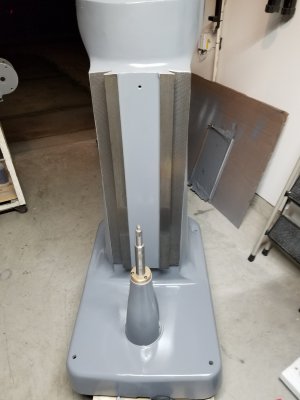
I started cleaning it and after a few hours of cleaning and inspecting I decided that I needed to take it apart to clean the ways and oiling system.
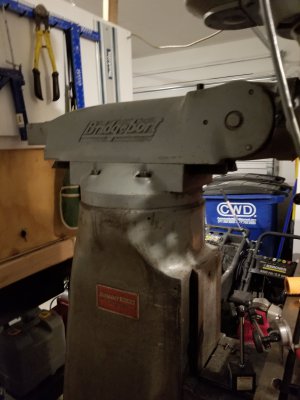
it actually was cleaning up pretty good but I couldn't get to everything the way I wanted to.
I did check several other things before I took it apart, like backlash in the screws, how tight the table, slide and knee was along with the table across the full screw.
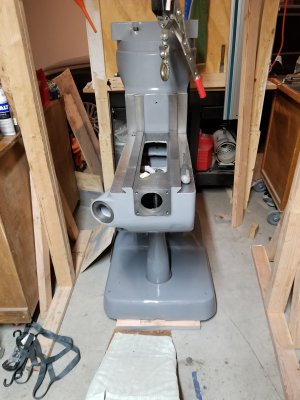
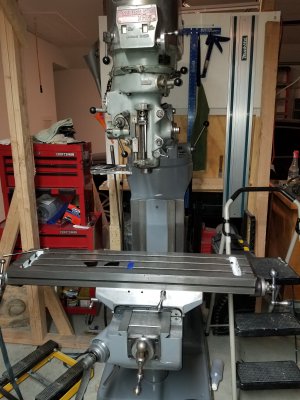
I didn't have anyway of lifting the heavy parts off the machine so I improvised by building a wooden gantry to assist with a ratchet hoist.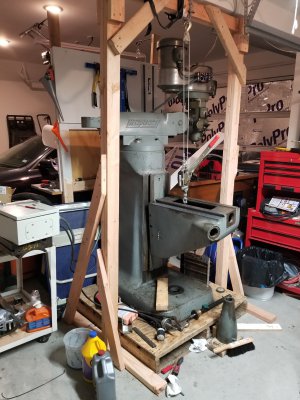
It worked and was pretty stable.
I will break this post up into parts to keep it from getting to long.
Have a good day
Fairly new to the forum. So I thought I would post a project that I have been working on. I won't call it a restoration but rather a refresh on a 1981 Bridgeport mill.
The History is simple Last July I found a Bridgeport that I thought had some potential at a auction online and I got it for a very good price. The mill looked pretty sad and was pretty dirty. It came with a Lyman Mk 4 power feed on X axis. (non working). when it arrived the handle was broke off the left side which is where the power feed was mounted. It turns out that the handle broke where it attached to the leadscrew. Fortunately the lead screw was not damaged and just removed the power feed since it already had several components missing. Wired it up and tested the actual Machine functions. I started cleaning as first order of business. The head was really quite and I checked the runout on the spindle and it was way better then I thought it would be. It only has a couple tenth's at most for runout. So before making any real chips I decided to tear the machine apart and clean everything to prevent anymore damage too the machine. I also decided that the head was not in any need of tearing it apart at this time just needed some cleaning.
The first Picture is the mill as I received it.

Actually this is before it shipped to me but it didn't get any better in transit.
I started cleaning it and after a few hours of cleaning and inspecting I decided that I needed to take it apart to clean the ways and oiling system.

it actually was cleaning up pretty good but I couldn't get to everything the way I wanted to.

I did check several other things before I took it apart, like backlash in the screws, how tight the table, slide and knee was along with the table across the full screw.
I didn't have anyway of lifting the heavy parts off the machine so I improvised by building a wooden gantry to assist with a ratchet hoist.

It worked and was pretty stable.
I will break this post up into parts to keep it from getting to long.
Have a good day


