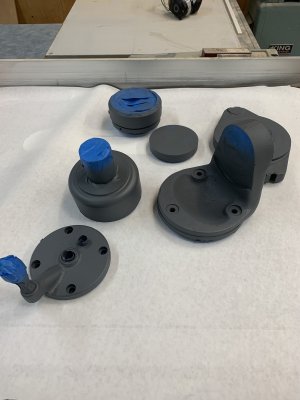
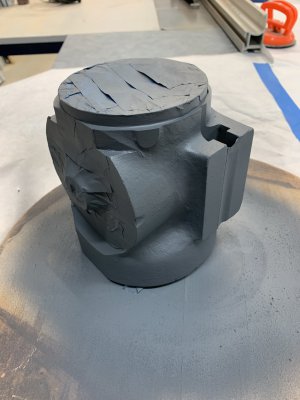
Well the first order of repair went well. I made up a 90 support bracket out of some 5/8 thick 6x6 angle iron so I could mill up the welded bracket at 90 degrees:
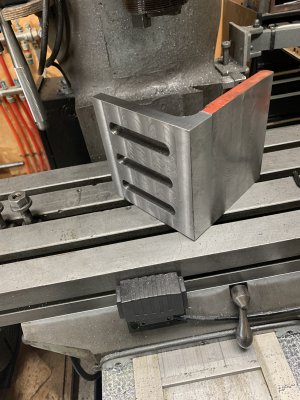
The one face is not done yet - I just left it flat and not slotted for this part of the project. The edges have not been finished either as you can tell from the orange paint.
The set up on the mill went well - essentially I stacked a bunch of 123 blocks together and secured the welded end - I then set the plate witha couple more blocks against the plate and the machined surface of the angle bracket. That all got clamped and secured to the table:
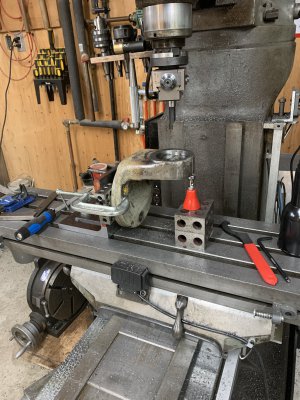
Prior to boring the angle bracket I faced it off (about 0.020") to flat. This is the surface that rides on the work head so now it is 90 degrees to the machined bottom (clamped to the angle plate) Before boring I also used a 1/2" carbide end mill to clean up the welds so that the boring bar just had the finish cutting. I also used a 1" end mill to bore out the center hole and 3/8" end mill to clean up the two other bolt holes. The center bolt allows for tilting of the working head and the two other screws locate the adapter plat to the work head. This may have been made by someone else so if required I could machine a new one - it works fine now though.
After one side was completed I flipped the assembly using the table to clamp down the angle head and then the angle bracket arrangement with the 123 blocks:
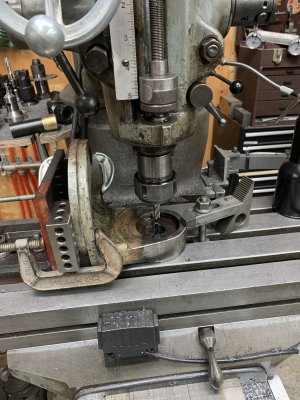
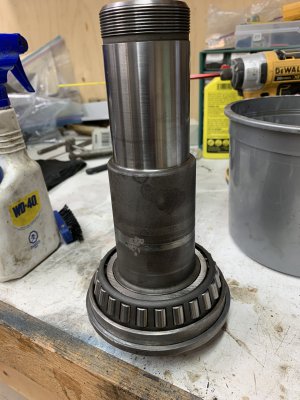
The final fit up was good! I will be making a new backing washer as the original homer needs to be thicker:
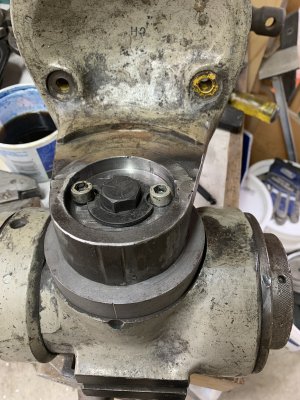
A few small weld voids but I am all good with the out come.
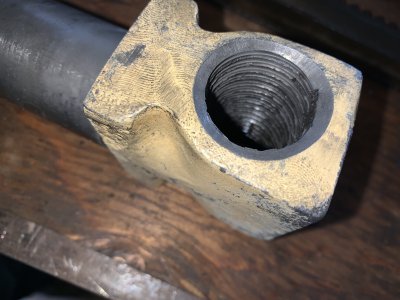
Pulled off the saddle today and the ways look pretty good. No deep scoring. The feed nut is toast. Must be original as it is a piece of cast iron. The treads are as sharp as a serrated knife - including the serrations. I will be thinking about a couple options....bore it out and press/shrink in a bronze ACME threaded liner or........two piece it by chopping off the nut end and making a solid bronze.....hmmmmmm .... there is not a lot of material......
The ways on the base:
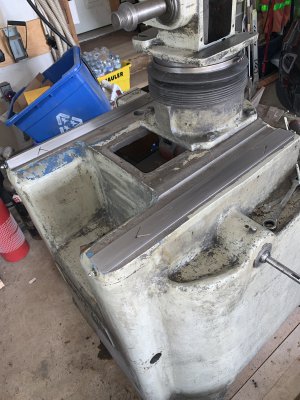
Lots of cleaning on the go and stripping paint. Princess auto screwed up my order for some cold rolled steel rod (won't deliver and local folks are out of stock) so I will hope for Monday and a chat with one of the metal suppliers to see if I can have a few odds and sods pitched to me as I drive by.
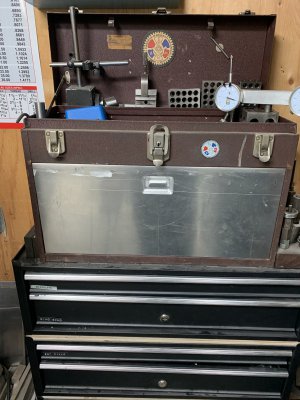
Side tracked "squirrel" for a bit and making a tool box door our of aluminium plate for a Starrett (AKA Kennedy) tool box and cutting out wood beams. Who looses theses doors? LOL ......
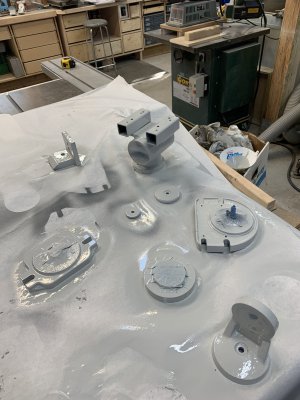
I have to check on my primer supply so I can start the spray process as parts get stripped and cleaned up. Super cool as this machine is 100% Imperial and no stupid weird metric crap blended in to the works......don't get me wrong...metric for science is great but I find it very lacking for certain things. I have the tools to remake the parts that need it....all is good.....
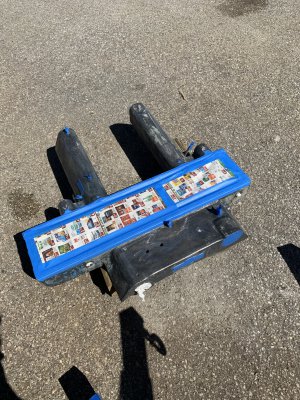
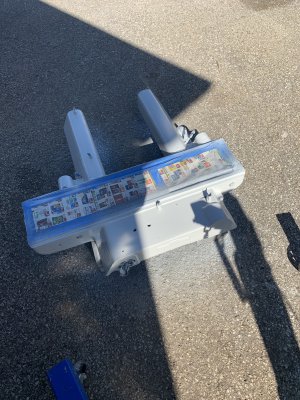
Hope everyone is feeling well.........more to come...Oh - I sprayed all the bare metal surfaces with a silicon spray as we are supposed to get a major rain storm ....ugh!

The one face is not done yet - I just left it flat and not slotted for this part of the project. The edges have not been finished either as you can tell from the orange paint.
The set up on the mill went well - essentially I stacked a bunch of 123 blocks together and secured the welded end - I then set the plate witha couple more blocks against the plate and the machined surface of the angle bracket. That all got clamped and secured to the table:

Prior to boring the angle bracket I faced it off (about 0.020") to flat. This is the surface that rides on the work head so now it is 90 degrees to the machined bottom (clamped to the angle plate) Before boring I also used a 1/2" carbide end mill to clean up the welds so that the boring bar just had the finish cutting. I also used a 1" end mill to bore out the center hole and 3/8" end mill to clean up the two other bolt holes. The center bolt allows for tilting of the working head and the two other screws locate the adapter plat to the work head. This may have been made by someone else so if required I could machine a new one - it works fine now though.
After one side was completed I flipped the assembly using the table to clamp down the angle head and then the angle bracket arrangement with the 123 blocks:

The final fit up was good! I will be making a new backing washer as the original homer needs to be thicker:

A few small weld voids but I am all good with the out come.
Pulled off the saddle today and the ways look pretty good. No deep scoring. The feed nut is toast. Must be original as it is a piece of cast iron. The treads are as sharp as a serrated knife - including the serrations. I will be thinking about a couple options....bore it out and press/shrink in a bronze ACME threaded liner or........two piece it by chopping off the nut end and making a solid bronze.....hmmmmmm .... there is not a lot of material......

The ways on the base:

Lots of cleaning on the go and stripping paint. Princess auto screwed up my order for some cold rolled steel rod (won't deliver and local folks are out of stock) so I will hope for Monday and a chat with one of the metal suppliers to see if I can have a few odds and sods pitched to me as I drive by.
Side tracked "squirrel" for a bit and making a tool box door our of aluminium plate for a Starrett (AKA Kennedy) tool box and cutting out wood beams. Who looses theses doors? LOL ......
I have to check on my primer supply so I can start the spray process as parts get stripped and cleaned up. Super cool as this machine is 100% Imperial and no stupid weird metric crap blended in to the works......don't get me wrong...metric for science is great but I find it very lacking for certain things. I have the tools to remake the parts that need it....all is good.....
Hope everyone is feeling well.........more to come...Oh - I sprayed all the bare metal surfaces with a silicon spray as we are supposed to get a major rain storm ....ugh!


