Cleaning up an old milling machine

I have to provide a caution for DMS's "Simple Green" suggestion and that is, "Be very careful as it WILL remove paint." I discovered this when using it clean up an old shaper. I was cleaning up the motor and noticed that I was wiping off the information that was silk-screened on to the motor plate. I stopped before I obliterated it completely but it is definitely harder to read now.

It's still a great cleaner, just know what it can do.

-Ron
 
I didn't have any problems with paint on mine, I think it was some sort of oil based enable.

Probably good advice to test any cleaners on an "unimportant" area before getting too into things.
 
There are some nicks in the table and I was wondering if I could fill them in with some weld rod and grind them smooth.
As Tony said NO! :nono:

Aside from all the potential warping and cracking risks, with the extreme heat from the stick, the cast iron around the welds would become extremely hard and brittle.
This would negate any reworking option besides grinding. For instance, you could not re-mill the slots or the surface.
Also, any strong pressure applied in this area, like clamping force, will likely break a larger chunk of your table.

Of course you could braze, but that would require pre-heating the entire table and letting it cool very slowly after brazing lest it became - again - warped and/or brittle, or cracked. Not practical in my shop.

Tony is right, leave it alone or use a filler; just wanted to expand a bit on the why to the no.
 
Lots of people straining fro originality go with felt for the wipes, but new machines have gone with synthetics like Neoprene or similar. Grainger, McMaster, etc, sell sheet and strip materials that will work just fine if you don't mind cutting them out yourself. Some of the more popular machines have enough demand that you can get a premade set. You'll just have to decide which way you want to go. I kind of like making mine myself.

BTW, congrats on the machine. Good looking machine to work on.

I would have never thought of a synthetics, a great idea, and what a simple thing to make! Hopefully there has been some improvements in equipment in the last fifty years and we should take advantage of them. The farther along I get the more I learn. I don't now think the motor is a 1/2 hp. Things look different when the motor is turned upside down in transport! The literature says it has a 2/1 hp motor and that is exactly what the motor says 2/1 hp, 220 volt, three phase, no amperage is listed. Motor was of course, built in "Jelly Old England", and I am wondering what the stamping 2/1 means. Is it a one or two horsepower motor?
 
As Tony said NO! :nono:

Aside from all the potential warping and cracking risks, with the extreme heat from the stick, the cast iron around the welds would become extremely hard and brittle.
This would negate any reworking option besides grinding. For instance, you could not re-mill the slots or the surface.
Also, any strong pressure applied in this area, like clamping force, will likely break a larger chunk of your table.

Of course you could braze, but that would require pre-heating the entire table and letting it cool very slowly after brazing lest it became - again - warped and/or brittle, or cracked. Not practical in my shop.

Tony is right, leave it alone or use a filler; just wanted to expand a bit on the why to the no.


DAAH!! Should have realized it was cast iron, how dumb could I have been. I know from experience the problems with warping and welding cast iron. I will just leave the table alone and use it as it is. There are just minor dings and drill marks.
 
Table divets

here'sa technique I found somewhere.....mill out divets, "key" bottom of hole with round burr. Tape over hole and cut out opening so that filler will cure proud of the table surface , then finish to match. If you just fill hole it may cure short of the surface.
 
Depending on where they are and how bad, why couldn't a person drill out the hole/divot, tap it, screw in an appropriate threaded piece, and mill it to match the rest of the table?

Just a thought,

-Ron
 
With threaded plugs, you would always see the patch, Ron. Better to drill and ream, then turn some cast iron pins just a bit long and light press fit them. Mill pretty close to flush then smack a ball bearing in the center to swell them tight, and then mill almost flush and stone down to flush. If your cast is a good color match, you would have to search for it. But that's a lot of trouble for a few dings and drill pecks. It's still a bit touchy, as you don't want to add ANY stress to your table. A drill press wouldn't matter so much, but a mill is a little more particular.
 
Thanks for the proper method Tony. I would probably ignore things like small dings and gouges but if it were a major issue that is definitely how I would go about it.

-Ron
 
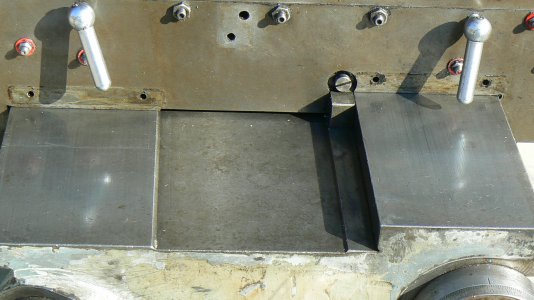
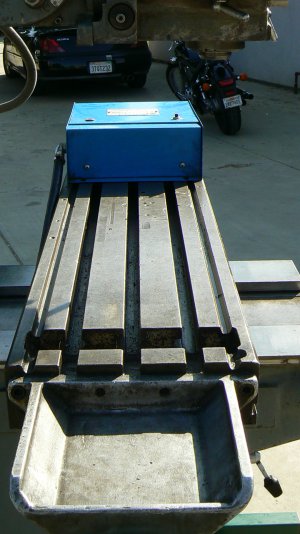
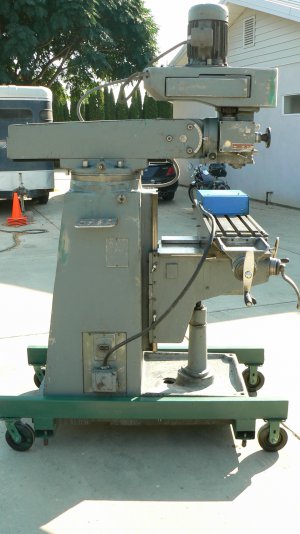
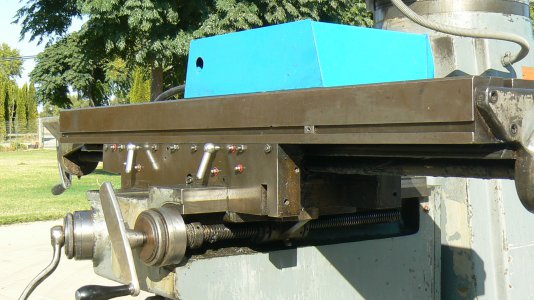
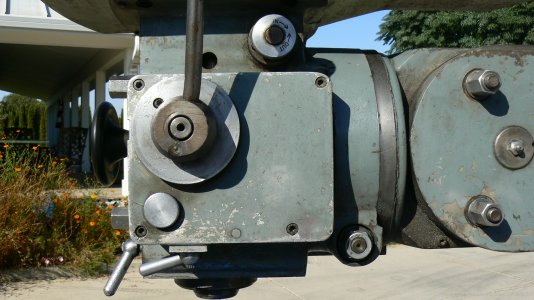
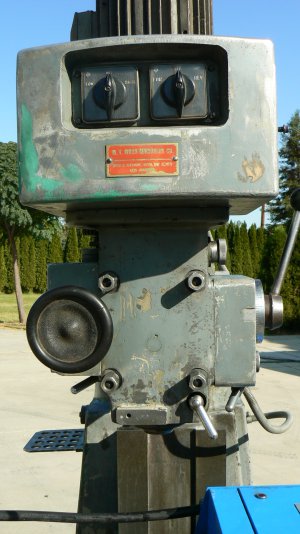
Well here are some more pictures of the PAL now that it is cleaned up, or at least fifty years of way oil and grease have been removed. You find out a little about something when you clean it up. All of those things which have gone wrong with the machine over the years are brought to the fore front. I discovered that the adjusting bolt which controls the tilt if the head had been broken off and the 5/8" , 20 spline head where the wrench is to attach is missing. A few gib screws have been twisted off making adjustment of the knee a little difficult. The wipers which keep swarf from getting under the ways have totally deteriorated. A prior owner had used grease rather then way oil, assuming that all "Grease fittings" were for grease and not for Way Oil. And the biggest thing, there seems to be no place to fill or drain the gearbox. Actually I am not sure it has a gearbox as the limited documentation I have is for another model, the Mark II and VBSR models. Both have gearboxes and show fill points and site glasses for fluids but this model seems to be missing both.

All that said I think the unit has survived pretty well for all if its' years of service. I am still looking for someone who has operated a PAL and may have some clue to the lubrication.

P1080096.JPG P1080097.JPG P1080111.JPG P1080108.JPG P1080102.JPG P1080101.JPG
 
Back
Top