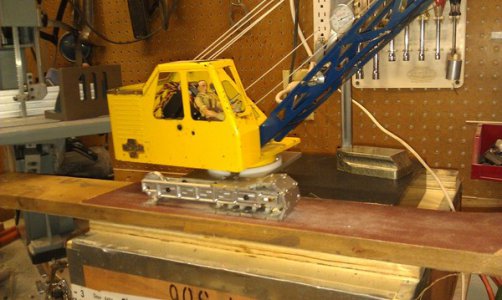
Crawler Crane Undercarriage Project

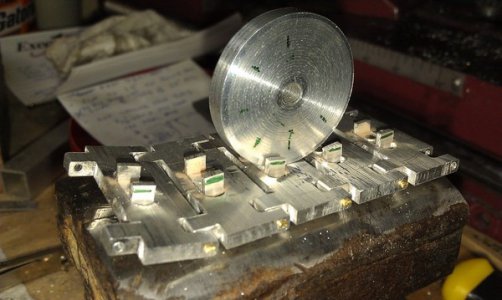
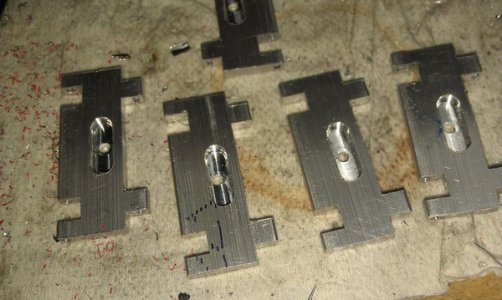
I have settled on a 1/8" thick stock material design and have the pads almost finished. I also checked the diameter of the tumblers and pitch of the track pads. I still have some work to do to finish the pads but it seems like it is all coming together. Hopefully I will get to start or the side frames this weekend.
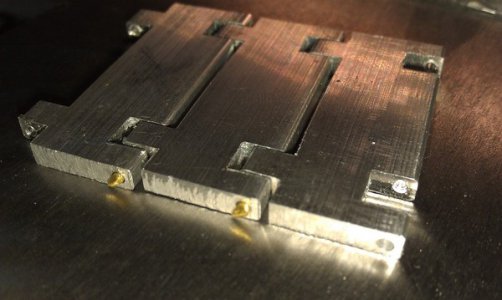
IMAG0938_zpsg4k7dyqn.jpg

IMAG0936_zpsbp2kes5q.jpg

IMAG0931_zpsjrimpsh1.jpg

Jim
 
New Question...

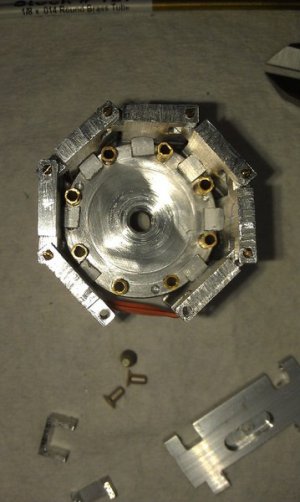
In the last picture in my above post is the prototype tumbler. The final drive tumbler are yet to be designed but what are my options for turning this tumbler, and I don't mean on the lathe but from the axel shaft on the undercarriage. The center hole is 1/4". Thing I have thought about so far but not decided on are:

Tap the hole and use a thread on the end of the drive axel with a locking nut on one or both sides. I don't really care for this idea.

Broach a key way and do it with a slot and key. I don't have any broaching tools.

Make a hex on the end of the shaft and make hex on the inside hole on the tumbler. I like this idea but how do I broach the hex hole in the tumbler?

Other ways to do this are greatly appreciated!

Thanks for watching my project!

Jim
 
You could make the tumbler with a raised boss around the axle hole, then cross drill through the boss and the axle and use a small spring pin to secure the tumbler to the shaft. Another method would be to drill and tap the boss for a small setscrew, running the setscrew up against a flat on the axle shaft.
 
Terry,

Great idea! I was thinking about drilling from the outside diameter of the tumbler and doing a set screw but I didn't like the idea of not having easy access to the set screw once the pads were in place covering up the hole. That may be the winning design idea!

Jim
 
If you really feel ambitious you could make your own miniature split taper bushings, but they would be a lot of work!
 
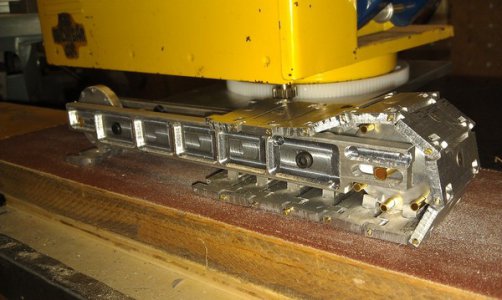
Quick little progress report. I have all the pads milled out, I am still drilling the hinge holes and the drive dogs need to be cut and riveted in place. Wow, what a LOT of pieces and small parts and steps! Anyway, I drilled three different bolt circles on a test tumbler and got one that looks like it will work. I didn't want to start right off milling the profiled version that I plan to make until I get things "dry fit" using a simpler method. The bolt circle and brass tubing looks good and the final milled version will actually drive at the outermost edge of the tumbler wheel instead of like the tubing looks.

Sorry about the portrait shot...

IMAG0946_zpsfpv8v0yo.jpg

Jim
 
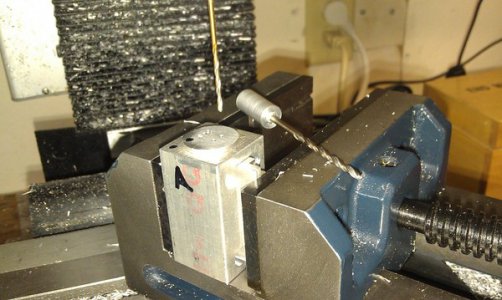
A lot of the reason I like to post project builds like this one is because it keeps me motivated. Here is the setup I am using to drill the link holes in the pads. They are pinned together with 1/16 brass tube. I had been drilling these holes on the drill press but the chuck is a bit off and I decided to try making a bit holder for a 3/8" collet to put into the mill. I have a R8 drill chuck for the mill but it won't close down small enough for a 1/16" drill. I just turned a piece if aluminum in the lathe and center drilled it 1/16". It us turned down to fit a 3/8" collet which is a common size for me for end mills so I can switch between them without changing the collet. The 1/16 bit is a good slide fit and I glued it in place with CA. Thanks to whoever suggested this idea!

Remember, I am a "noob" machinist so don't be afraid to offer tips or observations on my techniques.

IMAG0948_zpsntgrbwxj.jpg

Jim
 
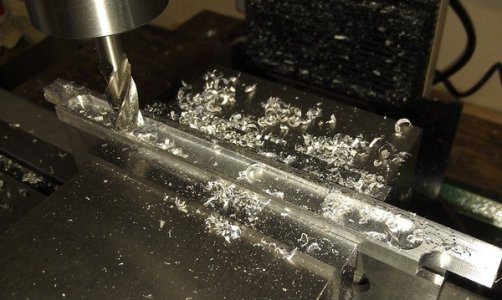
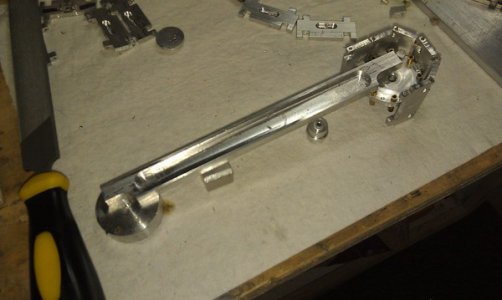
I was getting crazy drilling holes and had to do something different for a while! If all the side rails turn out okay I will try to make them in steel to add a bit of weight. I'm thinking I may also add some lead ballast where I can as well.

IMAG0951_zps9psn1jtm.jpg
IMAG0952_zpsvejjkkbg.jpg

Jim
 
Back
Top